Document numbering preferences
Jobyo auto-numbers each document type from a prefix, a starting number, and a padding width — so a new invoice becomes INV-00001. You control all three per document type, and set the company identity that prints on invoices, from the General category.
What you'll need
- The Company preferences: modify permission — this is an administrator area.
- The numbering scheme you want, especially if you're migrating from another system and need to continue an existing sequence.
How numbering works
Every generated document is numbered from three parts:
- Prefix — the letters before the number. Defaults are already set per type:
INV(invoice),WO(work order),QUO(quote),PO(purchase order),PRJ(project),GR(goods receipt),TSK(task). - Starting number — a one-time value, honoured only before the first document of that type is created. Once a document of that type exists, Jobyo is already counting on its own — for most document types, changing this field afterward has no further effect in either direction.
- Padding — the minimum digit width. A padding of 5 shows
1as00001. The default is 5.
Projects are the exception to "no effect after the fact." The moment you save a new Project starting number — even before your company's first project exists — Jobyo locks its internal counter to it. From then on you can only raise the Project starting number, never lower it. Saving the same value again is accepted and does nothing; saving a value lower than the number Jobyo would issue next is rejected (the error tells you that next number). Double-check the value before you save.
Set up document numbering
Open General
From the main menu, select Company Settings, then General, and scroll to Document numbering.
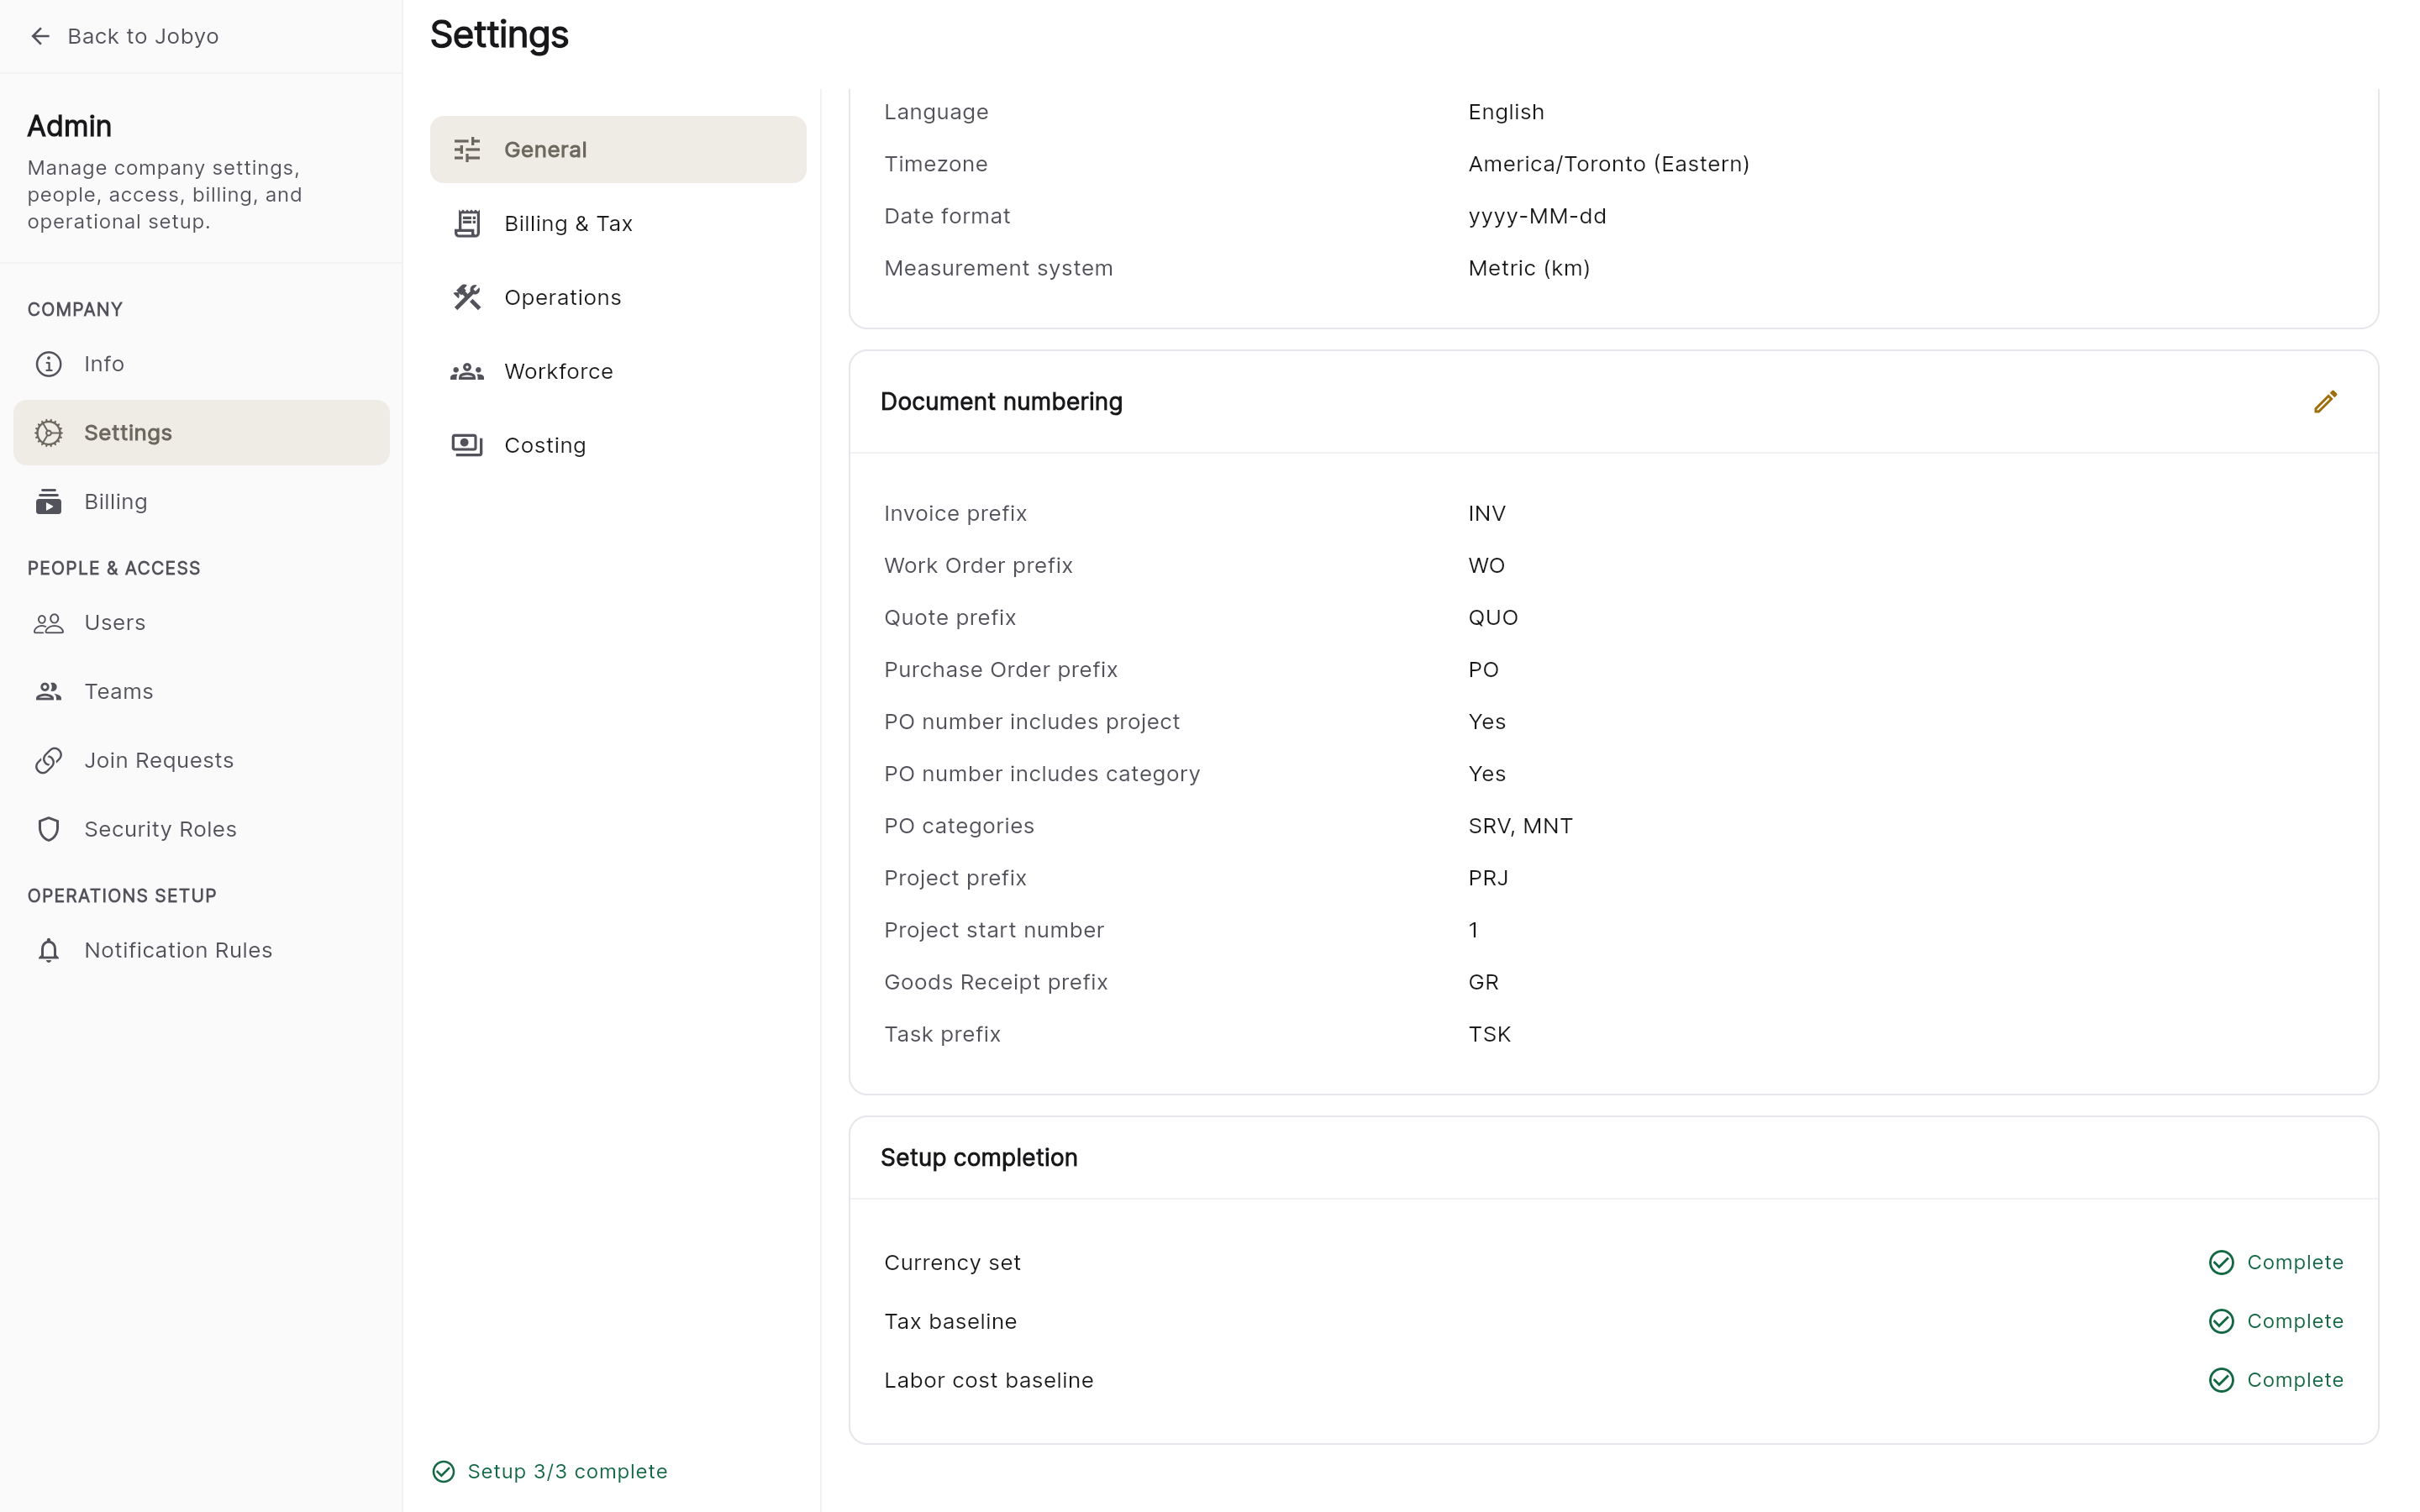
Document numbering — prefix, starting number, and padding per document type Configure each document type
For each type you want to change, set the prefix, the starting number, and the padding width.
Save
Select Save. The next document of each type uses the new format.
Set the starting number higher before you create your first document of that type, so your Jobyo numbers pick up where your old system left off and you avoid duplicates. Already-issued documents keep the numbers they were given. For any type other than Project, this field stops doing anything once the first document exists — so set it up front.
Add your invoicing details
The Invoicing details section, also under General, holds the company identity that prints on invoices generated by Jobyo.
Open General → Invoicing details
In Company Settings → General, scroll to Invoicing details.
Fill in your company identity
Enter your company name, address, phone, email, and website, plus default payment terms (a number of days) and any standard invoice conditions or footer text.
Save
Select Save. These details appear on invoices generated from Jobyo.
If it doesn't work
- "Task number prefix" configuration errorThe task (TSK) prefix hasn't been set. Come back to Document numbering and confirm the task prefix is filled in.
- No General categoryYour role doesn't include the Company preferences permission. Ask an administrator.
- New numbers collide with old onesIf documents of that type already exist, changing the starting number won't fix it — the field only matters before the first document is created. Jobyo is already counting on its own; contact support if the running sequence itself looks wrong.
- "That would lower the Project starting number" (or similar) when savingProject numbering locks to whatever value you last saved and can only be raised, never lowered — even before your first project exists. Enter a value at or above the number shown in the error.