Roles & what you can see
What you can see and do in Jobyo depends on your security role. The role decides which areas of the app appear, which buttons (create, edit, approve) are available, and even which records you're allowed to open. This page explains how that works — so it's clear why a colleague sees a screen you don't, or why a button you expect isn't there.
Anyone can be assigned a role, but only administrator-class roles can view, create, or change roles. If you just want to know what your own role lets you do, read the sections below — you don't need any special permission to understand them.
What a security role is
A security role is a named bundle of permissions — for example Technician or Finance Manager. Every person in your company is assigned exactly one role, and that role travels with them across every screen.
Behind the scenes, a role is a grid: for each area of Jobyo (work orders, invoices, customers, and so on) it records how much access you have and which actions you can take. Jobyo checks that grid on every request, so the rules are the same whether you're on your phone in the field or on the web at the office.
The app hides buttons and areas your role doesn't include, but the real enforcement happens on Jobyo's server. You can't reach a restricted record by guessing a link — the server checks your role and refuses.
Where your role is assigned
Role assignment doesn't live on this screen — it lives on the person. An administrator opens a user under Users & roles and picks which role that person holds. Changing someone's role there instantly changes what they can see the next time the app loads their permissions.
The ten built-in roles
Every company starts with ten ready-made roles, from full control down to read-only. These cover most teams as-is; you only need a custom role (below) when none of them fit.
| Role | Roughly what they can do |
|---|---|
| Company Owner | The root role, assigned to the first user at registration. Full control of everything, including billing and security administration. |
| Administrator | Full operational access and user management — but no billing authority by default. The everyday "runs the system" role. |
| Operations Manager | Coordinates service requests, work-order assignment, scheduling, customers, and suppliers. No billing, no security ownership. |
| Project Manager | Owns projects, phases, tasks, planned costs, and quotation drafts. Keeps budget/planned cost, but actual cost, pricing, and sale invoices are hidden (money on POs and expenses is redacted). |
| Finance Manager | Manages sale invoices, payments, purchase invoices, purchase orders, and commercial approvals. No field execution, no role administration. |
| Lead Technician | Leads field execution and coordinates technicians across the whole company's operational records. No invoicing and no financial visibility. |
| Field-Billing Technician | A technician who can also invoice on the spot for their assigned work (create and edit — not approve or delete). No broad financial management. |
| Technician | Performs assigned field work — updates the tasks and work orders assigned to them. No invoicing. |
| Apprentice Technician | Highly restricted field support: read assigned work and upload attachments only. No approvals, no financial actions, no deletions. This is the default role for someone who joins by company key. |
| Read-Only | List and read access across configured areas, with no create, edit, remove, or approve anywhere. For auditors, stakeholders, and visibility-only users. |
The ten built-in roles are marked System and are view-only — you can open one to inspect it, but you can't change it. To tailor one, duplicate it into a custom copy and edit that (see below). This keeps the originals as a reliable reference.
The five access levels
For each area, a role's access is set to one of five levels. The important twist: a higher number is more restrictive, not more powerful. Level 1 (Company) is the broadest; each step up narrows down to fewer records.
| Level | Name | What you can see |
|---|---|---|
| 0 | None | No access at all — the area is hidden. |
| 1 | Company | Every record in the company. The broadest access. |
| 2 | Team | Only records belonging to your team(s). |
| 3 | Own | Only records you created or that are assigned to you. |
| 4 | Assigned | Only records you're directly assigned to or involved in. The narrowest. |
Think of it as a funnel: Company → Team → Own → Assigned each shows less. So a Technician set to Assigned on work orders sees only their own jobs, while an Operations Manager set to Company sees them all.
If a role grants Team-level access but the person isn't on any team, they see nothing in that area — Jobyo won't silently widen it to company-wide. Make sure team members are actually placed on a team.
The actions on every screen
Within an area, a role controls which actions are available. Six actions appear when you edit a role, and they line up with the buttons you see in the app:
- List — see the area and browse its records.
- View — open a single record's detail.
- Create — add a new record.
- Modify — edit an existing record.
- Remove — archive or delete a record.
- Approve — sign off where an approval step exists (for example approving an expense or an invoice).
Built-in roles also carry a hidden Lookup action — the search-and-pick access that powers pickers (like choosing a customer on a work order) without granting the full list. It isn't shown in the role editor, so a custom role you build in the app can't set it. Most field roles rely on lookup to fill in forms even when they can't browse the full directory.
View and inspect a role
Open the roles list
Go to Security roles in the admin area. Each role shows its name, a short description, a count of how many areas it grants, and System or Inactive badges where they apply. Use the search box and the active filter to narrow the list.
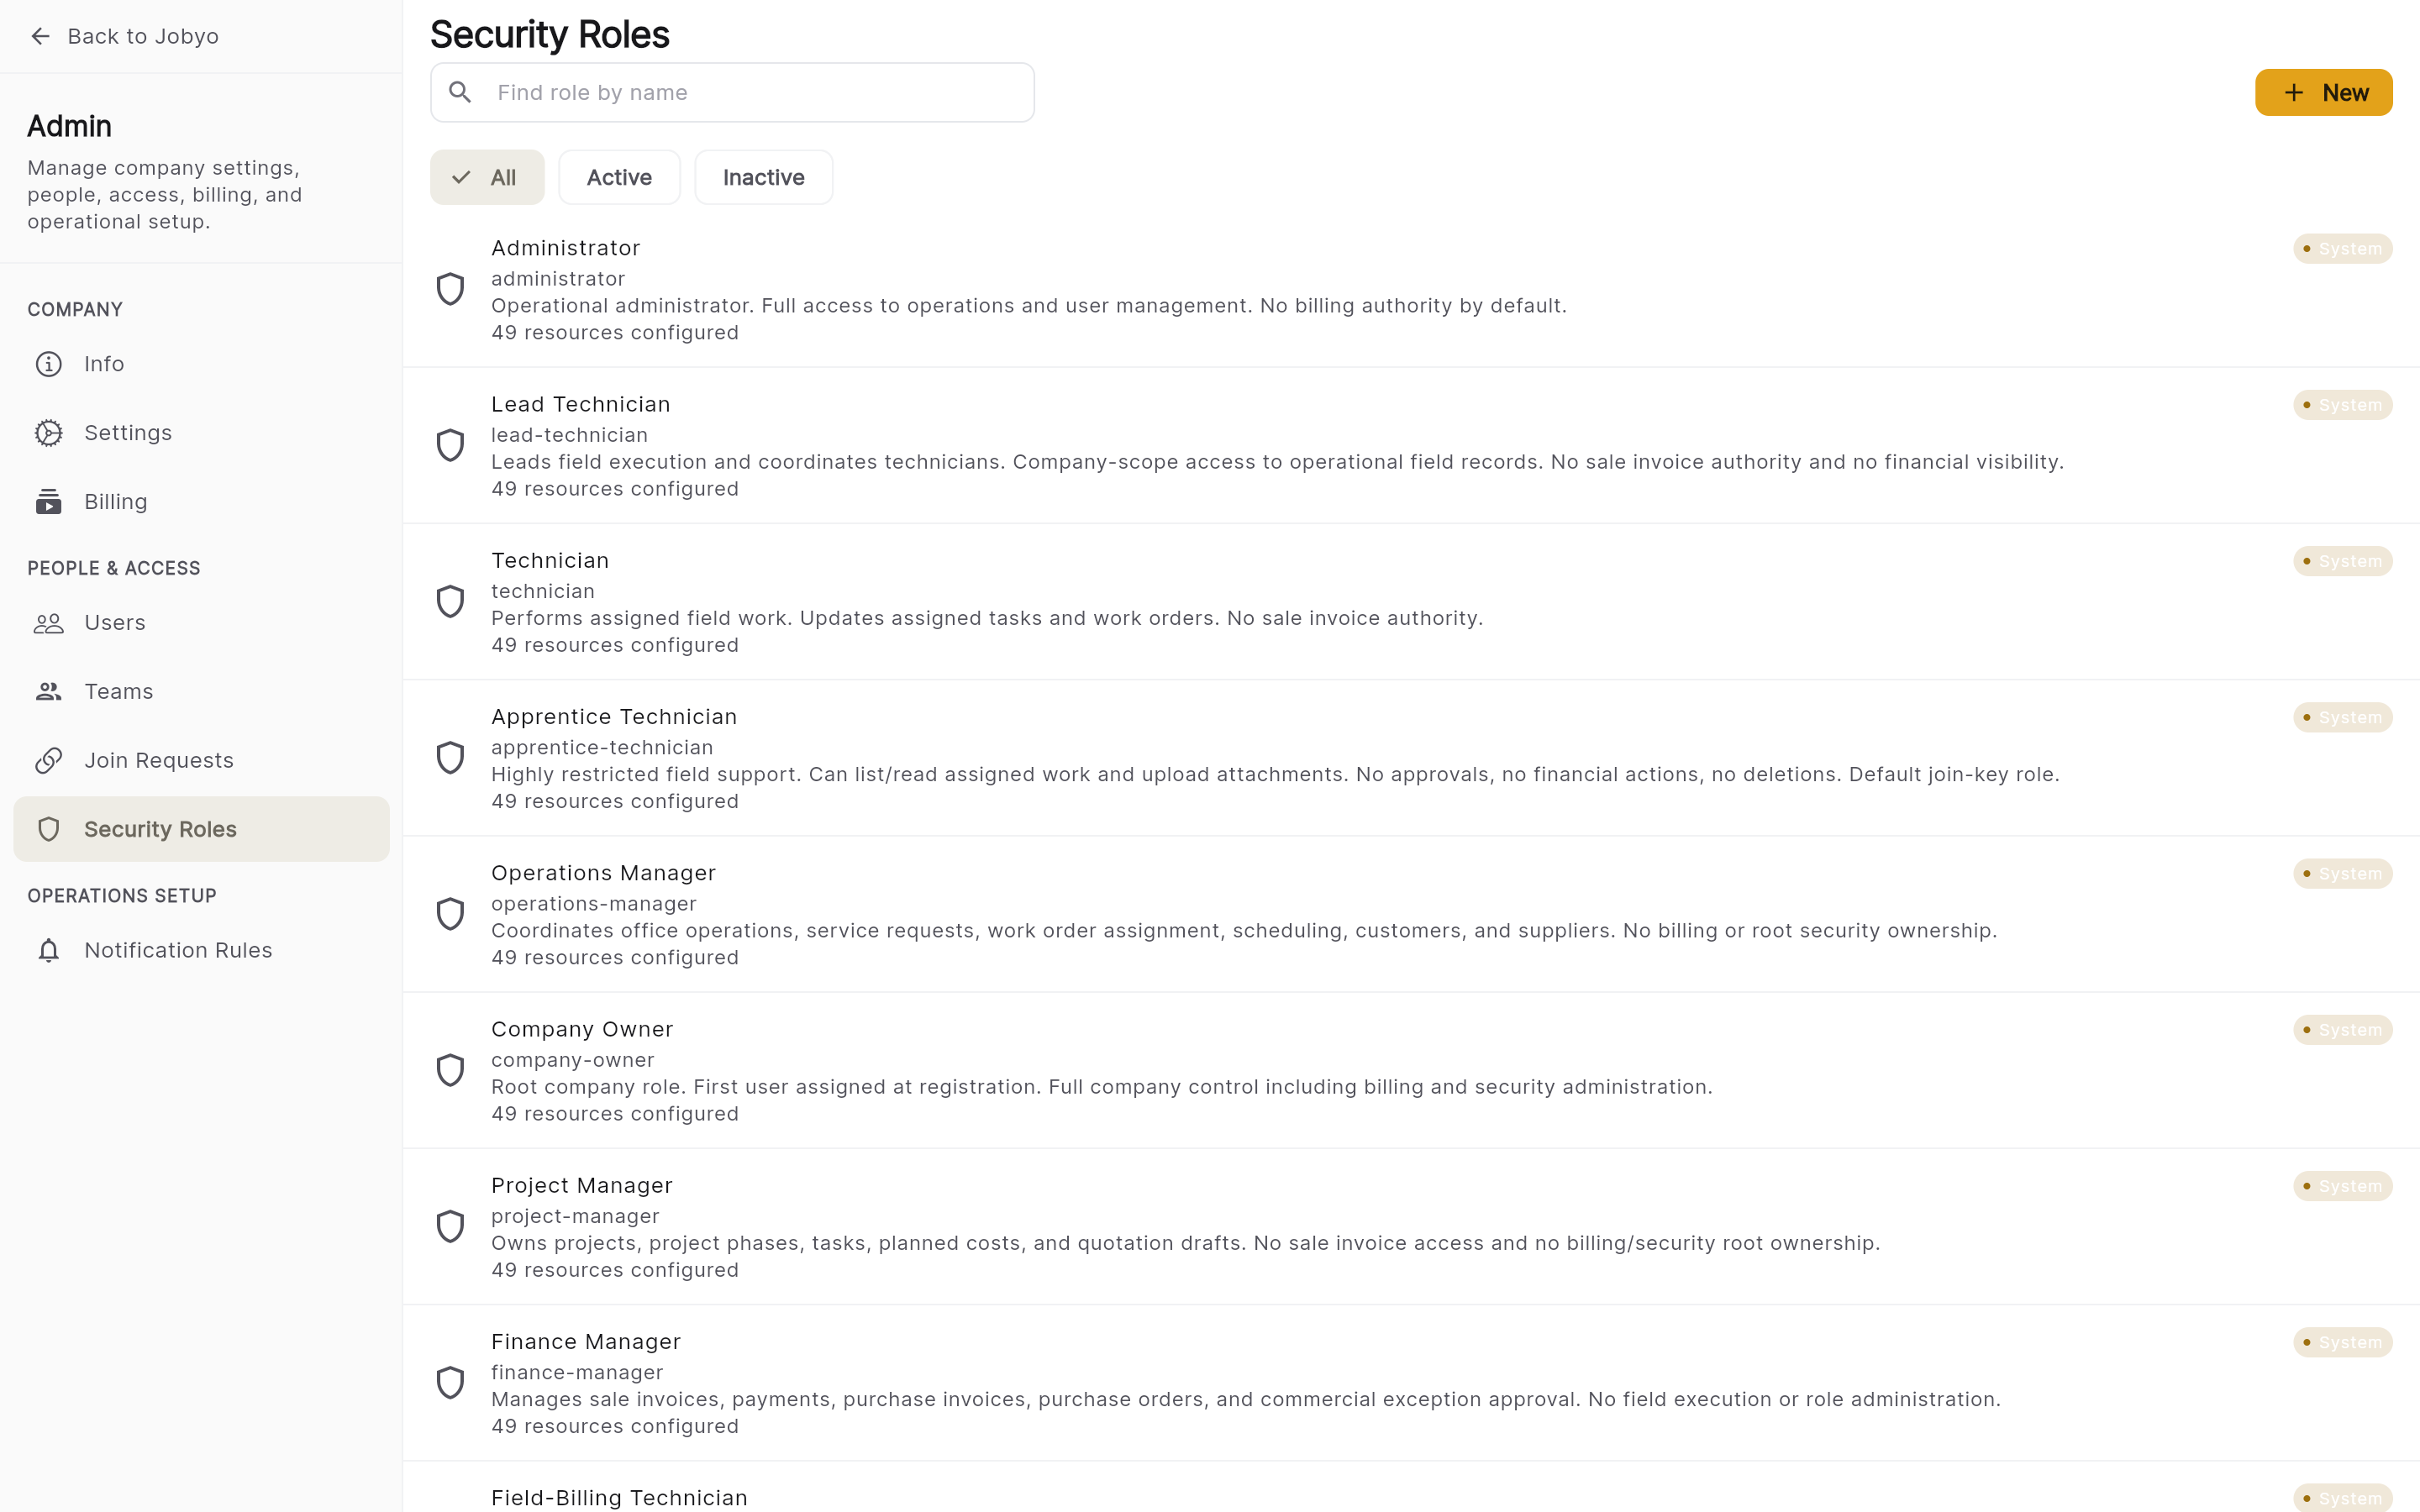
Security roles list — names, descriptions, resource counts, System badges Open a role
Select any role to see its detail: an About summary, the full permission matrix, and a Members section listing the people who currently hold it.
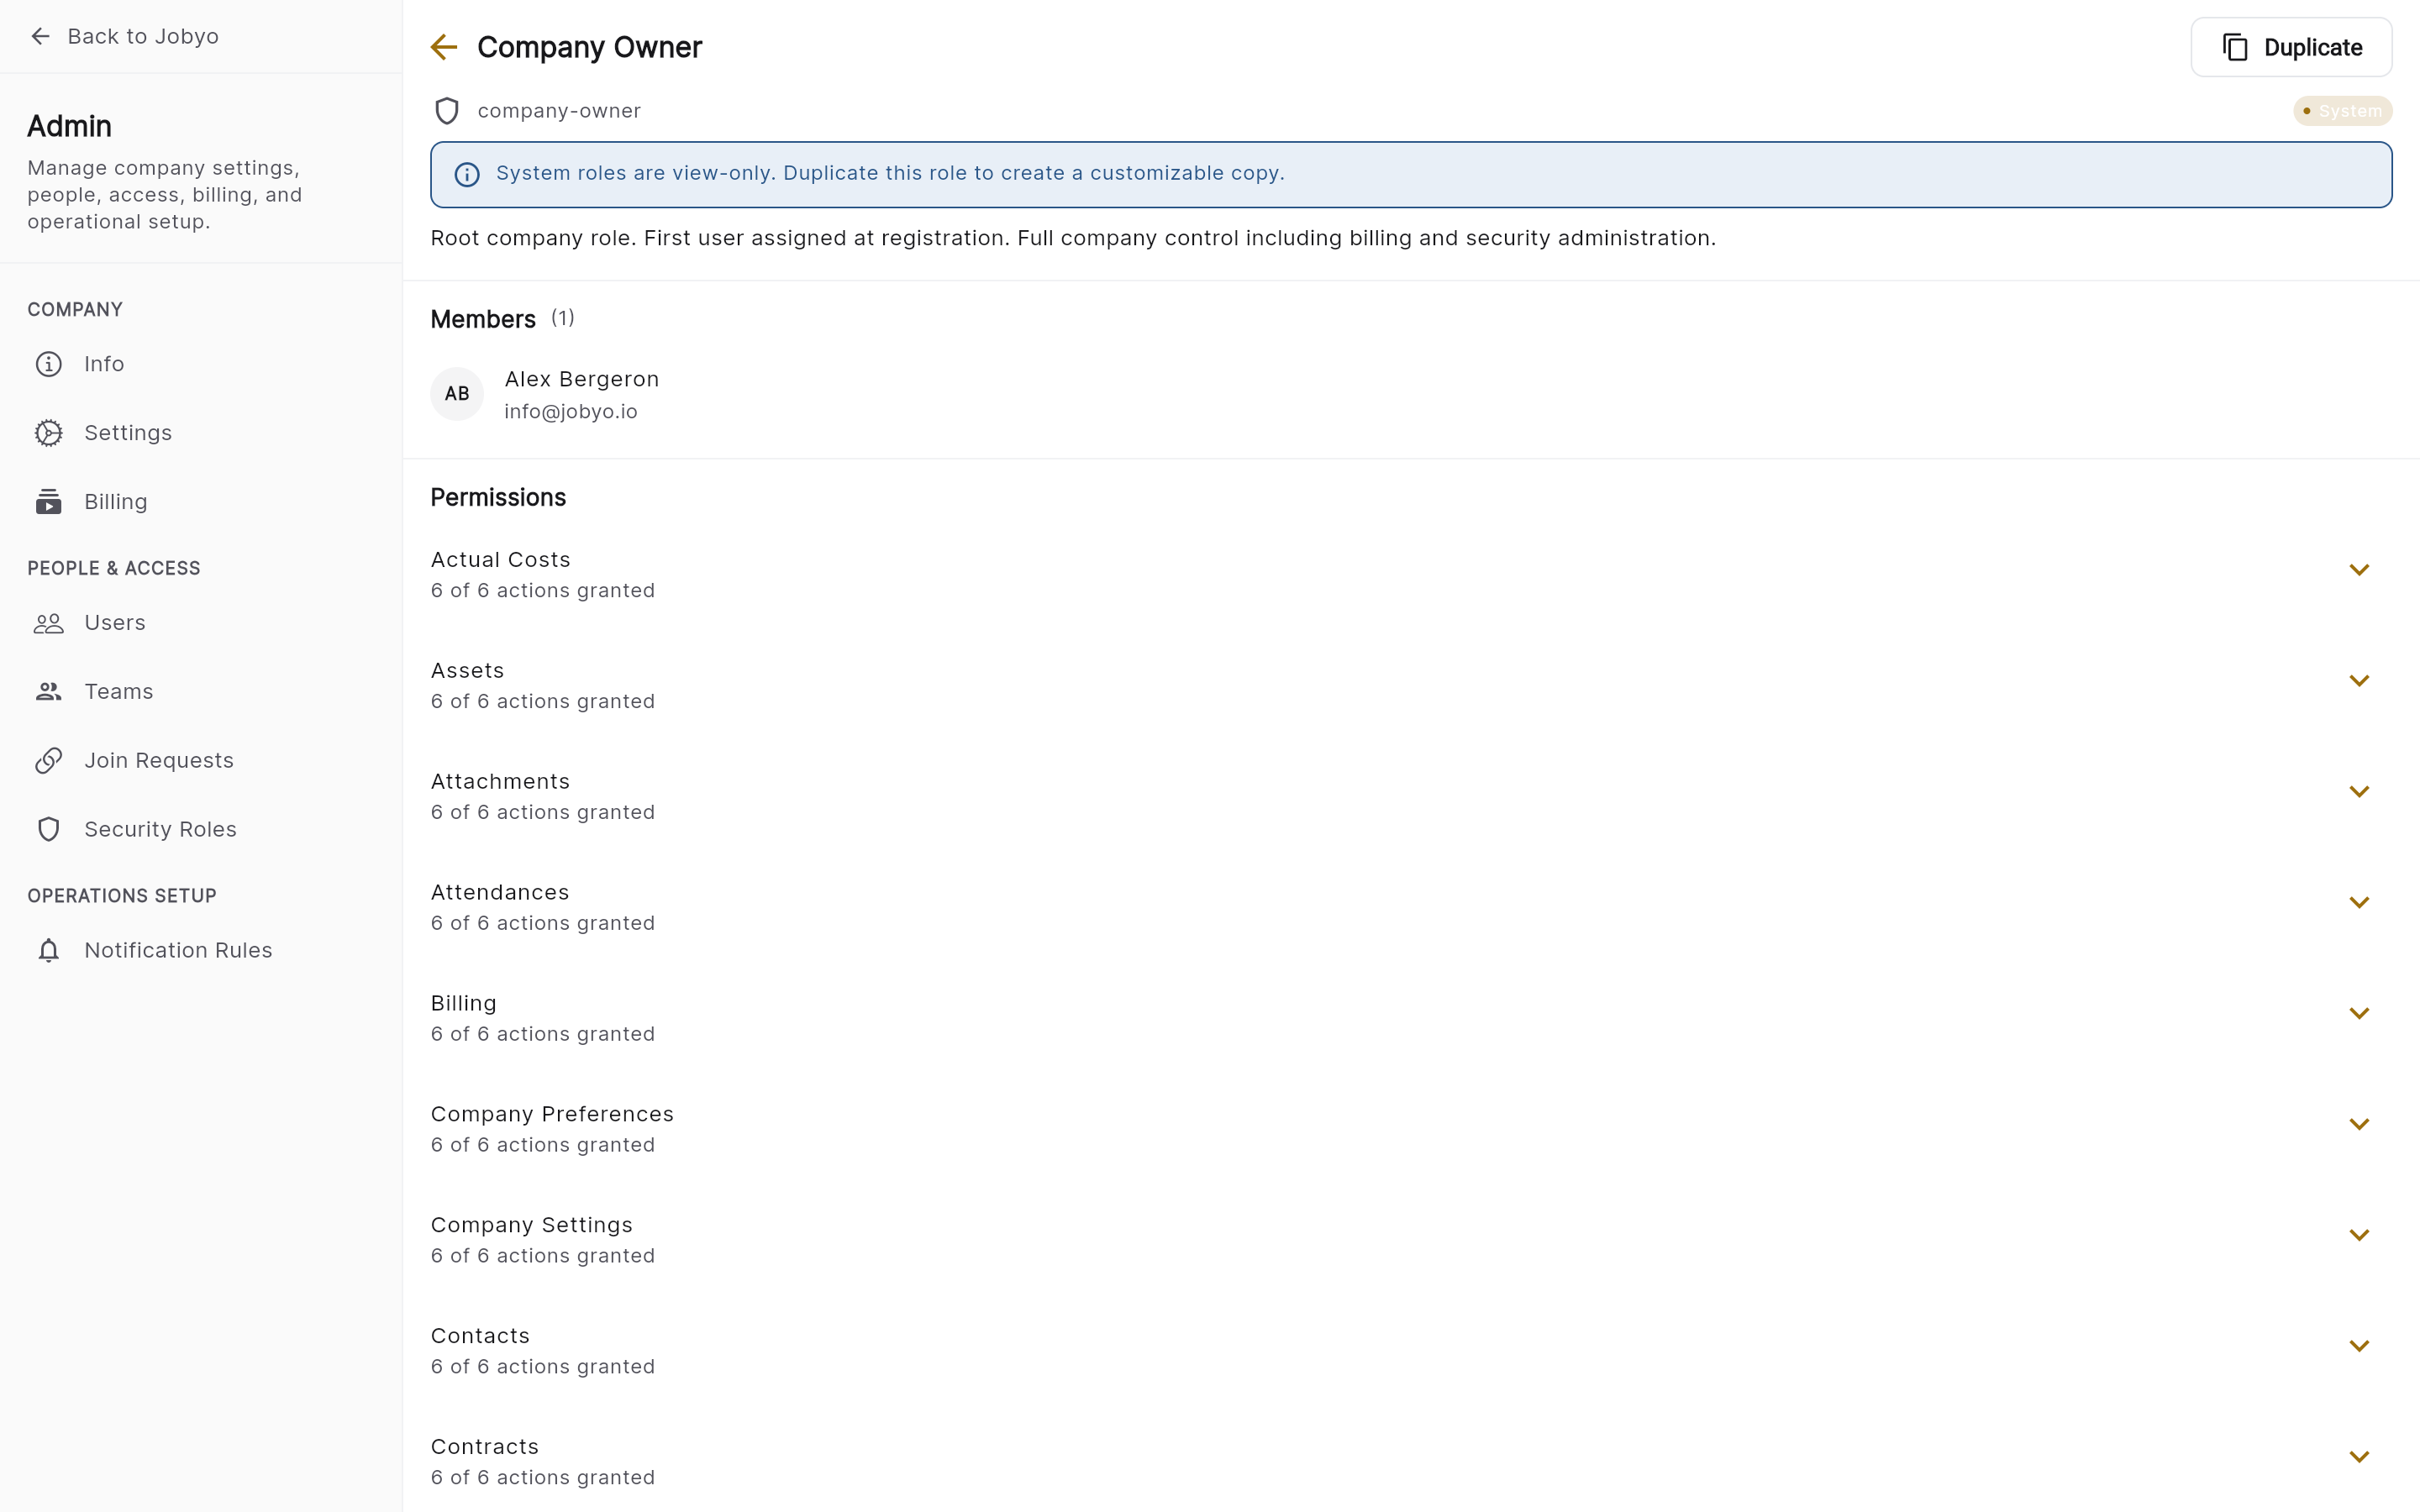
Role detail — About, permission matrix, and Members Read the matrix
Each area is a row you can expand. Inside, every action shows its level as a
0 — None…4 — Assignedvalue. On a System role these are read-only.
Create a custom role
Build a role from scratch when none of the ten built-ins fit.
Start a new role
From the roles list, select Add role. If you don't see the button, your role doesn't include create on security — ask a Company Owner or Administrator.
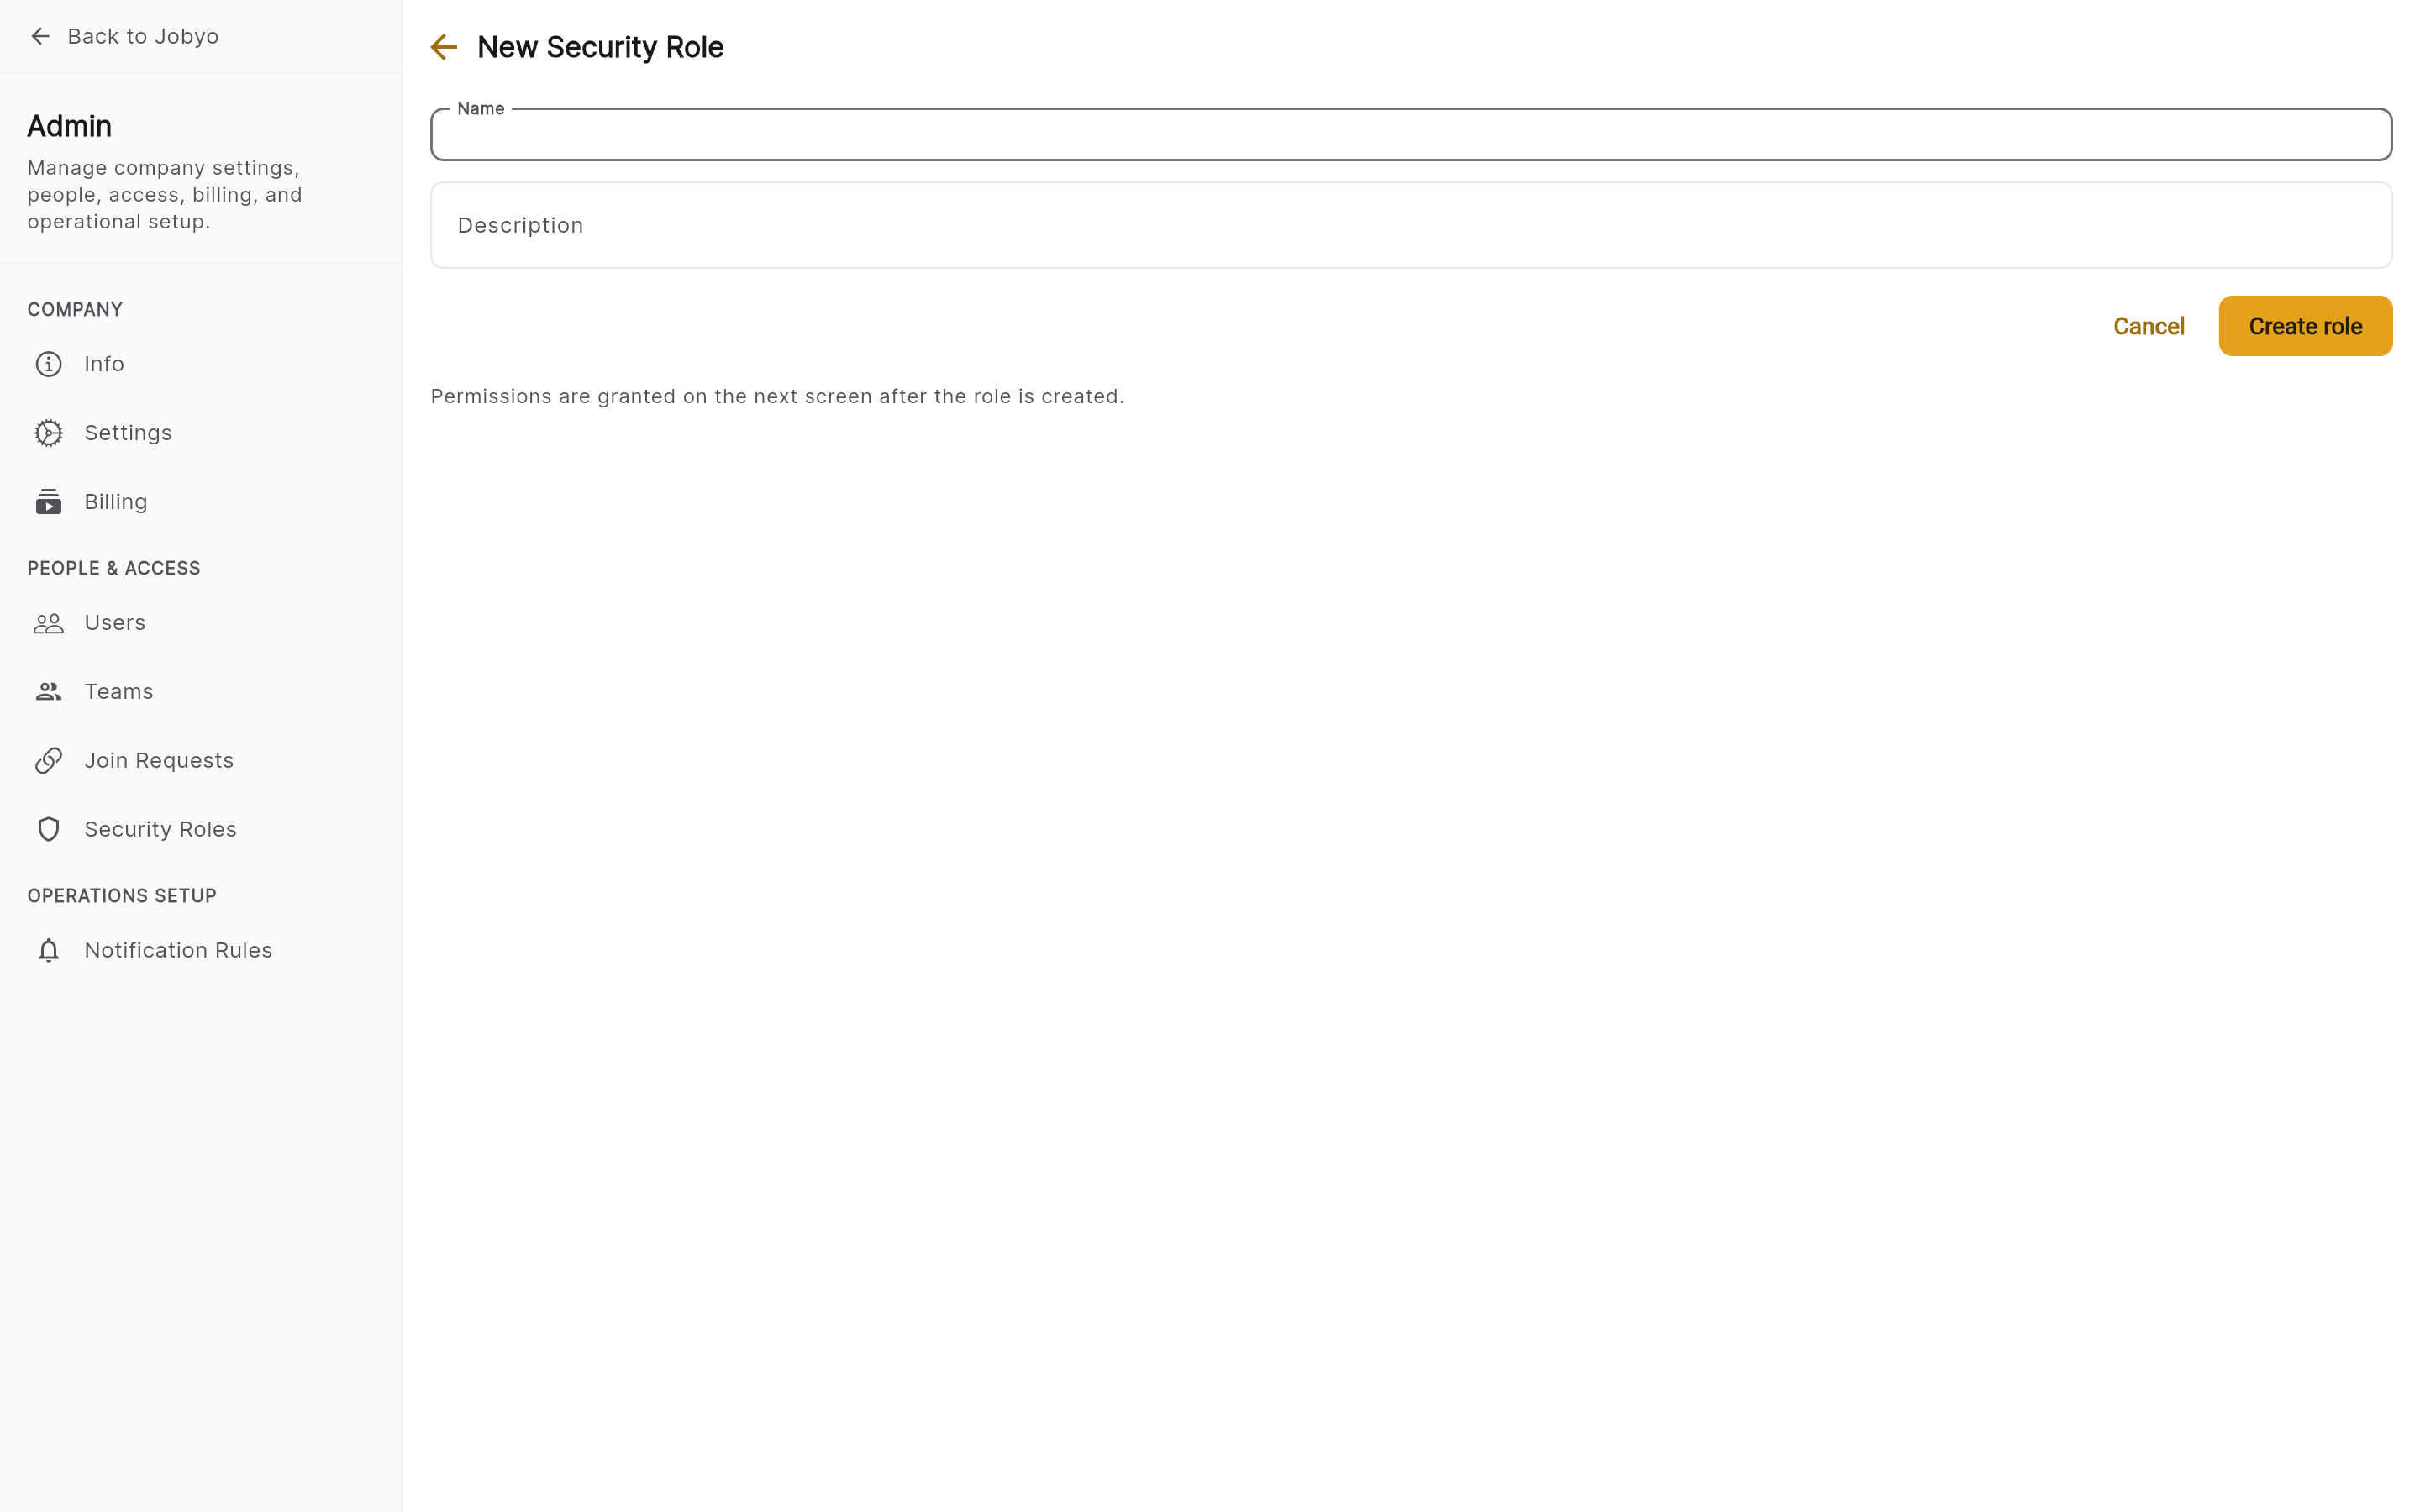
New role form — name and description Name it
Give the role a name (required, and unique within your company) and an optional description. If the name is already taken, the form won't save.
Save, then set permissions
Save to create the role — it starts with no access everywhere. Open its detail and set the permission matrix (next section). A brand-new custom role grants nothing until you turn areas on.
Duplicate a role to customize it
The fastest way to a working custom role — and the only way to "edit" a built-in one — is to duplicate an existing role and adjust the copy.
Duplicate from a role
Open the role closest to what you want (for example Technician) and choose Duplicate. Jobyo opens the new-role form pre-filled from that role's permissions.
Rename and save
Give the copy its own unique name, save, then open it and change just the areas and actions you need. The original System role is untouched.
Edit the permission matrix
On a custom role's detail:
Expand an area
Tap an area (say Work Orders) to reveal its six actions. Each action has a dropdown from None to Assigned.
Set each action's level
Choose the level per action — for example List and View at Company, but Modify at Own. A changed area is flagged so you can see your edits before saving.
Save
Save your changes. They apply to everyone holding that role the next time the app loads permissions. You can also edit the role's name and description here (built-in role names can't be renamed).
A few limits exist in the current version of Jobyo:
- No per-person overrides. Permissions are set on the role, not the individual — you can't grant one extra button to a single user without changing (or duplicating) their role.
- No deleting roles. Roles can be created and edited, but there's no delete or archive for a role. Plan names before you create.
- Lookup isn't editable. Custom roles can't set the hidden Lookup action, so pickers may behave slightly differently than on a built-in role.
If something's missing or greyed out
- A button (create / edit / approve) is missingYour role doesn't include that action for this area. An administrator can adjust the role under Security roles, or move you to a different role under Users & roles.
- A whole area is hidden from the menuEither your role sets it to None, or the feature is not on your company plan — those are two separate things.
- You can see the area but not a specific recordYour access is scoped to Team, Own, or Assigned, so records outside that scope don’t appear. Ask an administrator for broader access if you need it.
- Cost, price, or margin figures are blankSome roles (like Project Manager) have financial figures deliberately hidden. The record loads, but the money fields are redacted for your role.
- You have no access anywhereYou may not have a role assigned yet. An administrator assigns one under Users & roles.