Procure to pay
Buying materials the right way in Jobyo follows one chain: raise a purchase order to a supplier, receive the goods against it, record the supplier's invoice, then distribute that cost onto the jobs it belongs to. This walkthrough threads those four procurement modules into a single story.
The procurement loop
We'll follow Northline Mechanical, a Québec HVAC contractor, ordering parts for a job. The shape is the same every time: an order commits the spend, a goods receipt records what physically arrived (and whether it went into stock or straight to a job), a purchase invoice captures the supplier's bill, and cost distribution books that bill against the work it belongs to. Each stage feeds the next automatically — you never retype quantities or totals from one screen into another.
Procure to pay is a back-office chain for operations and admin / finance roles — technicians raise the demand but don't work these screens. Purchase orders and goods receipts need the Business plan; inventory needs the Team plan and up; AI invoice scanning is included from the Team plan and up (monthly scan allowance scales with plan: Team 50 · Pro 100 · Business 200 · Enterprise unlimited). Amounts (prices, totals, costs) are only visible to users with the actual costs: view permission — everyone else sees the structure with money blanked out.
Raise the purchase order
Northline opens Purchase Orders and selects New PO. They pick the supplier — Deschênes & Fils — and add the lines they need: pleated filters, a length of copper pipe, and a condenser fan motor. Each line carries a quantity (required) and, optionally, a unit price, tax code, and a link to the project, work order, or task it's for. Save creates a Draft; Submit for approval moves it to Requested; Approve & Issue mints the PO number (for example
PO-00042) and locks the lines. If the parts were planned on a project, they'd already be waiting in the planned-requests queue — tick them there and Jobyo fans out one draft PO per supplier instead of building each by hand.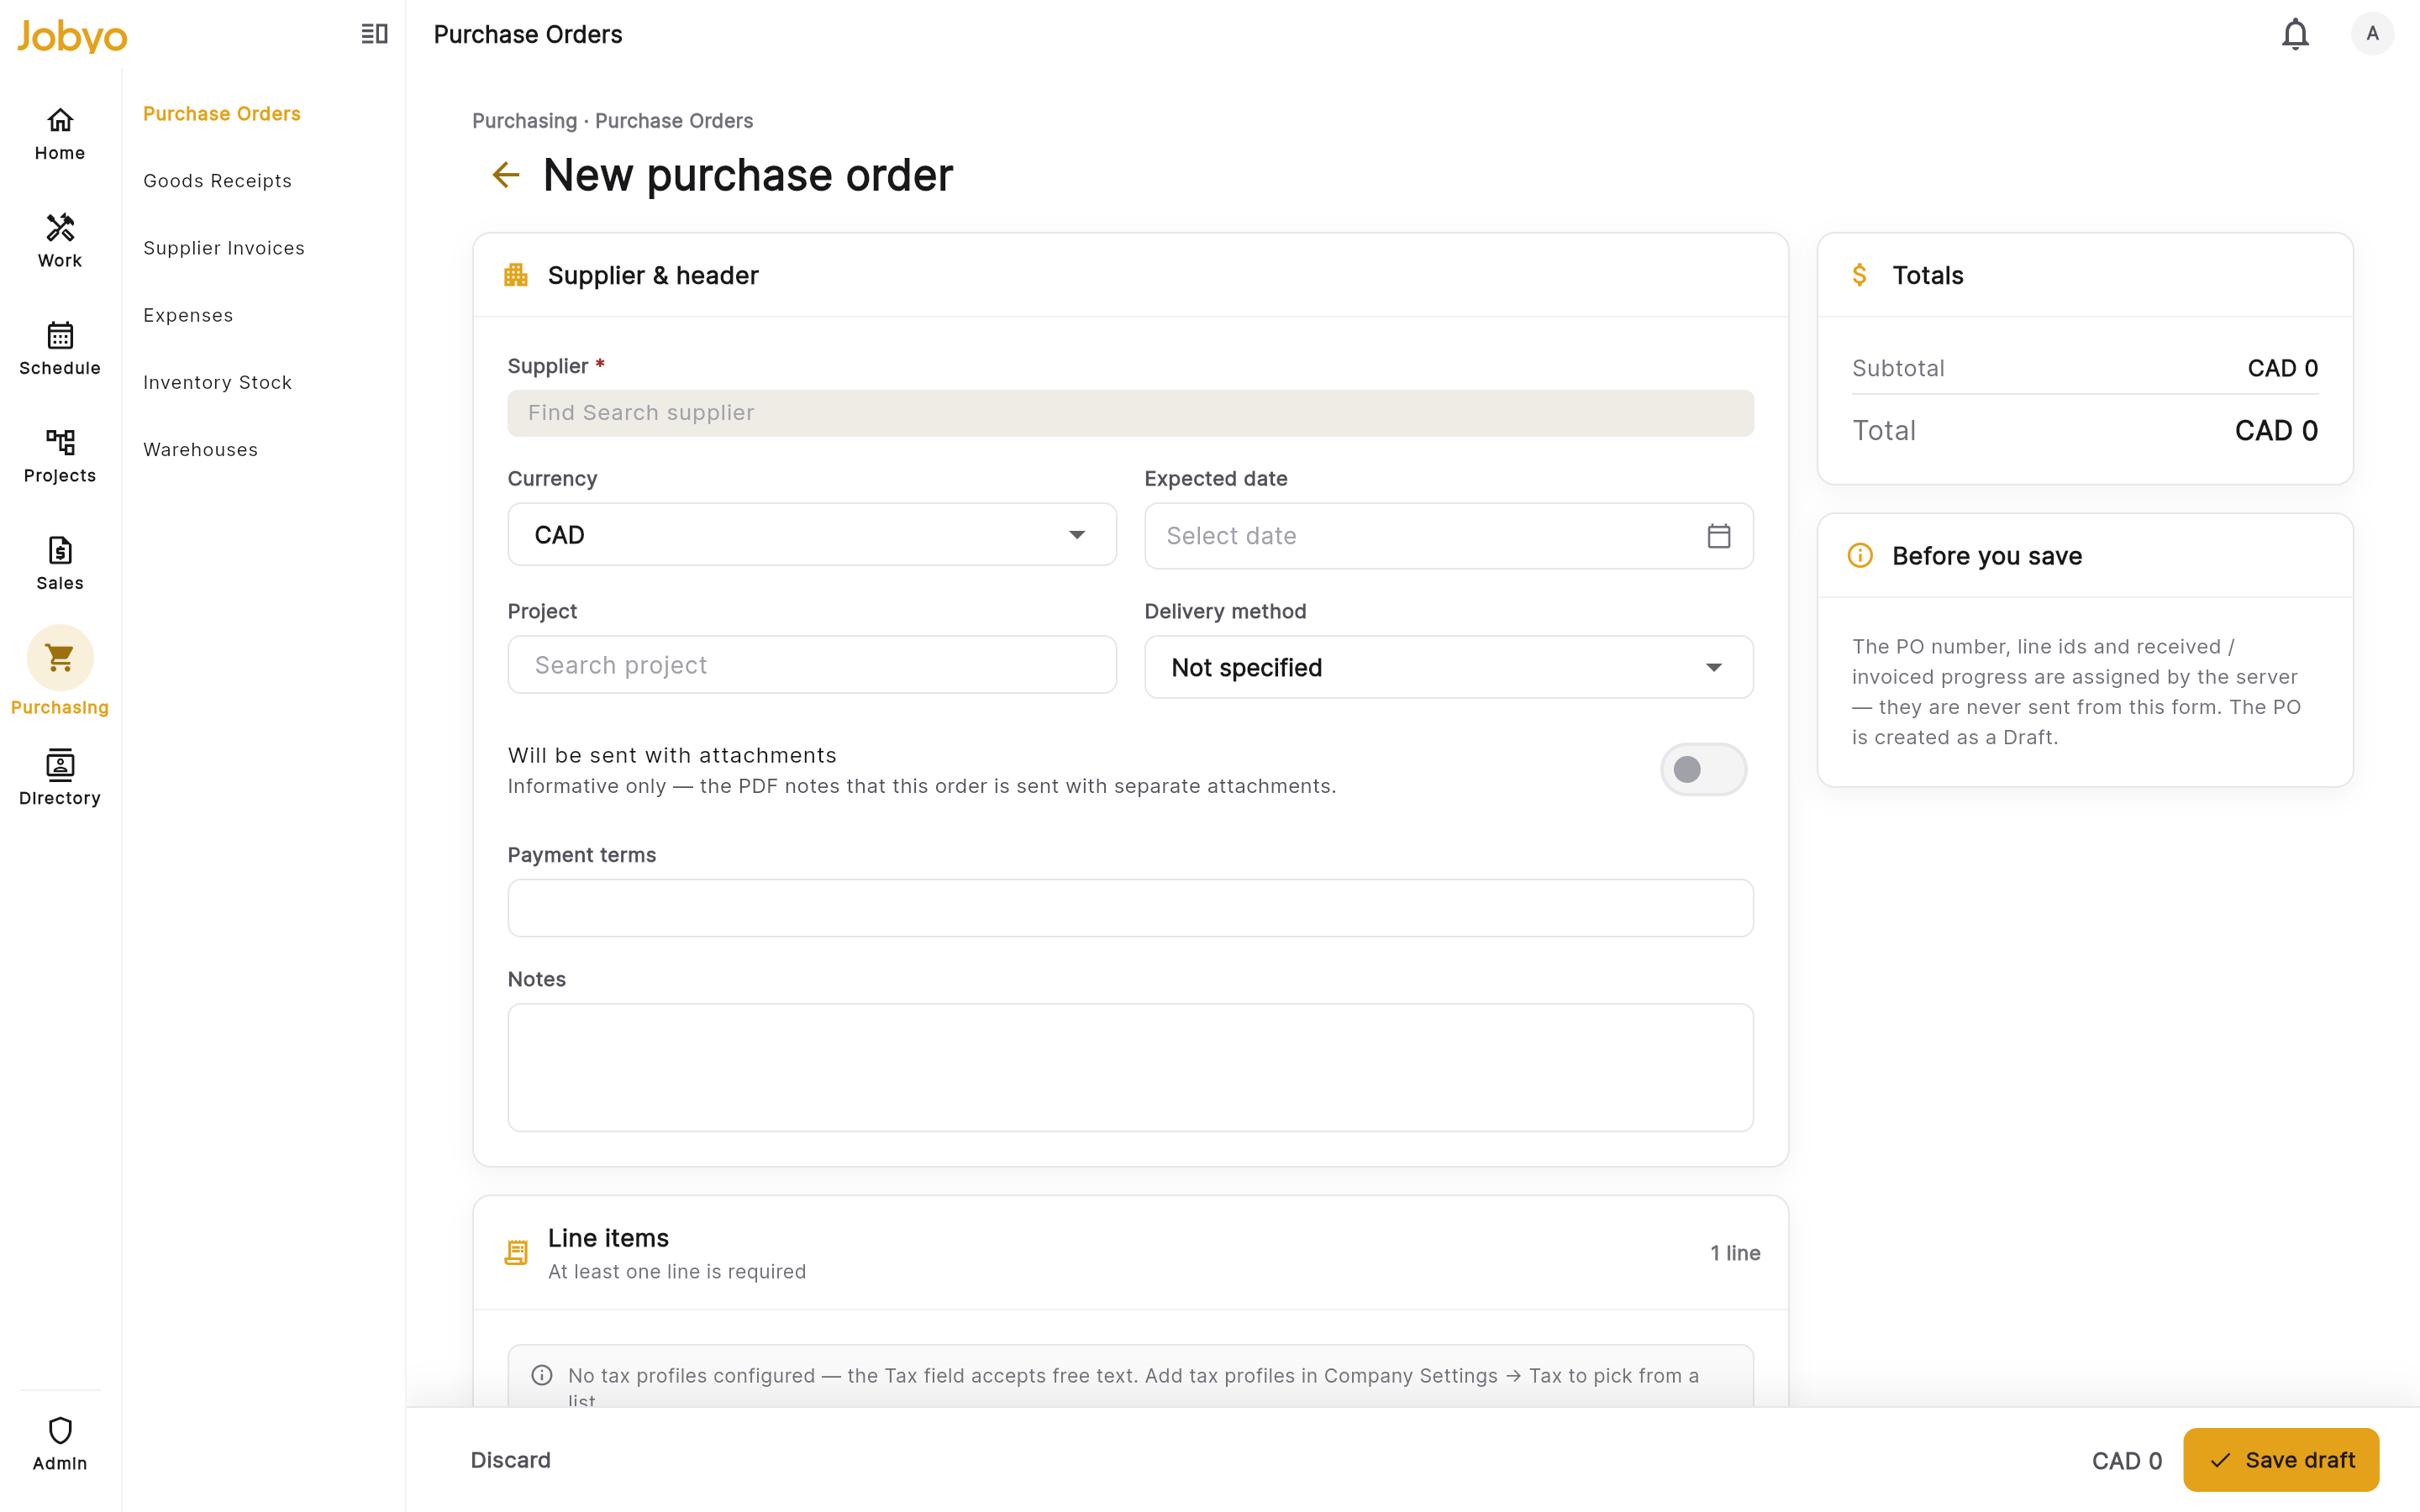
New PO — Deschênes & Fils, three HVAC parts lines 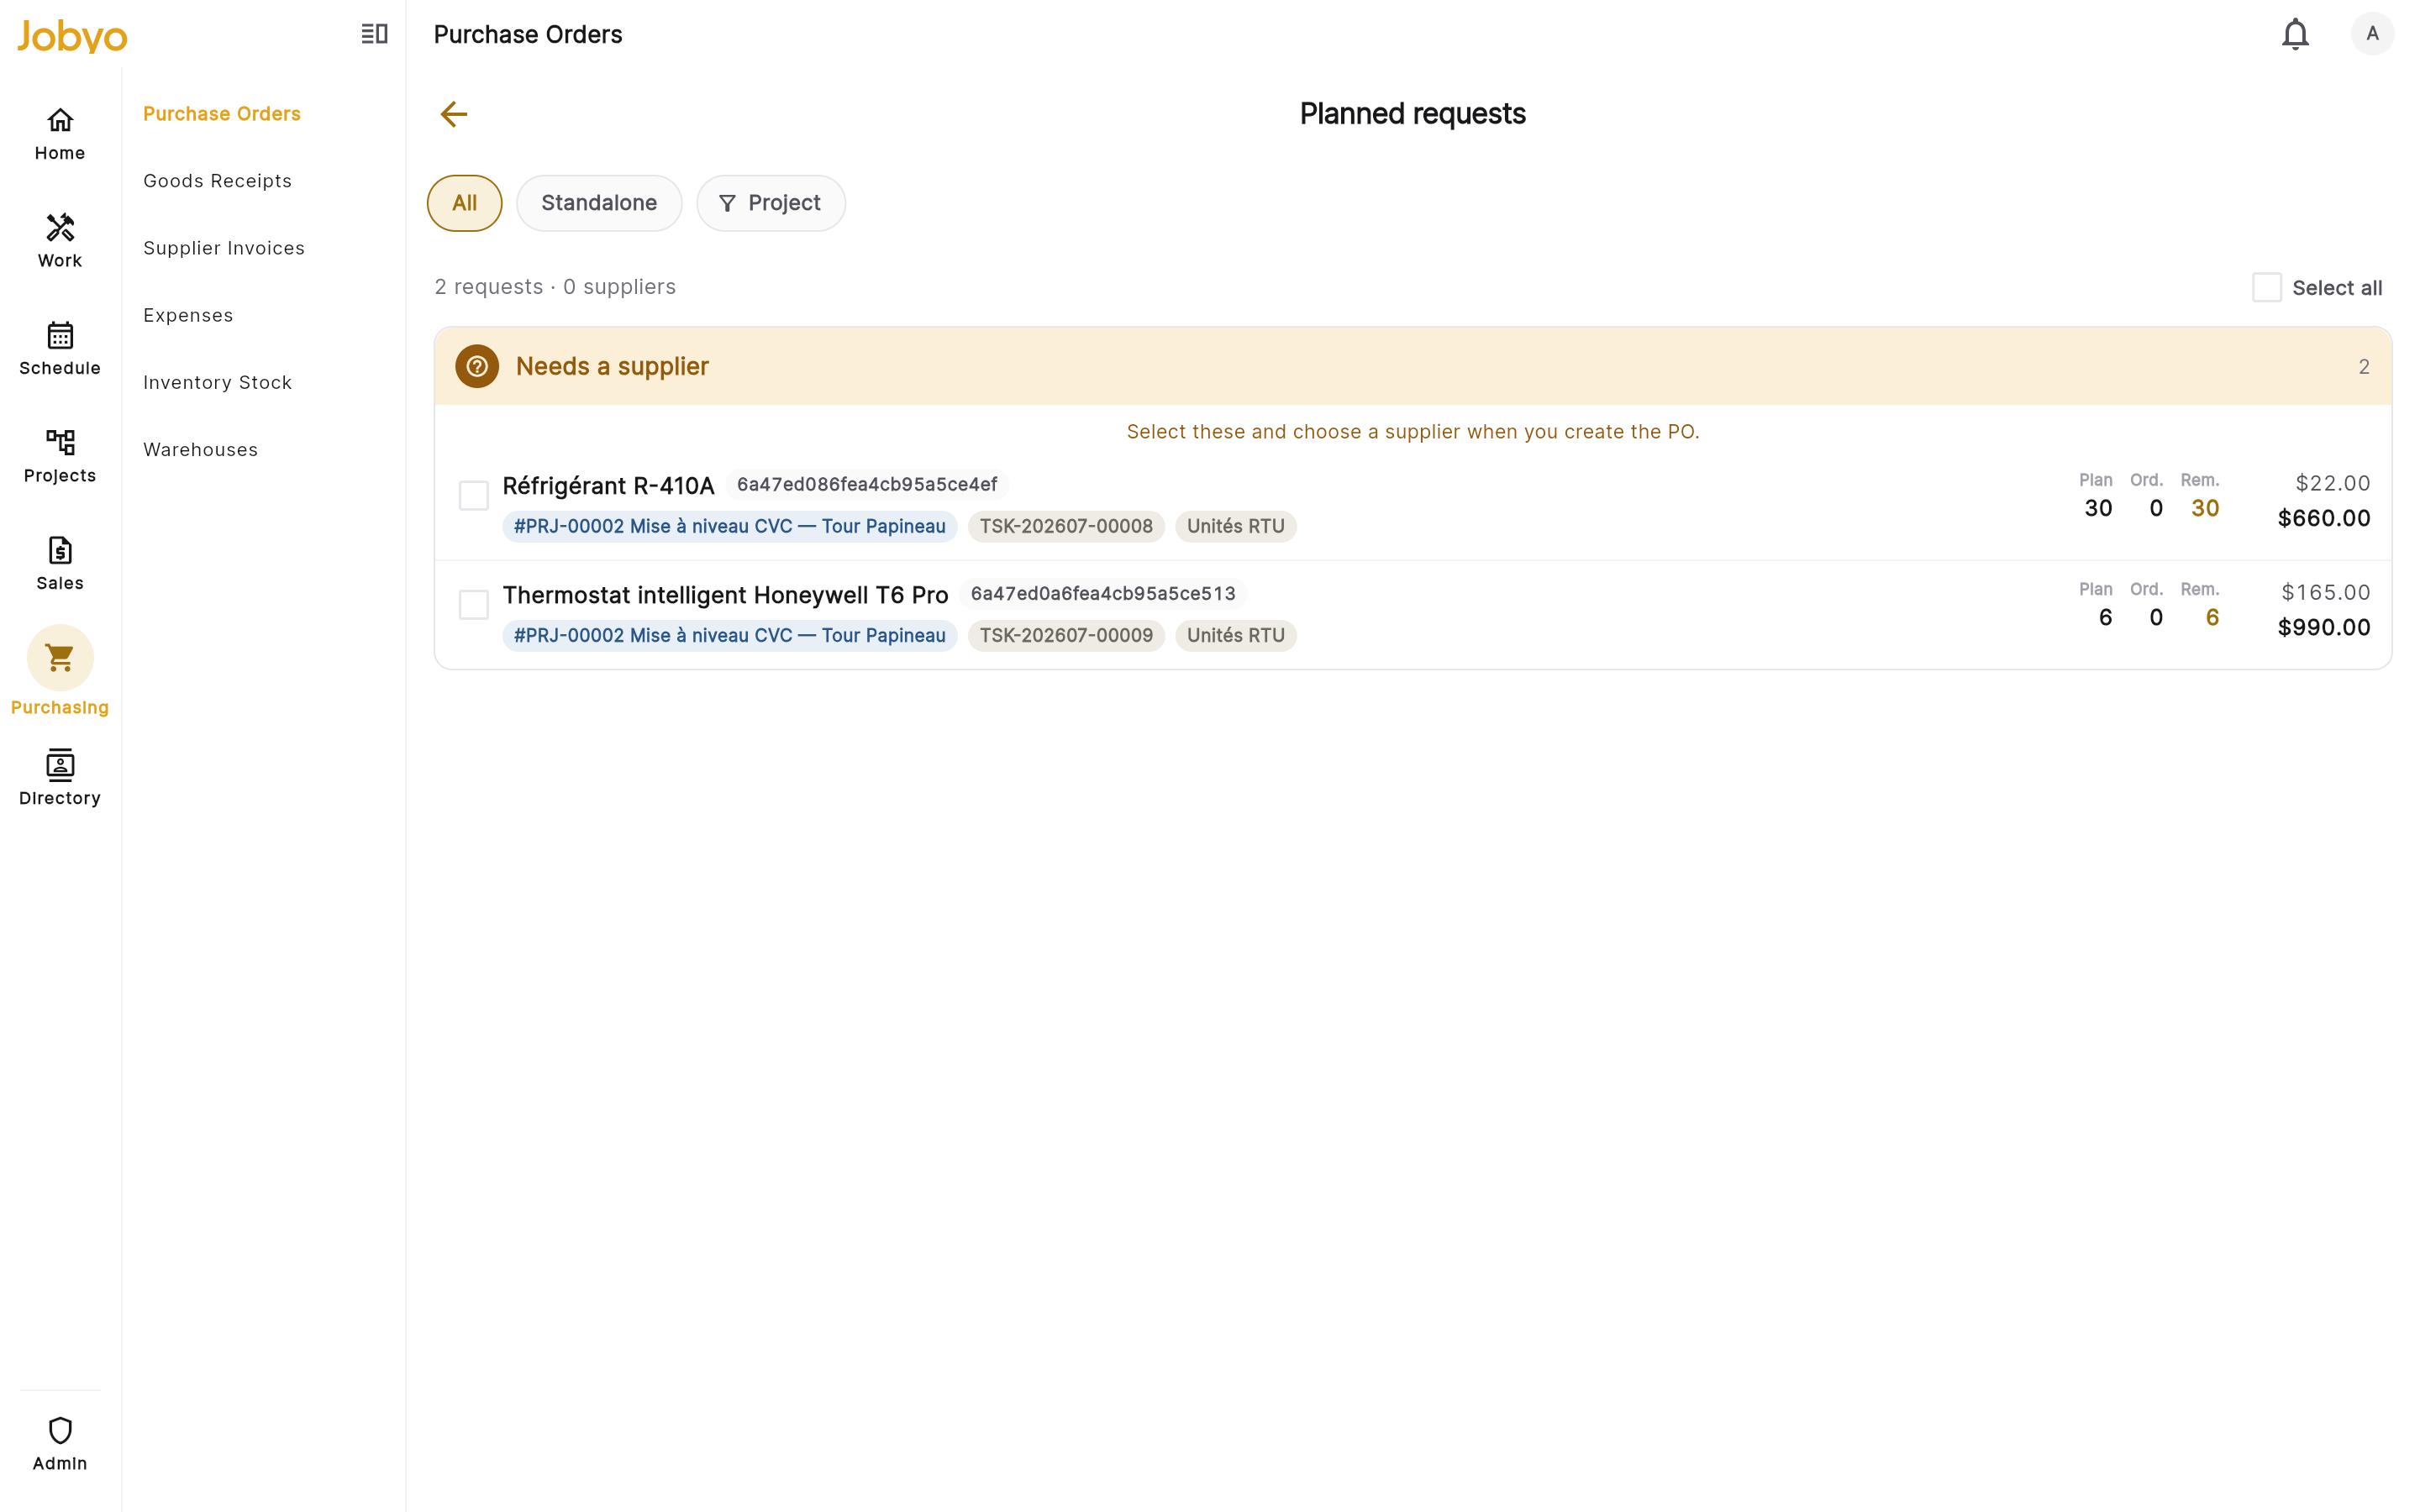
Planned-requests queue — materials planned on jobs, grouped by supplier Receive the goods
When the delivery arrives, Northline opens the issued PO and selects Record receipt (or starts from New on the Goods Receipts list). The modal lists every ordered line with what's outstanding; they enter how much actually came in on each. Crucially, every received line needs a destination: Stock (it lands in the inventory ledger and needs a stock-tracked catalog item) or Direct (no inventory movement — consumed on a job, its cost picked up from the invoice later). Northline sends the filters and copper pipe to Stock and the fan motor Direct to the job it's being installed on. Post receipt assigns the receipt number, moves the stock lines into inventory, and writes the received quantity back to the PO — all in one action. Only some lines arrived? Receive what came; a partial receipt leaves the rest outstanding, and the PO flips to Received only once every line is fully received.
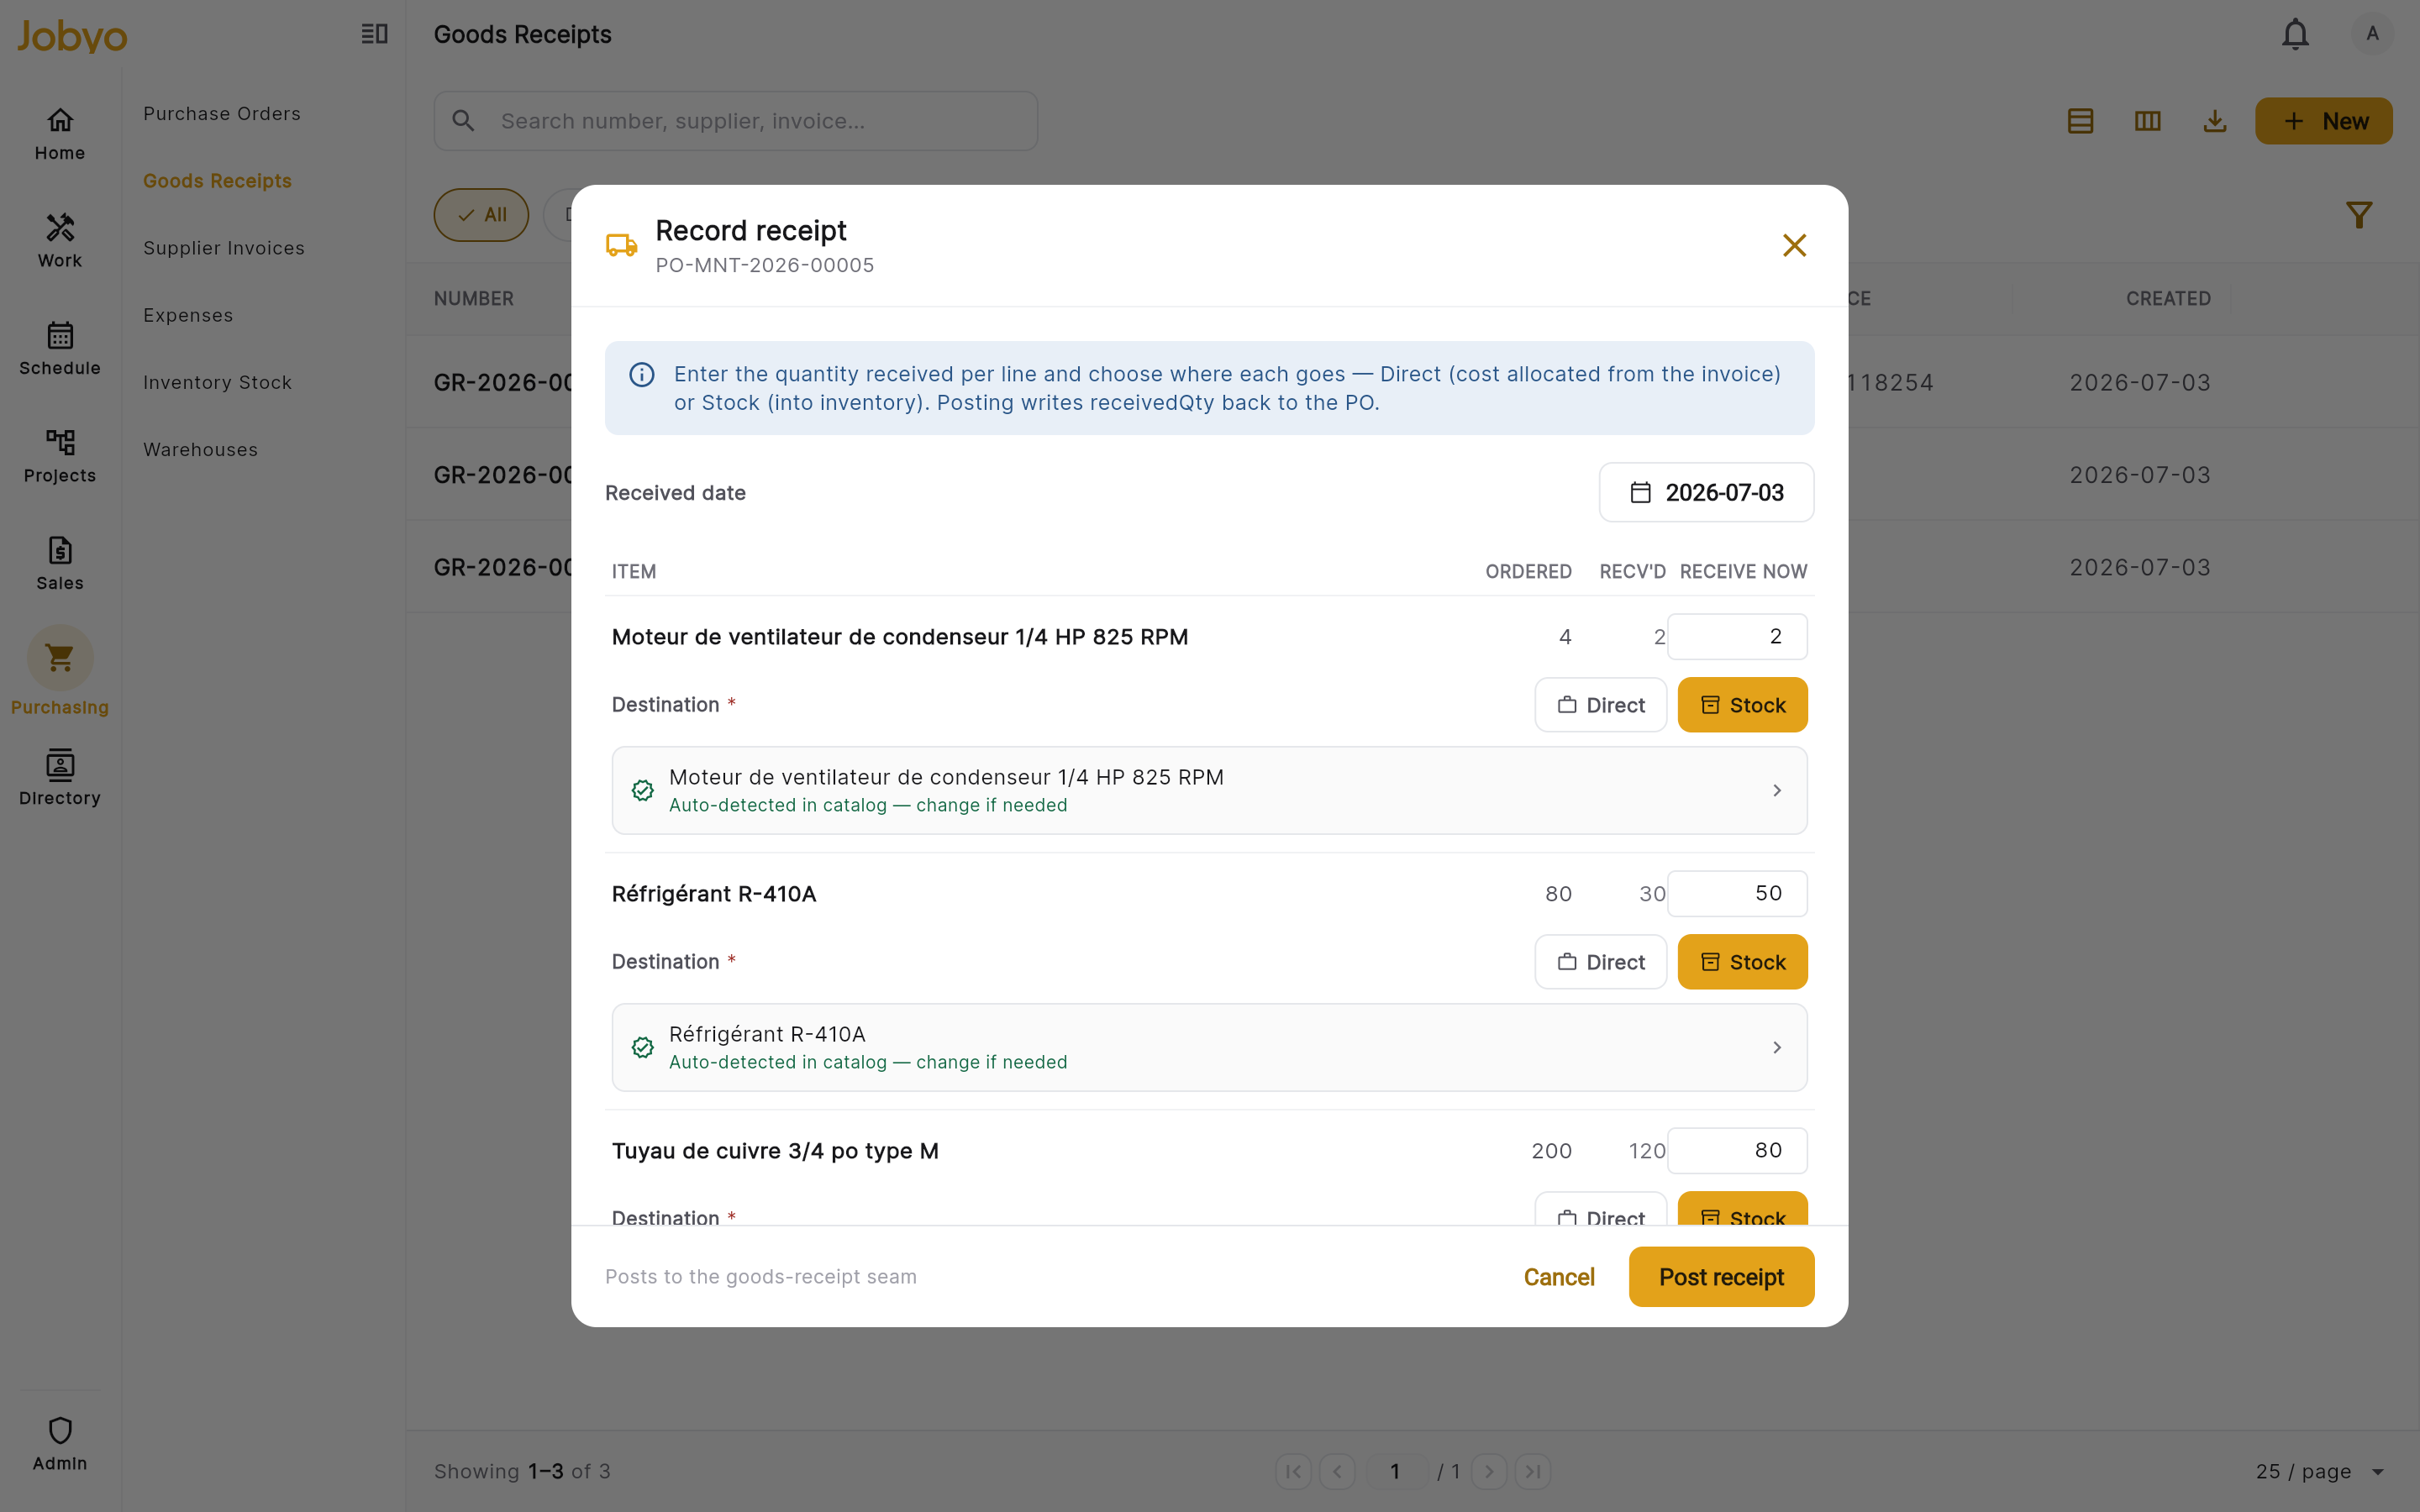
Record receipt — per-line quantity and Direct / Stock destination Stock lands in inventory
The two stock lines now show up in Inventory Stock, keyed one row per item, per warehouse. Because Northline set no destination warehouse on the PO lines, the filters and copper pipe route to their default Main warehouse — here, Entrepôt principal (Anjou). (To send stock elsewhere, set a destination warehouse on the PO line or on the receipt's draft edit form before posting.) You never type a stock quantity by hand — on-hand levels are driven entirely by movements like this goods receipt. The Direct fan motor writes nothing to the ledger; it was consumed on the job.
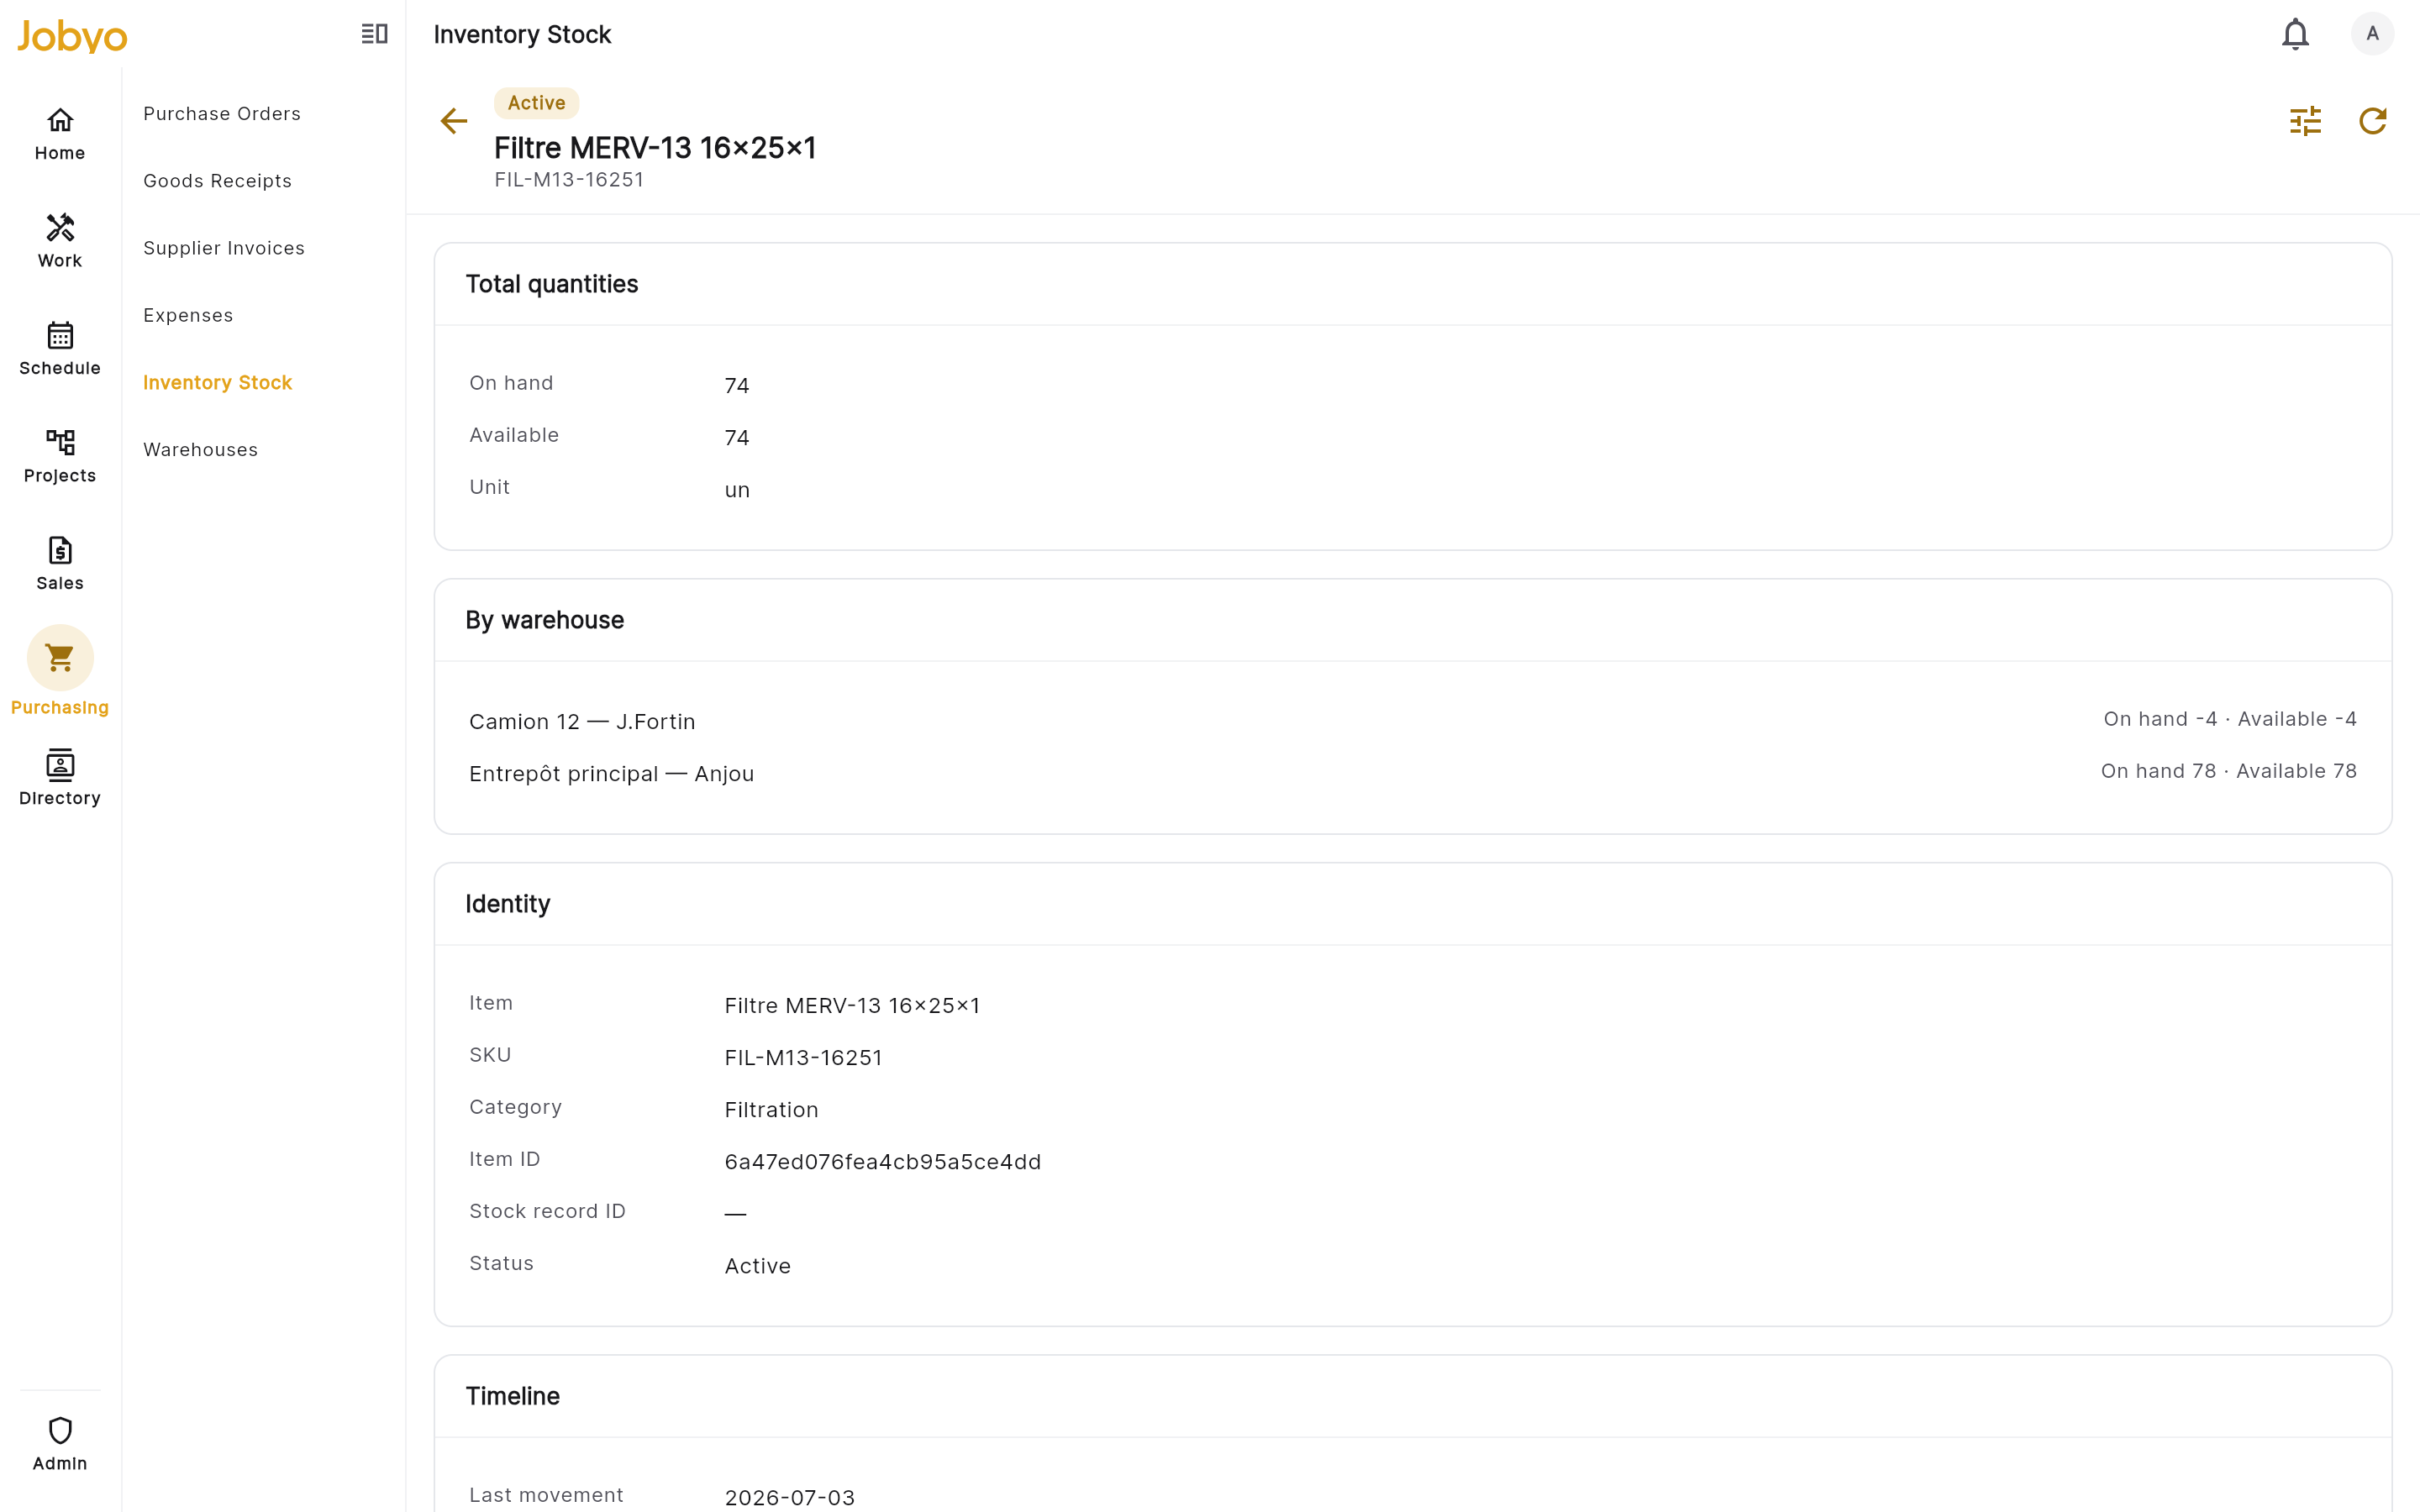
Stock detail — on-hand by warehouse after the receipt posts Record the supplier invoice
Deschênes & Fils' bill arrives. Northline opens Purchase invoices and uses the New split menu — Blank invoice to type it in, or Fill from document to upload the PDF and let AI read the supplier, dates, lines, and tax. The scan prefills a Verify screen beside the source document; AI-filled fields are tinted, and nothing is saved until Northline reviews and selects Verify & save invoice. Tax is captured as the rows printed on the bill — GST and QST each as a title, tax number, and dollar amount (not a rate). Each line needs a quantity; the unit price is optional — a price-less itemized line reconciles to its own line amount, so a scanned line keeps its printed total. An exact PO match is auto-linked; the invoice number must be unique for that supplier.
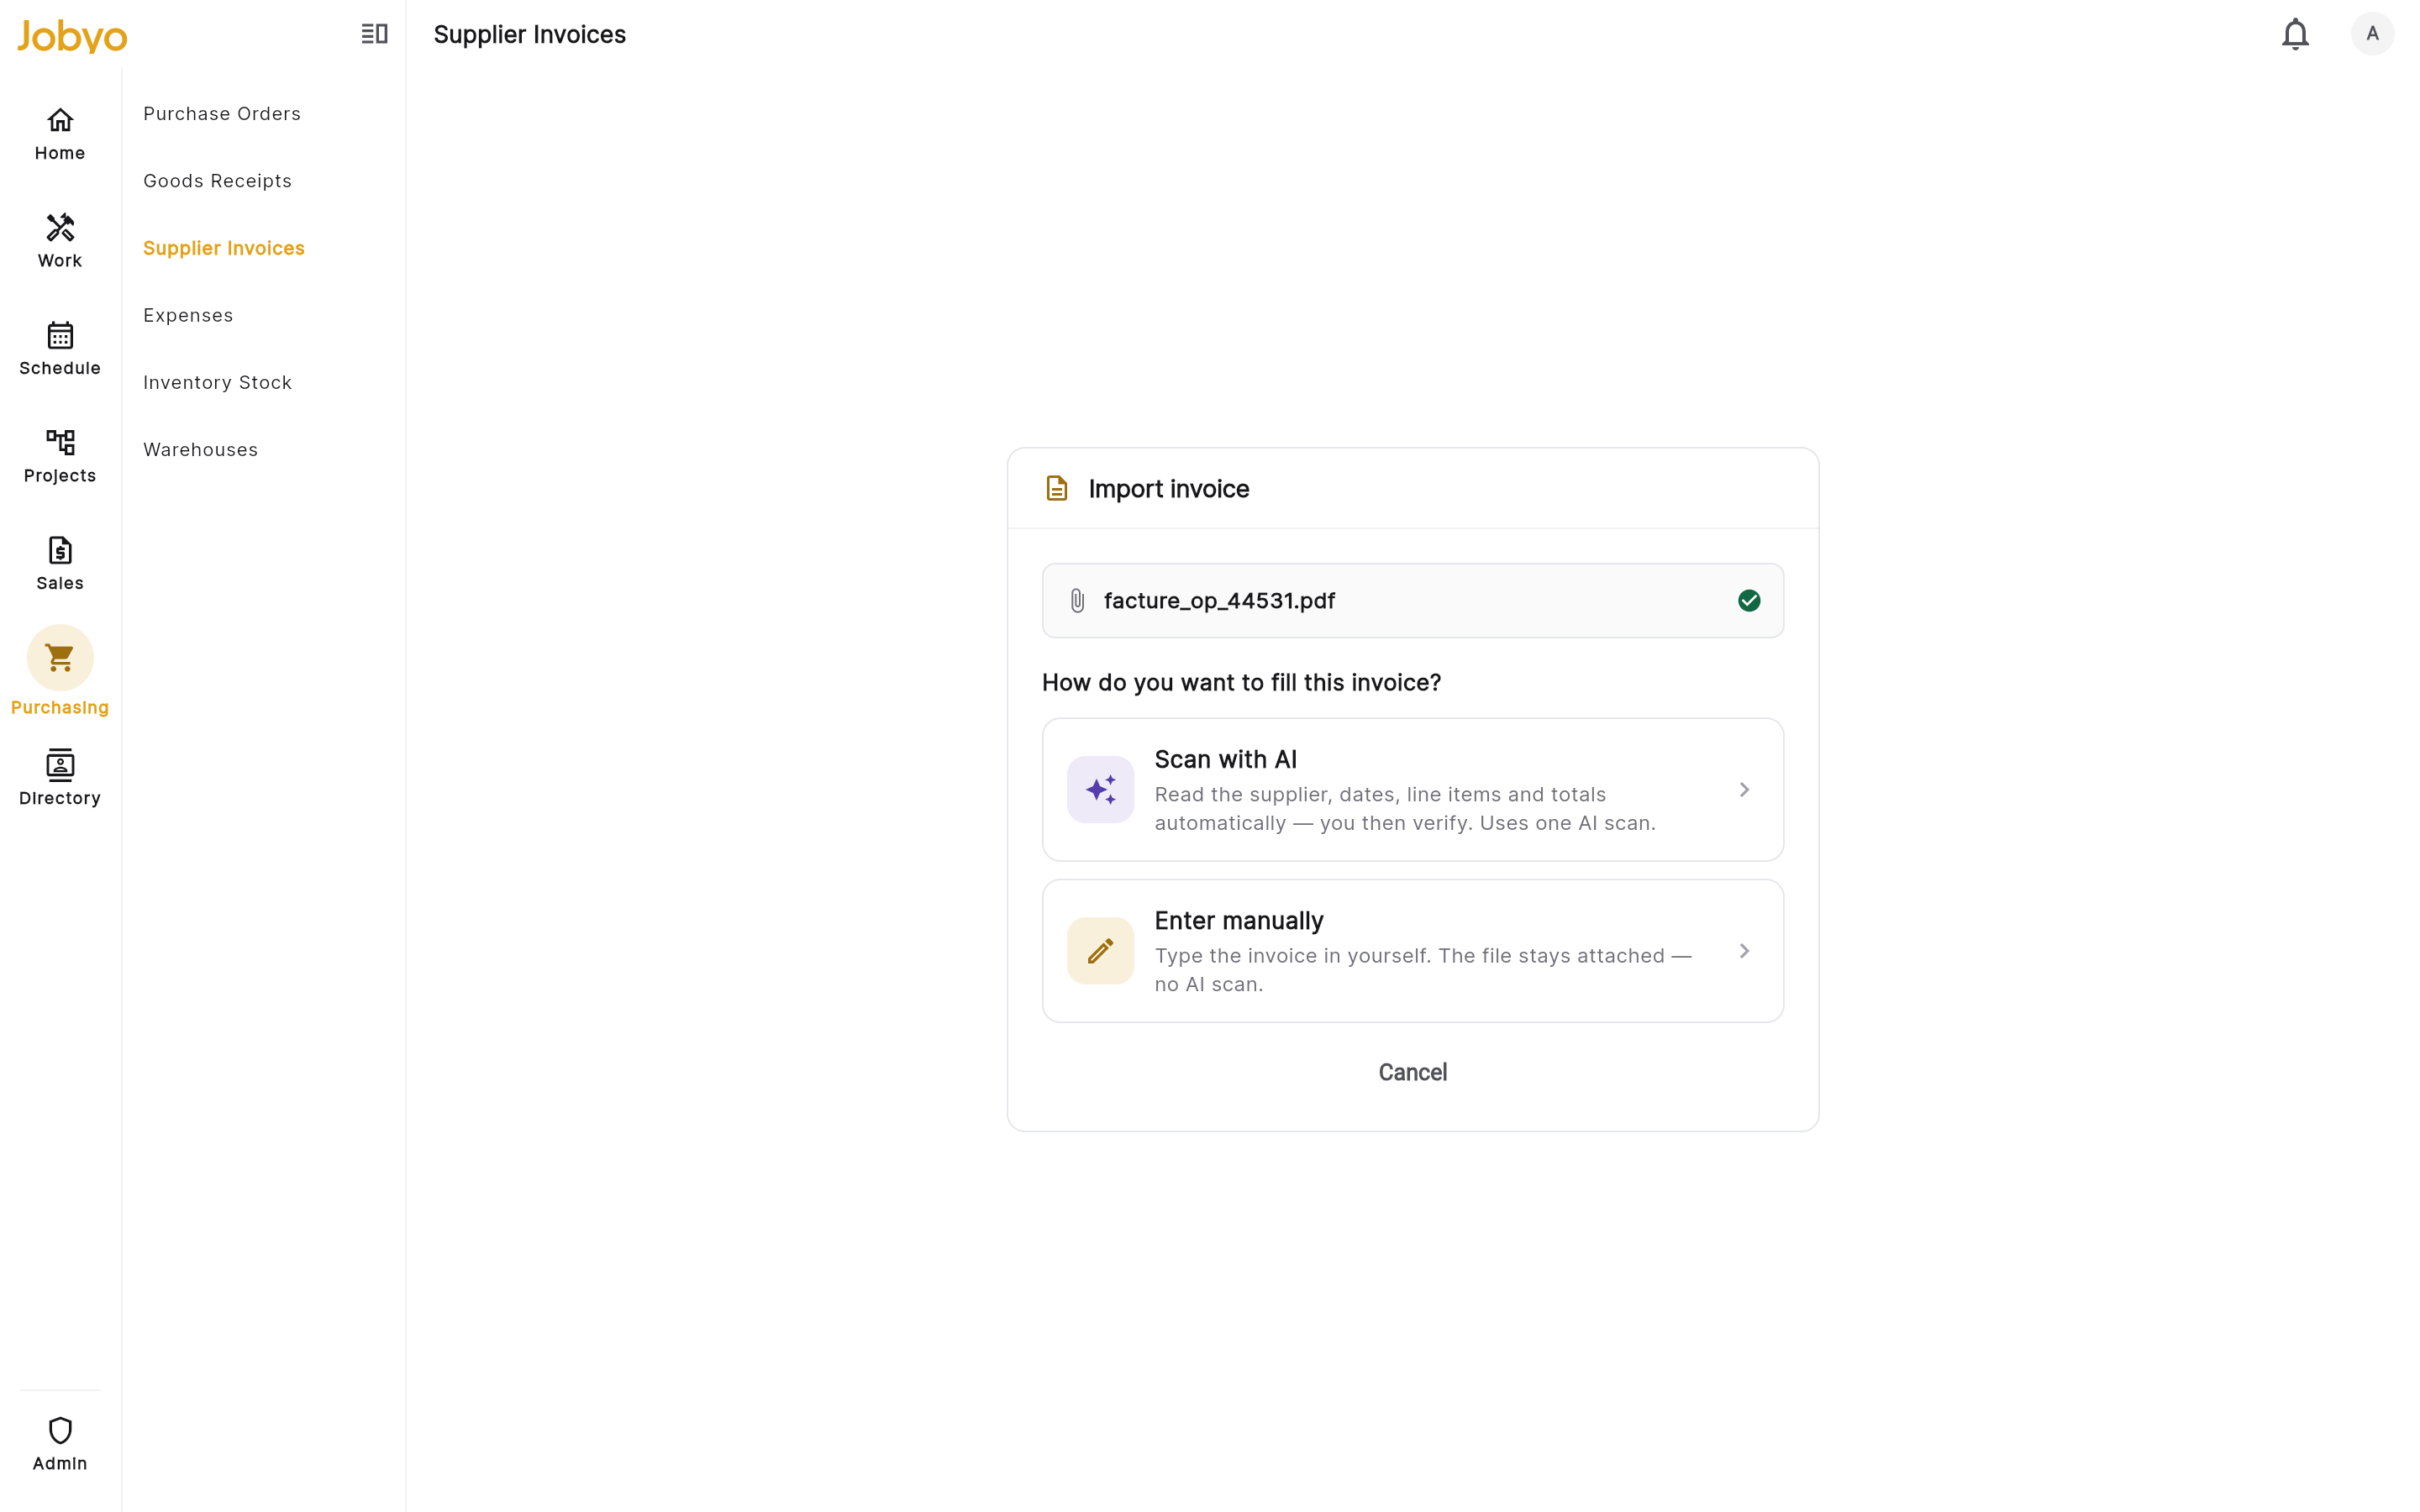
Verify screen — prefilled fields beside the source PDF, GST/QST tax rows Distribute the cost
Finally, Northline books the bill against the work. From the invoice detail they open Distribute by amount. Cost distribution spreads the invoice's net amount (tax excluded) across one or more targets — a work order, project, task, or expense type — by dollar amount or percentage, at the whole-invoice level or pinned to a specific line. Northline splits the bill: the job's share to its project and work orders. Each slice starts as a draft you can edit or remove; Post books it (a finance step needing the allocation approve permission) and marks the source line so the same cost can't be counted twice. Over-distributing is blocked, and a posted slice is reversed, not edited, to correct it. On a PO-linked invoice, distribution stays locked until at least one line has a direct goods receipt — so you only ever distribute cost for goods you've actually received.
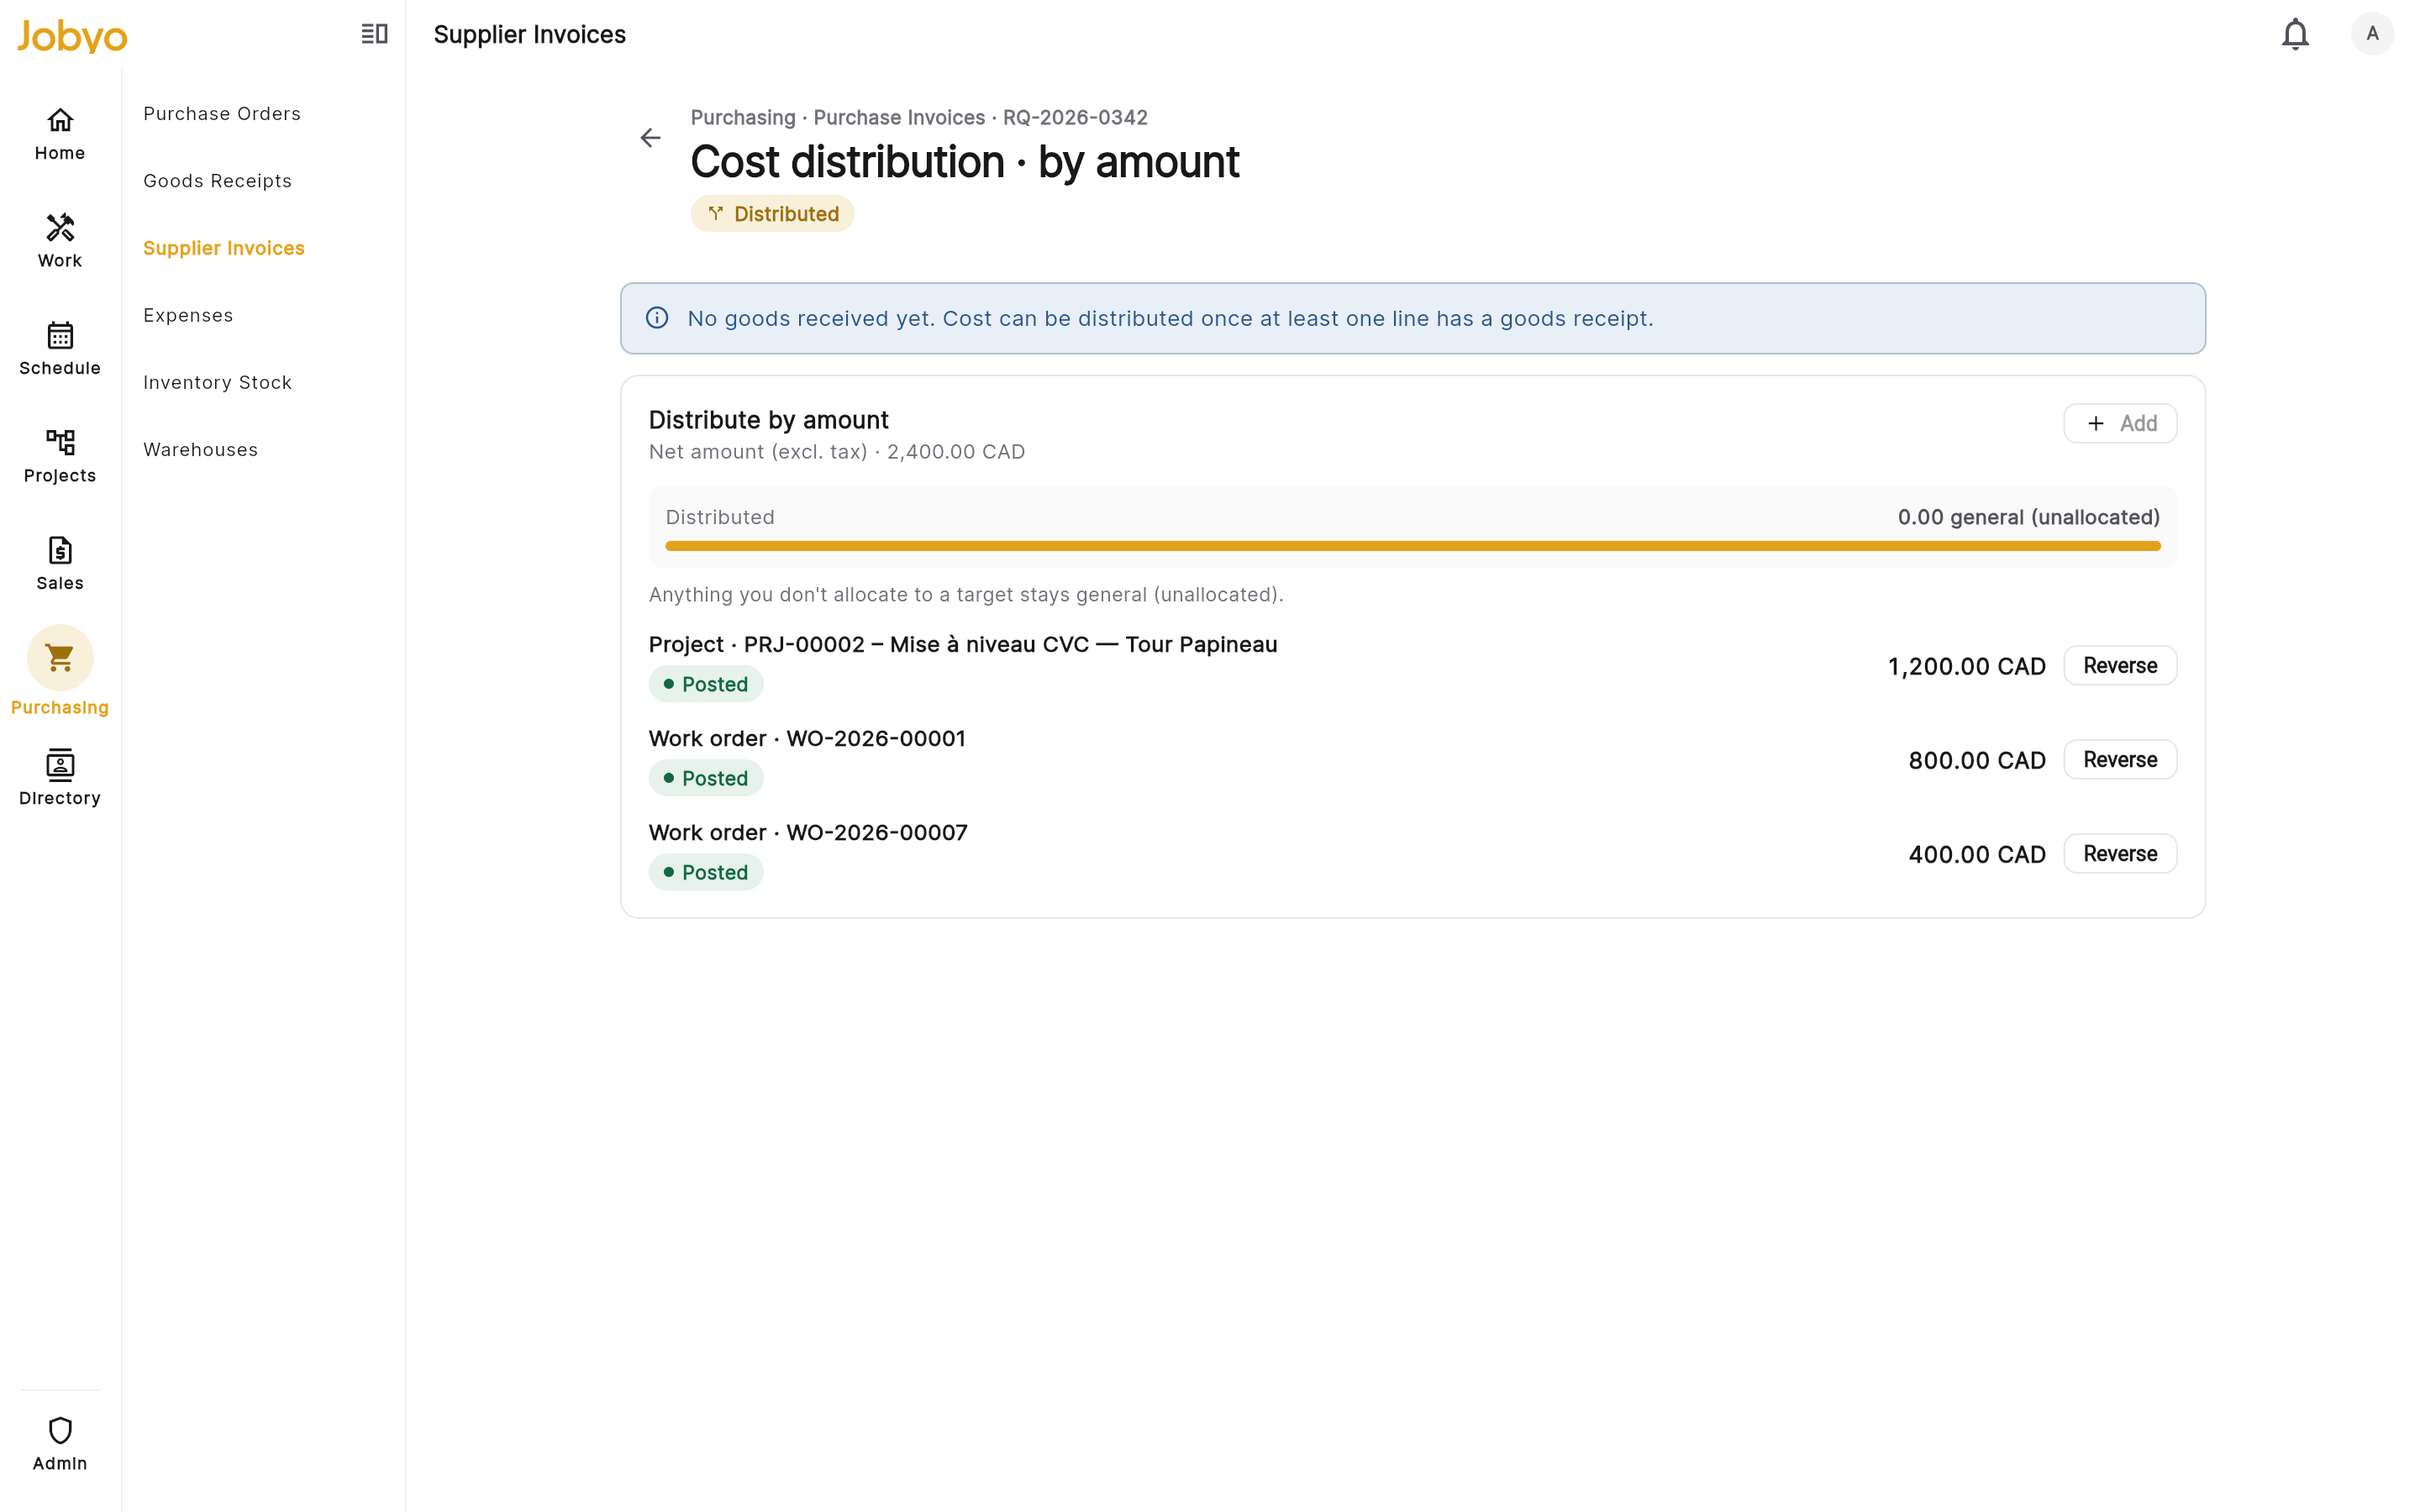
Distribute by amount — net base, per-row target, Post / Reverse
Cost distribution assigns the invoice's cost to the jobs it belongs to — it's what makes those jobs show their true material cost. Whether the invoice is paid is tracked separately, with the Unpaid / Paid status on the invoice itself.
Once a line has goods received or an invoice matched against it, the PO can no longer be cancelled or deleted — cancel or delete before receiving begins. Likewise, a posted goods receipt can't be deleted (cancel it to reverse stock first), and an invoice with posted cost or a posted receipt can't be deleted until you reverse it.
Where each step is documented in full
Pick the supplier, add lines, and issue the order — including buying from a project's plan.
Procurement · Purchase ordersRecord what arrived, route each line to Stock or Direct, then post.
Procurement · Goods receiptsWatch received stock appear as on-hand, per item and per warehouse.
Inventory · StockType it in or scan the PDF with AI, verify the fields, and save.
Procurement · Purchase invoicesSpread the net across the project and work orders, then post the allocations.
Procurement · Cost distribution