Purchase invoices
Record the bills your suppliers send you. Type an invoice in by hand, let AI read it from a scanned document, or pull it straight from a connected inbox — then link it to a purchase order, distribute its cost to the work it belongs to, and keep track of what you owe.
Who uses this
Purchase invoices is a back-office surface for procurement and finance roles. Field technicians don't get an invoice list — they raise the demand (work orders, goods receipts), and the people who pay the bills record and settle the invoices here.
What you'll need
- Permission to list and view purchase invoices to browse and open them, and create or modify to add or edit one.
- The remove permission to delete an invoice — separate from edit.
- The approve permission (finance) for the sensitive steps: approving or rejecting a credit note, and overriding cost recognition before goods are received. It's deliberately kept apart from ordinary editing, so the person entering a document can't also approve their own credit.
- For cost distribution: the allocation modify permission to create or remove a draft, and approve to post or reverse one.
- To scan or import documents with AI, your plan needs to include AI invoice scanning Team+ — it's included from the Team plan up, not a separate add-on. Manual entry works without it.
If you track what physically arrived, record a goods receipt first so the invoice's line costs can be matched against what was actually received. You can also create a goods receipt directly from an invoice — see below.
The invoice list
Open Purchase invoices
The list opens newest-first. At the top sits the Total purchased card — a running total of what you've bought this week / this month / all time, always shown excluding tax.
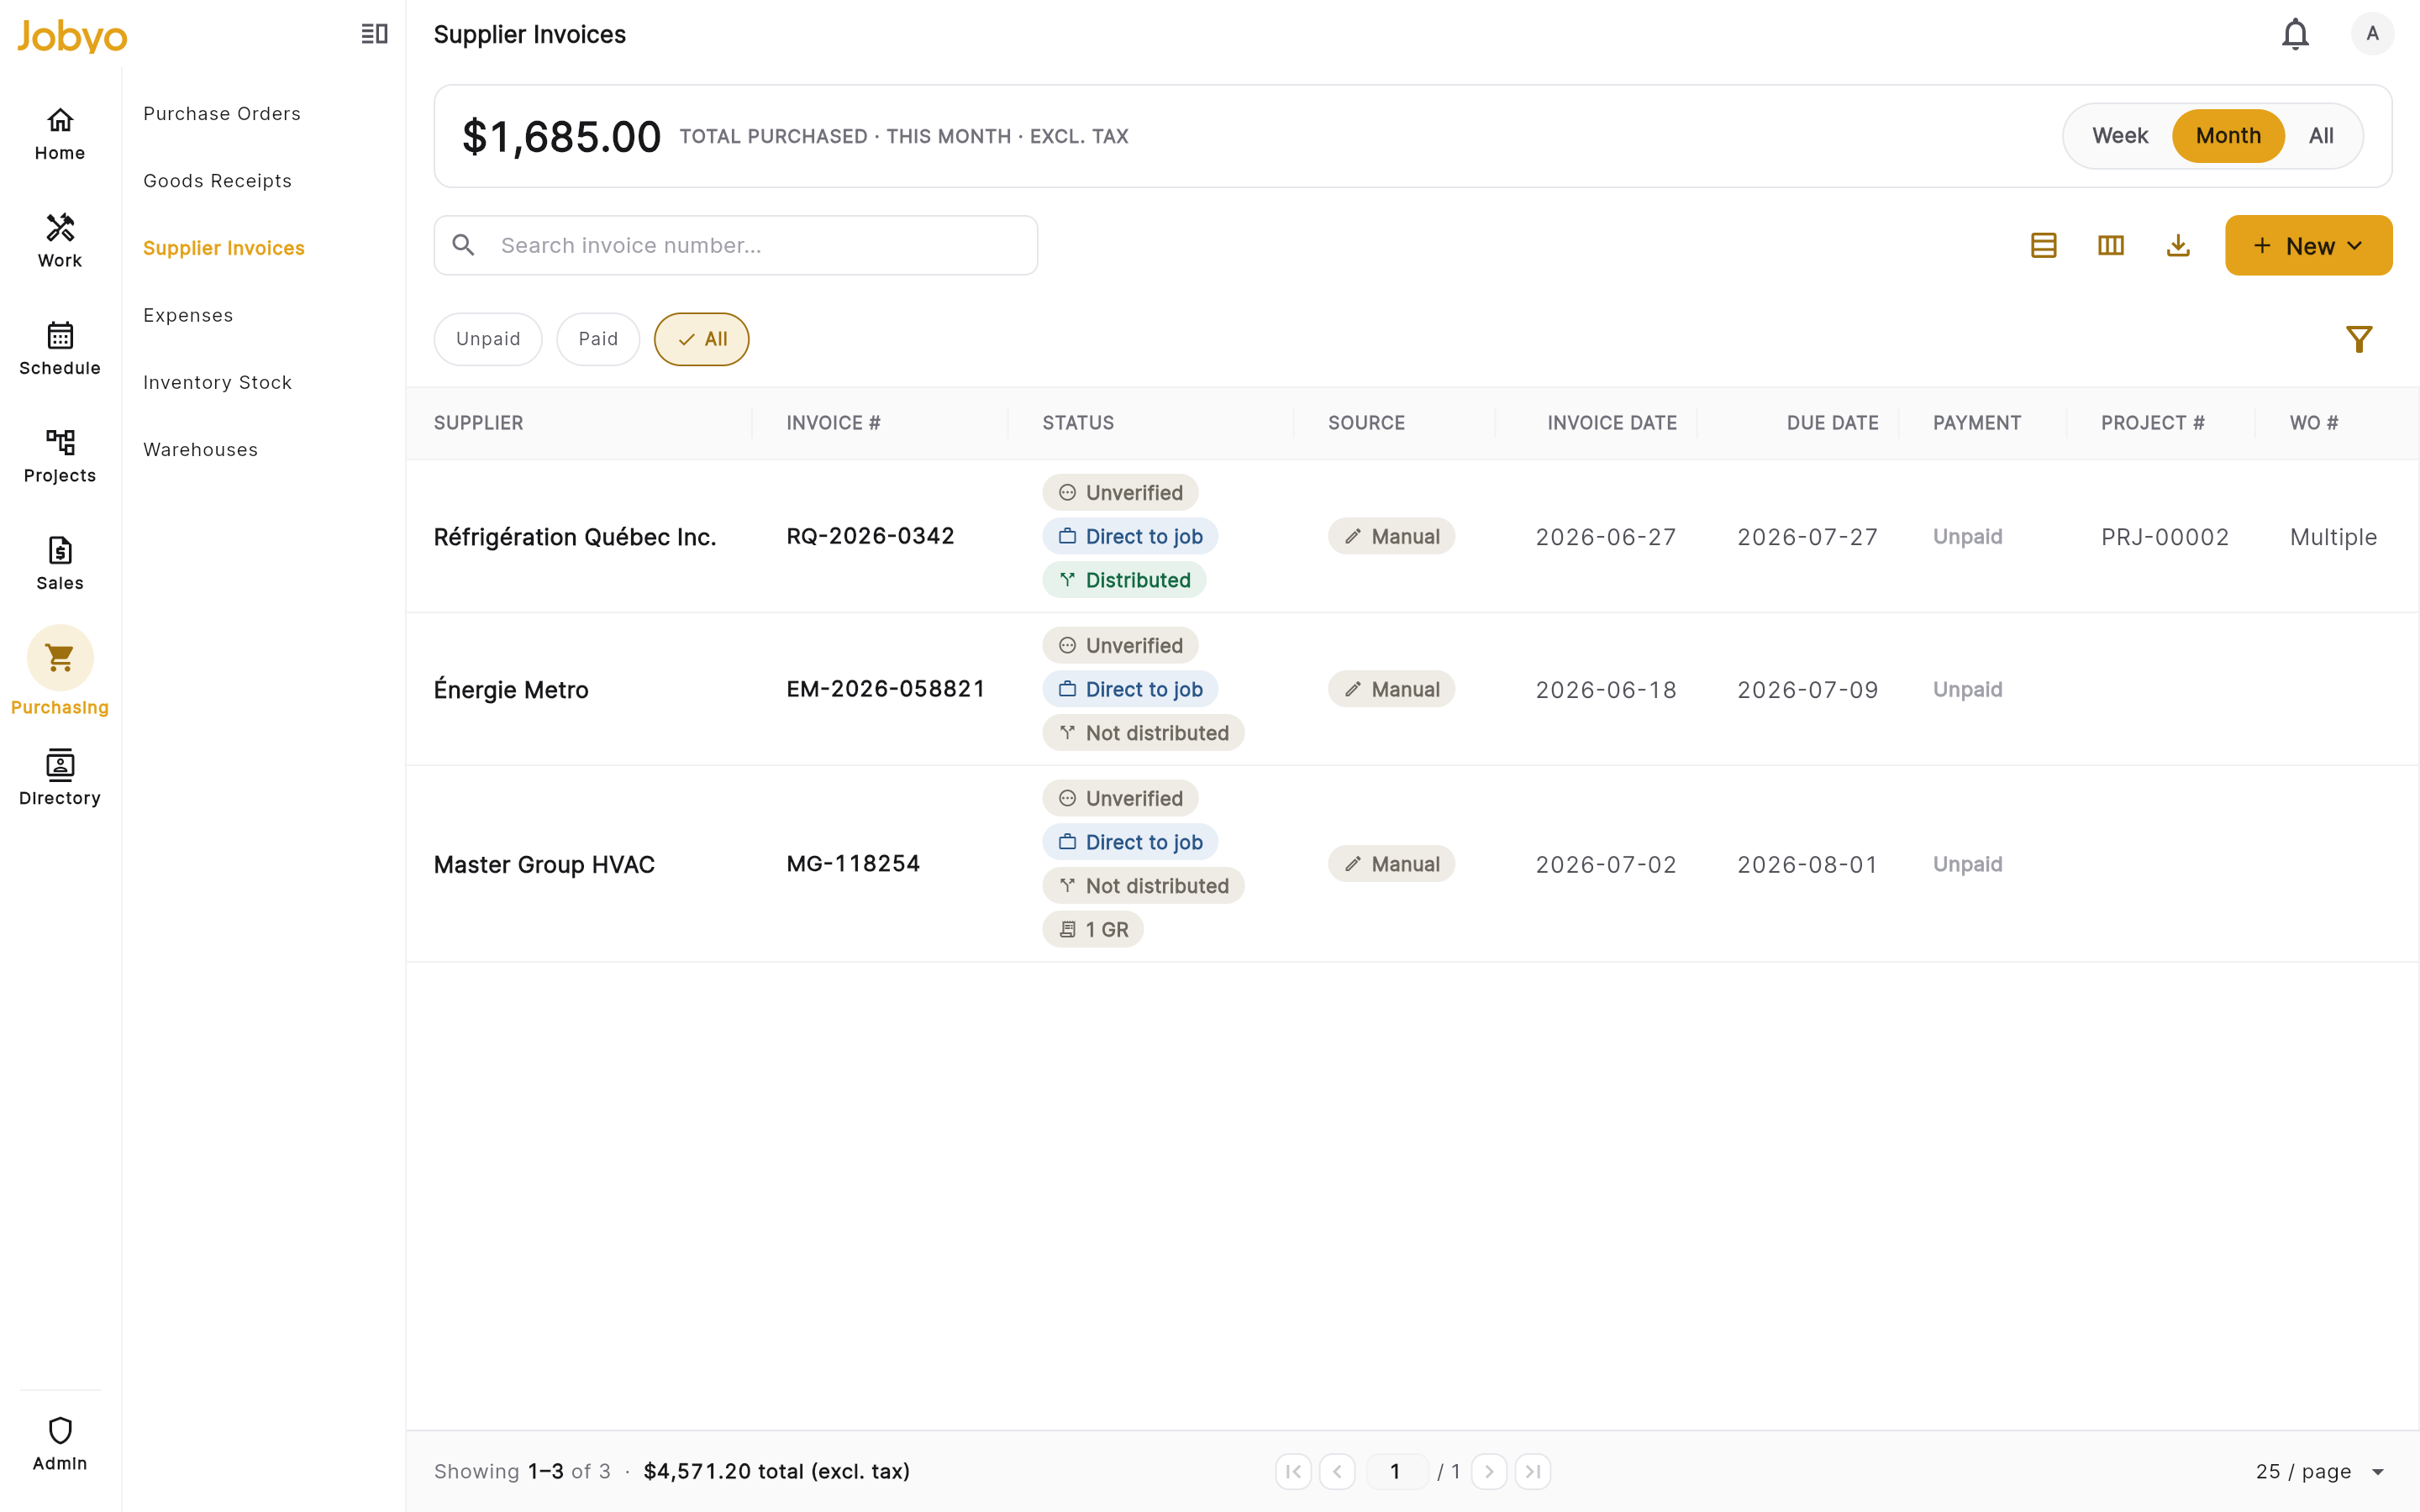
Purchase-invoice list — Total-purchased KPI card + period switcher, Unpaid/Paid pills, search and the New split button Switch the period
Use the Week · Month · All switcher on the card to change the window. This total is independent of the filters below — it answers "how much did we buy," and never moves when you narrow the list.
Filter by payment
The status pills — Unpaid · Paid · All — filter by payment state, each showing a live count.
Search, filter, and sort
Type in the toolbar search to find an invoice by number. Open the side filter panel to narrow by supplier, purchase order, work order, project, source, cost-recognition state, distribution state, verified flag, and invoice/due date ranges. Click a column header to sort.
Switch views, page, or export
Toggle table and tiles in the top right, and use the column chooser (table view) to pick which columns show. The readout beside the pager is the total of the current filtered set (excluding tax) — it moves with every filter, unlike the KPI card. Export applies whatever filters you have set.
The KPI card answers "how much did we purchase this week / month / ever" and ignores the filters. The pager readout is the gross of the rows you're currently looking at and moves with every filter. Both are shown excluding tax.
Three ways to add an invoice
The New button is a split menu with three ways to start:
| Choice | What it does | Needs Team plan and up? |
|---|---|---|
| Blank invoice | Opens an empty form — you type everything in. | No |
| Fill from document | Upload a PDF or image; AI reads it and prefills a form you verify. | Yes Team+ |
| From mailbox | Browse a connected inbox and import an email attachment. | Yes Team+ |
The two AI rows appear locked with a small note — "AI scanning is on the Team plan and up" — rather than failing when you tap them. Blank entry is always available.
Fill from document (AI scan)
AI scanning and mailbox import are on the Team plan and up — Starter doesn't include them. The monthly scan allowance scales with plan: Team 50 · Pro 100 · Business 200 · Enterprise unlimited. Scanning and re-scanning both draw from the same allowance; see Subscriptions & plans.
Pick a file
Choose Fill from document and pick a PDF or image (PNG, JPEG, WebP, or GIF — TIFF isn't supported for scanning). The maximum size for a scan is 32 MB.
Choose how to fill it
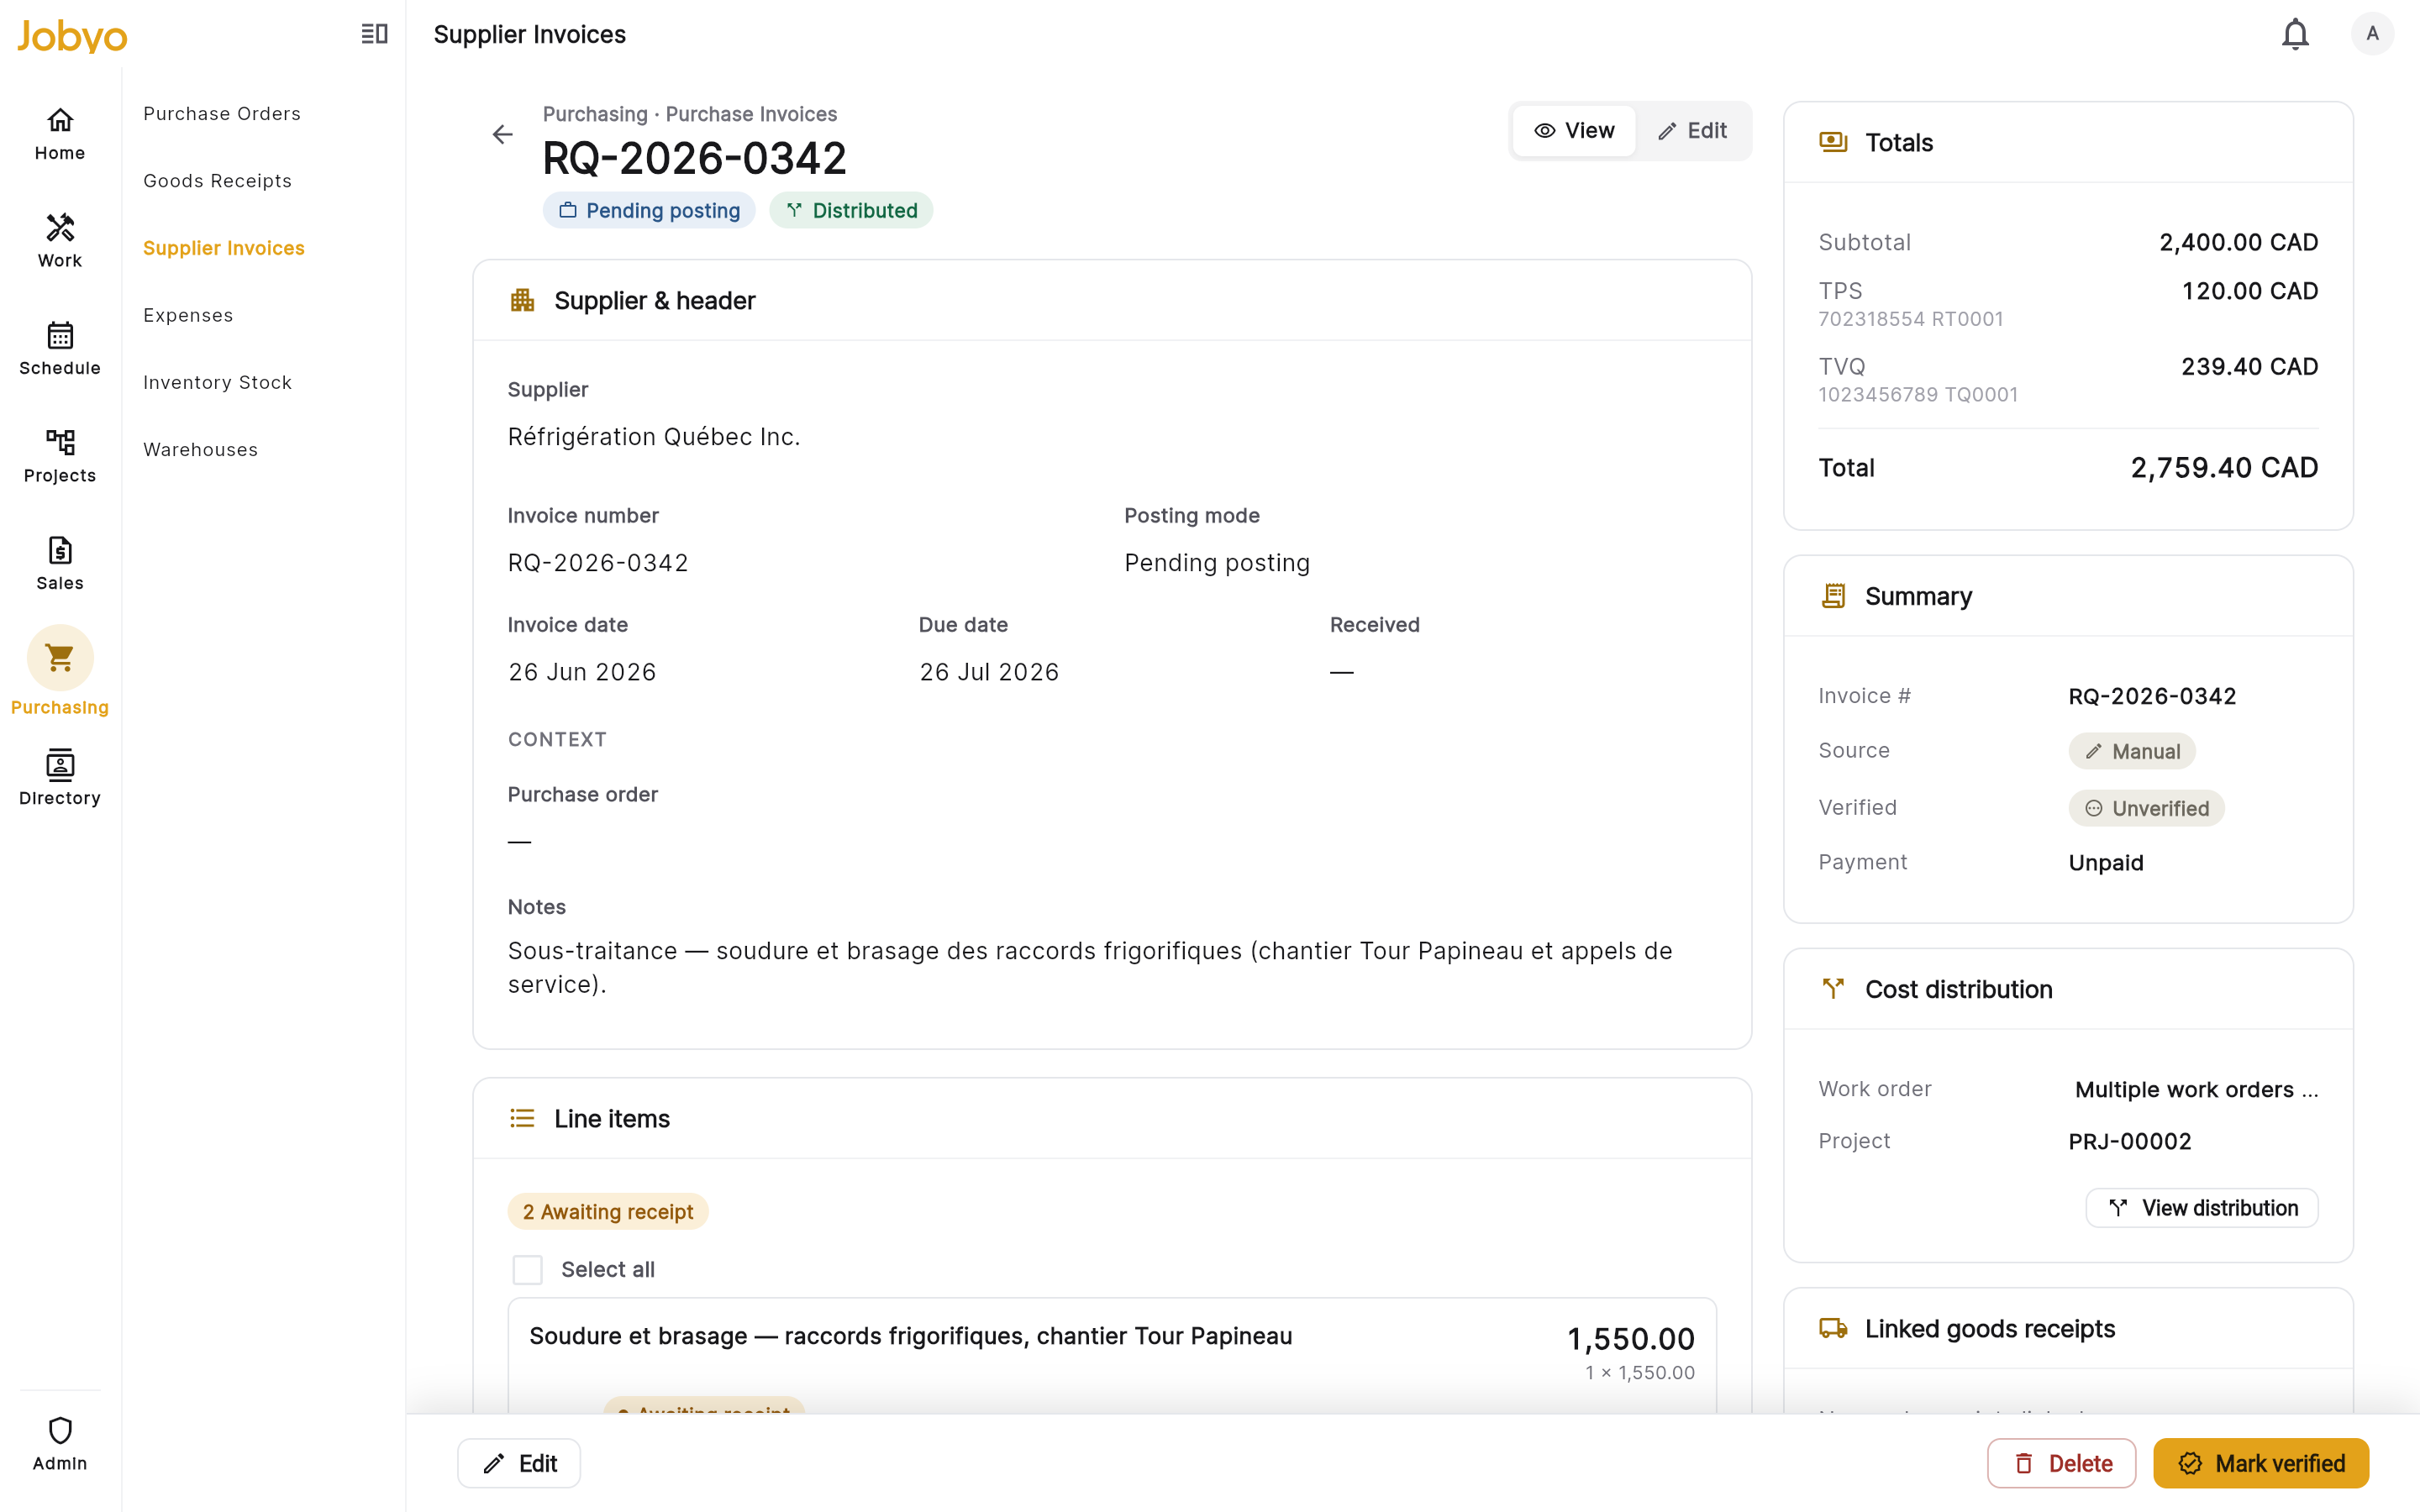
Jobyo shows the attached file and asks how you want to fill the invoice:
- Scan with AI — reads the supplier, dates, line items, tax and totals automatically. This uses one AI scan.
- Enter manually — go straight to a form and type it yourself; the file stays attached, no AI scan is used.
Wait for "Reading invoice…"
If you scan, Jobyo shows a Reading invoice… screen while the document model extracts the fields. It takes a few seconds.
"Reading invoice…" — the document model extracts supplier, dates, line items and totals Verify and save
You land on the Verify screen (next section) — a prefilled form beside the source document. Check every field, resolve the supplier, then save.
- "We couldn't read this as an invoice"The document was unclear or may not be an invoice. Try a clearer file, or choose Enter manually — the file stays attached.
- "This file type can't be scanned"Use a PDF or an image (PNG, JPEG, WebP, GIF). TIFF is not supported.
- "File too large"The scan limit is 32 MB. Compress the document, or enter it manually.
- "Invoice scanning is temporarily unavailable"The document model is offline. Enter the invoice manually and attach the file, or try again later.
The Verify screen
The Verify screen is the heart of the AI flow: a prefilled form on one side, the source document on the other (a two-pane layout on desktop; on a phone the form leads, with a View document button). You confirm what the model read, fix anything wrong, and save.
- AI-prefilled fields are tinted. Any field the model filled in is tinted (with a small AI mark). Editing a field confirms it and clears the tint. Save is the single confirm — you don't tick each field.
- Supplier resolution. When Jobyo is confident it matched a supplier already in your directory, it's filled in for you. When it's a likely-but-not-certain match, it's pre-selected and asks for a confirming tap. When there's no match, you get a one-tap Add supplier & use (prefilled from the details read off the document) or a full quick-create; if there are close near-matches, Jobyo surfaces them as "did you mean…?" options to link instead.
- Purchase order link. An exact PO match is auto-linked as a chip; a fuzzy match is offered for you to link with a tap (or unlink).
- Verbatim tax rows. Tax is captured as the rows printed on the invoice — each with a title, tax number and a dollar amount (not a rate). The tax total is their sum. You can also apply a company tax profile to recompute the rows from your subtotal (it asks before replacing AI-read amounts).
- Line items. Each line needs a quantity; the unit price is optional. A price-less line reconciles to its own line amount (an AI-extracted line keeps its scanned total). You can add or remove lines and quick-create a catalog item from a line's SKU.
- Totals & mismatch banner. The card shows Subtotal / Tax / Total and, when the model read one, the Document total. If your computed total doesn't match the document total, a warning banner appears — it flags the difference for you to resolve but won't block saving.
- Currency. The system records amounts in CAD. If the document looks like another currency, Jobyo flags it as advisory so you check the figures.
- Re-scan. The Re-scan button re-runs the document model and uses one AI credit — it asks first, and replaces your current entries with the new read. If a re-scan fails, your entries are kept and you get a toast, not a lost form.
- Document preview. The real file is shown as a selectable preview beside the form, with Enlarge and Open in new tab.
When everything checks out, select Verify & save invoice. An invoice number and a resolved supplier are required; a duplicate (supplier, invoice number) is rejected.
From mailbox
Import an invoice straight from a connected inbox instead of downloading and re-uploading it.
Connect a mailbox
The first time, choose Connect a mailbox to link a Gmail or Microsoft 365 inbox. Connecting runs the provider's sign-in and consent.
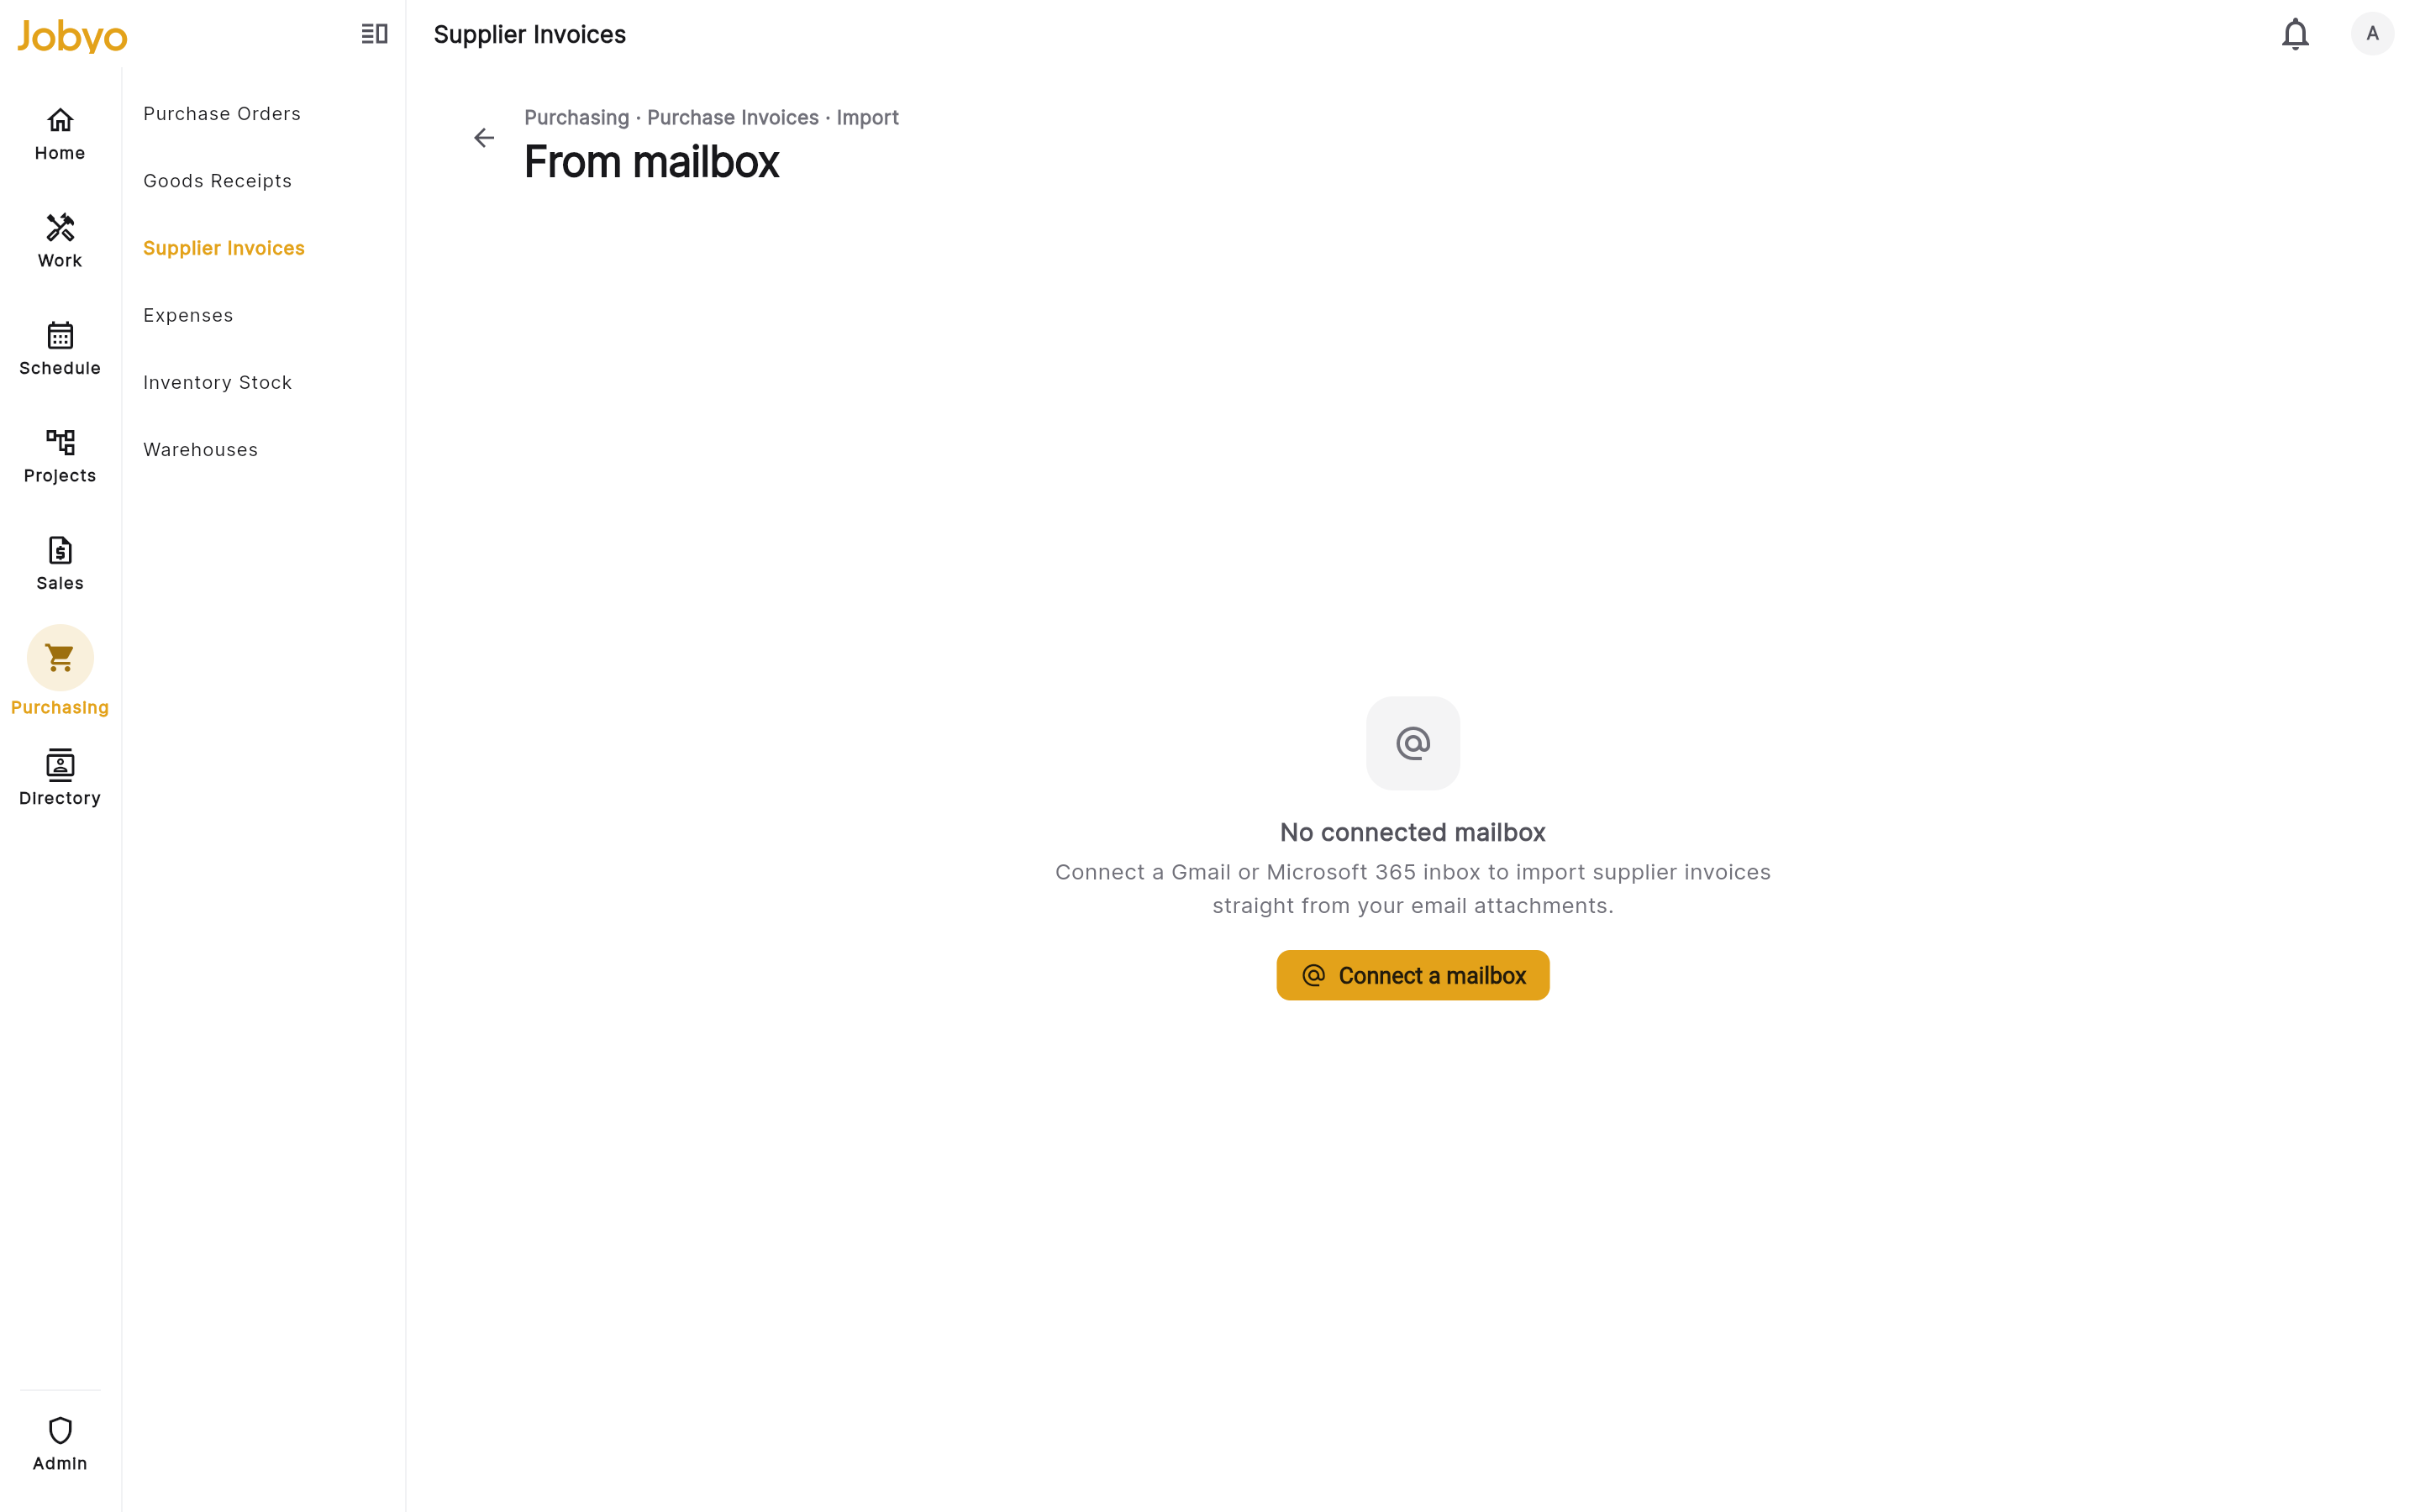
From mailbox — folder + message list on the left, the selected message's attachments on the right Browse messages
Jobyo lists the inbox (switch folders from the folder picker). Each message shows the sender, subject, a snippet, the date, and how many attachments it carries. Messages without attachments are skipped; use Load more to page further back. A green check marks messages you've already imported.
Import an attachment
Select a message to see its attachments, then choose Import as invoice on the one you want. TIFF attachments show as Unsupported (they can't be scanned).
Verify and save
The attachment runs the same scan → verify → save flow as an upload. On save the invoice's source is recorded as the email, the from-address is kept, and the attachment is marked Imported in the list.
If your plan doesn't include it, the mailbox screen shows an upgrade panel instead of an inbox — mailbox import and AI scanning are included from the Team plan up.
Enter an invoice manually
You don't need AI at all. Choose Blank invoice from the New menu (or Enter manually at any point in the document flow) to fill the form yourself:
- Invoice number is the only strictly required field, and must be unique for that supplier.
- Add the supplier, invoice and due dates, line items (quantity required, unit price optional), and tax rows as they appear on the bill.
- If you started from a document and switched to manual, the file stays attached — you just skip the AI read.
Credit notes and returns
When a supplier issues you a credit — for a return, an overcharge, or a correction — you record it as a credit / return note rather than a normal bill.
A credit note works like a purchase invoice with the return flag turned on:
- Turn on the credit toggle. On the Verify or entry form, switch Document type to Credit / return. If AI scanned the document and recognised it as a credit note, the toggle is pre-selected for you.
- Link the original invoice. A credit must point at the supplier invoice it corrects — from the same supplier. Resolve the supplier first, then pick the original; the reversal is derived from where that original's cost was recognised.
- Enter amounts as positive. You type the magnitudes as normal positive numbers; Jobyo records them as a negative ( − ) credit that reverses the cost the original invoice recognised, so your totals and costs stay in step.
A new credit note starts as pending and has no cost effect until it's reviewed. A finance approver then approves it (which posts the reversal) or rejects it (which removes the reversal, leaving costs untouched). Approving or rejecting needs the finance approve permission — deliberately kept separate from editing, so the person entering a credit can't approve their own.
If an invoice already has posted cost (an active allocation or a posted cost entry), you can't convert it into a credit in place — and a credit note itself can't be cost-distributed. Record the credit as its own document instead.
Deposits and return fees
Some supplier lines aren't really a cost of the job — a refundable deposit (for example, the deposit on a returnable gas cylinder) is money you'll get back when you return the container. Jobyo recognises these and keeps them out of your job cost.
- Deposit lines carry a Deposit badge. When a line looks like a returnable-container deposit (by its item code or description — "DÉPÔT", "CONSIGNE", "deposit"…), Jobyo tags it automatically. A deposit line is a refundable asset, not job cost — it is left out of cost distribution, so it never inflates a work order's or project's actual cost. You don't set this; Jobyo classifies the line for you.
- Return / restocking fees carry a Fee badge. On a credit note, a line that reads like a fee ("restocking fee", "return fee", "handling"…) is tagged as a Fee — a real charge, not a refund. Because a credit can hold both refund lines and a fee, a fee-heavy credit can even net positive: you end up owing the supplier a little more, and the original invoice's outstanding balance reflects that.
From the purchase-invoice list, the savings icon opens Deposits outstanding — a read-only summary of refundable deposits still out with suppliers, grouped by supplier and cylinder type, with a running total. It answers "how many cylinders (and how much deposit) are we still owed?"
Counted a deposit as cost by mistake? See Troubleshooting — deposits on supplier invoices for how to make it refundable again.
When you open a credit / return note, its document number is labelled Credit note number (not "Invoice number"), so a credit is never mistaken for a bill.
Distribute the cost (allocations)
Cost distribution spreads an invoice's net amount (tax excluded) onto the work it belongs to. You split it — by dollar amount or by percentage — across one or more targets: a work order, project, or expense type. You can distribute at the whole-invoice level or pin a slice to a specific line.
Open Distribute by amount
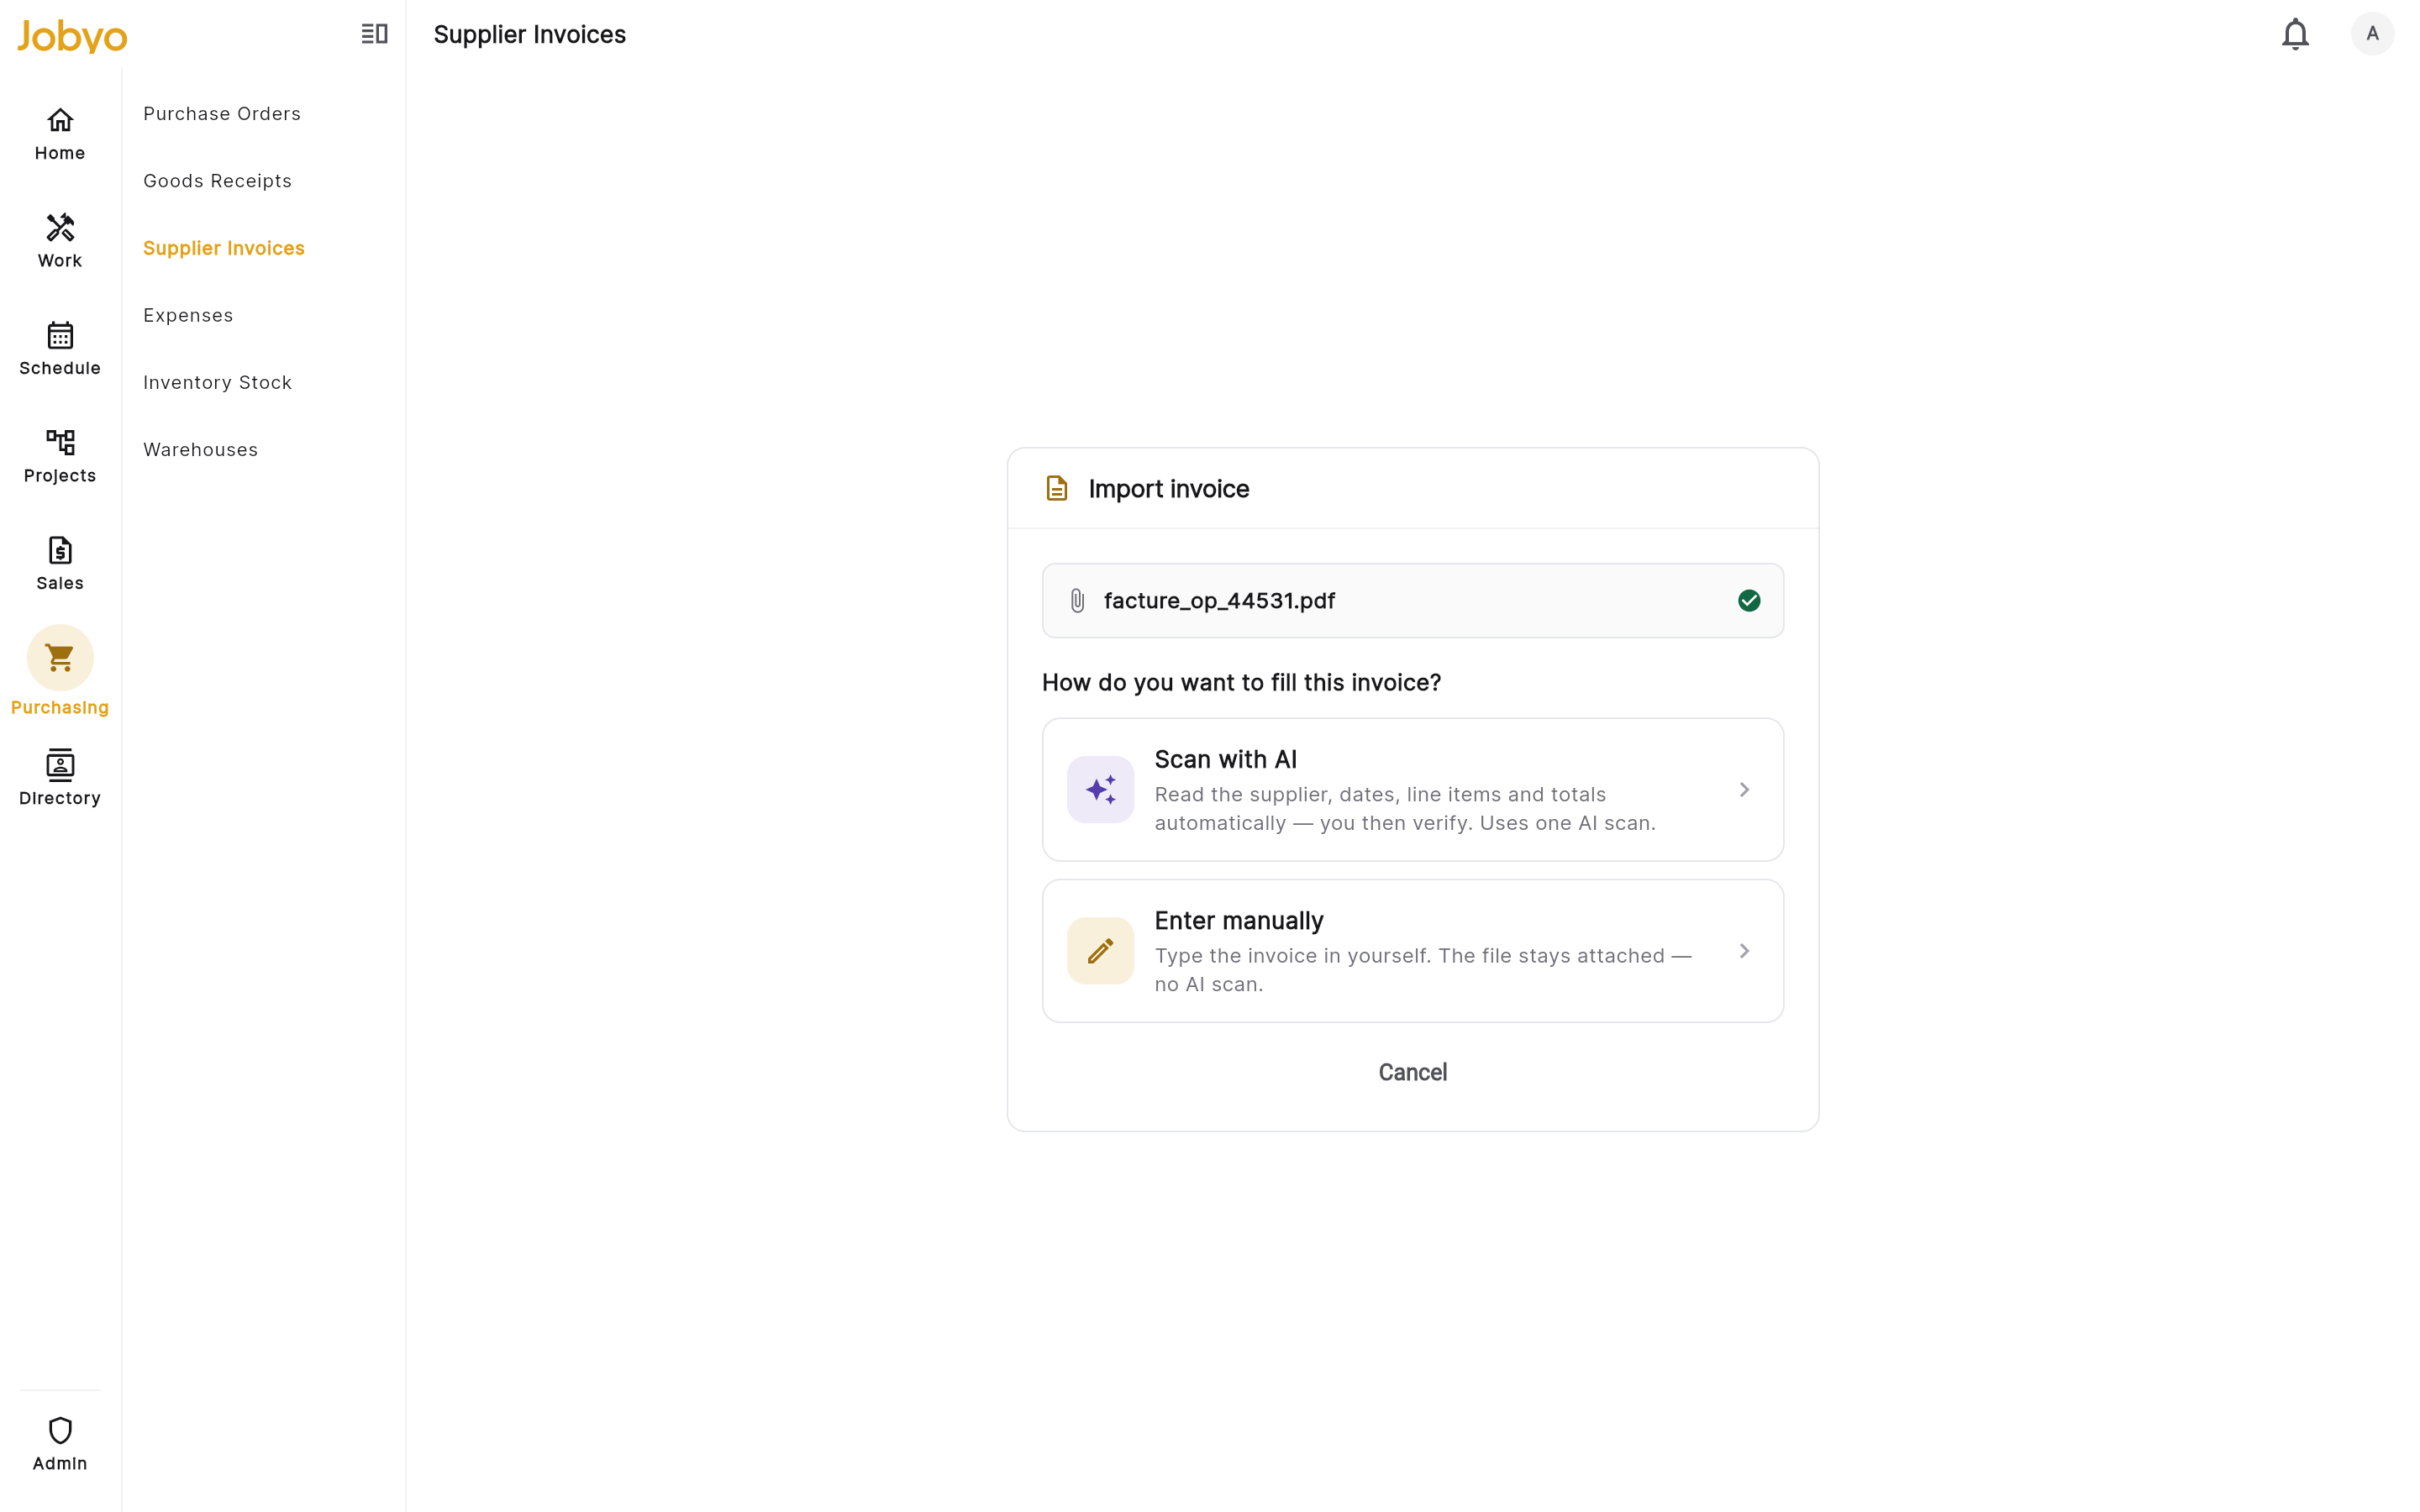
From the invoice detail, open Distribute by amount (or the per-line distribute dialog on a line). The card shows the net base and how much is distributed vs. still general (unallocated).
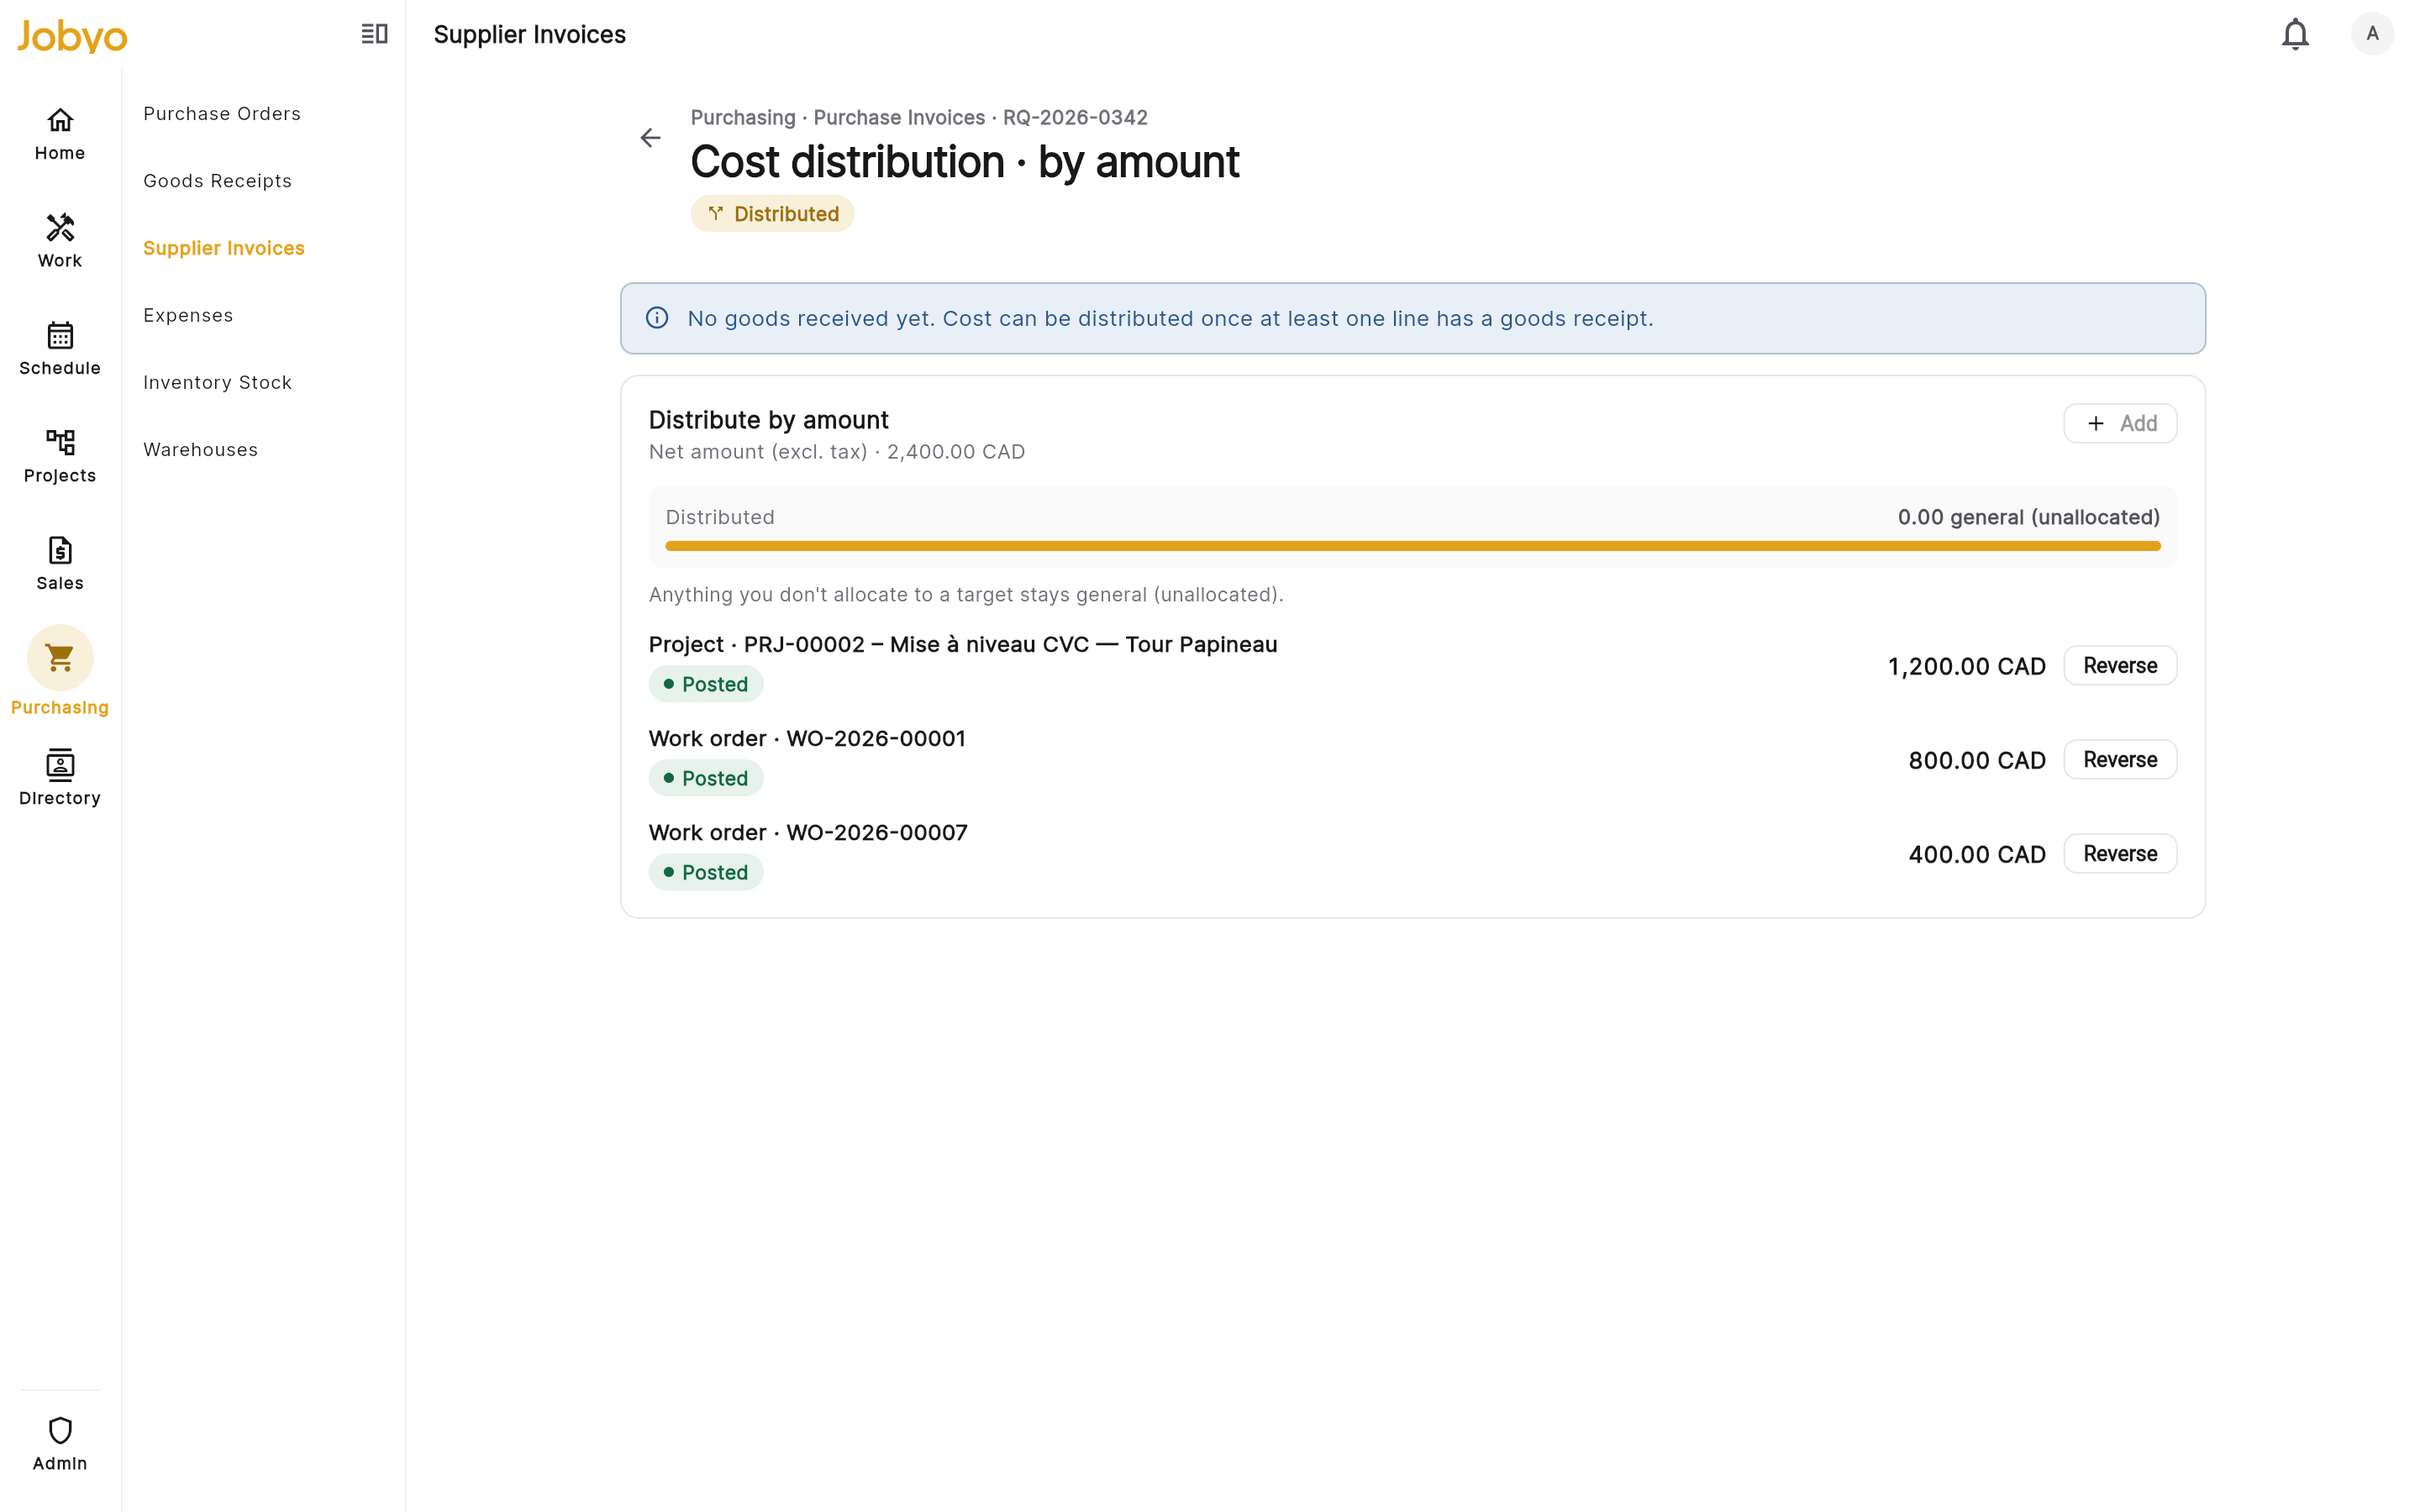
Distribute by amount — net base, distributed vs. general progress, per-row target + status, Post / Reverse Add a distribution
Pick a target and enter a slice by amount or percent. Each slice starts as a draft. You can edit a draft's amount or remove it before it's posted. Over-distributing is blocked — the slices can't exceed the line's amount or the invoice total.
Post it
Post a draft to book the cost against the target — this is a finance step and needs the allocation approve permission. Posting marks the source line so the same cost can't be counted twice.
Reverse if needed
Reverse a posted distribution to un-book it and re-open the line; reversed rows are kept and shown behind a Show reversed toggle. To correct a posted slice, reverse it and add a new one — posted rows aren't edited in place, and can't be deleted (reverse instead).
Entering a percentage is a shortcut — Jobyo converts it to a dollar amount before saving. Distributions are always stored as amounts.
On a line with a purchase order, the screen keeps distribution locked until at least one line has a direct goods receipt — so you're distributing cost for goods you've actually received.
Create a goods receipt from an invoice
From an invoice detail you can create a goods receipt directly — useful when the bill arrived first and you're recording what came in against it. This needs the goods-receipt create permission. See Goods receipts for the receiving flow.
Delete an invoice
Deleting an invoice removes it along with its distributions and any draft cost it created.
You can't delete an invoice that has a posted cost entry or a posted goods receipt linked to it — reverse the distribution or resolve the receipt first. This keeps your posted costs from disappearing underneath you.
If it doesn't work
- "An invoice with this number already exists for this supplier"An invoice number must be unique per supplier. Check the list for the existing record, or correct the number.
- The AI rows in the New menu are lockedAI scanning and mailbox import are on the Team plan and up (Starter doesn't include them). Blank/manual entry is always available; an administrator can upgrade the plan.
- "Resolve the supplier before saving"Confirm a supplier on the Verify form — pick the matched one, link a near-match, or add a new supplier from the read details.
- Computed total ≠ document total bannerThe lines and tax you entered don't add up to the total the model read. Adjust a line or tax row — the banner won't block saving, but it's flagging a real difference.
- Re-scan says it will use a creditRe-scanning re-runs the AI model and costs one AI scan. It replaces your current entries — only re-scan when the first read was wrong.
- Can't Post or Reverse a distributionPosting and reversing are finance actions and need the allocation approve permission. Creating and removing drafts only needs modify.
- Can't delete the invoiceIt has posted cost or a posted goods receipt. Reverse the distribution or resolve the receipt, then delete.