Project photos
Every project has a Photos tab — a single gallery of the images and files attached across the project and its work orders. It's where site photos, before/after evidence, and supporting documents come together for review, reporting, and client communication. Here's how to use it.
When you'd do this
Open the Photos tab to review progress across a project, check how a site changed over time, gather evidence before closing out, or pull a photo or document to include in a report or client update. Photos usually arrive from the field — technicians capture them on the work orders they carry out — and the project gallery is where the whole set is browsed together.
What you'll need
- Permission to view attachments to browse the gallery, and create to add files. Editing a description needs modify; deleting needs remove.
- The project open in front of you. Photos are attached to work orders (and to the project itself); the tab gathers them into one view.
Company-level roles (operations, administrator) see every photo on the project. Field roles see the photos they uploaded themselves — a colleague's photo on the same work order may not appear for you. This is a current limitation; ask your ops team if you need a file someone else uploaded.
Browse the gallery
Open the Photos tab
Open the project, then select the Photos tab. The gallery loads every image and file attached across the project's work orders.
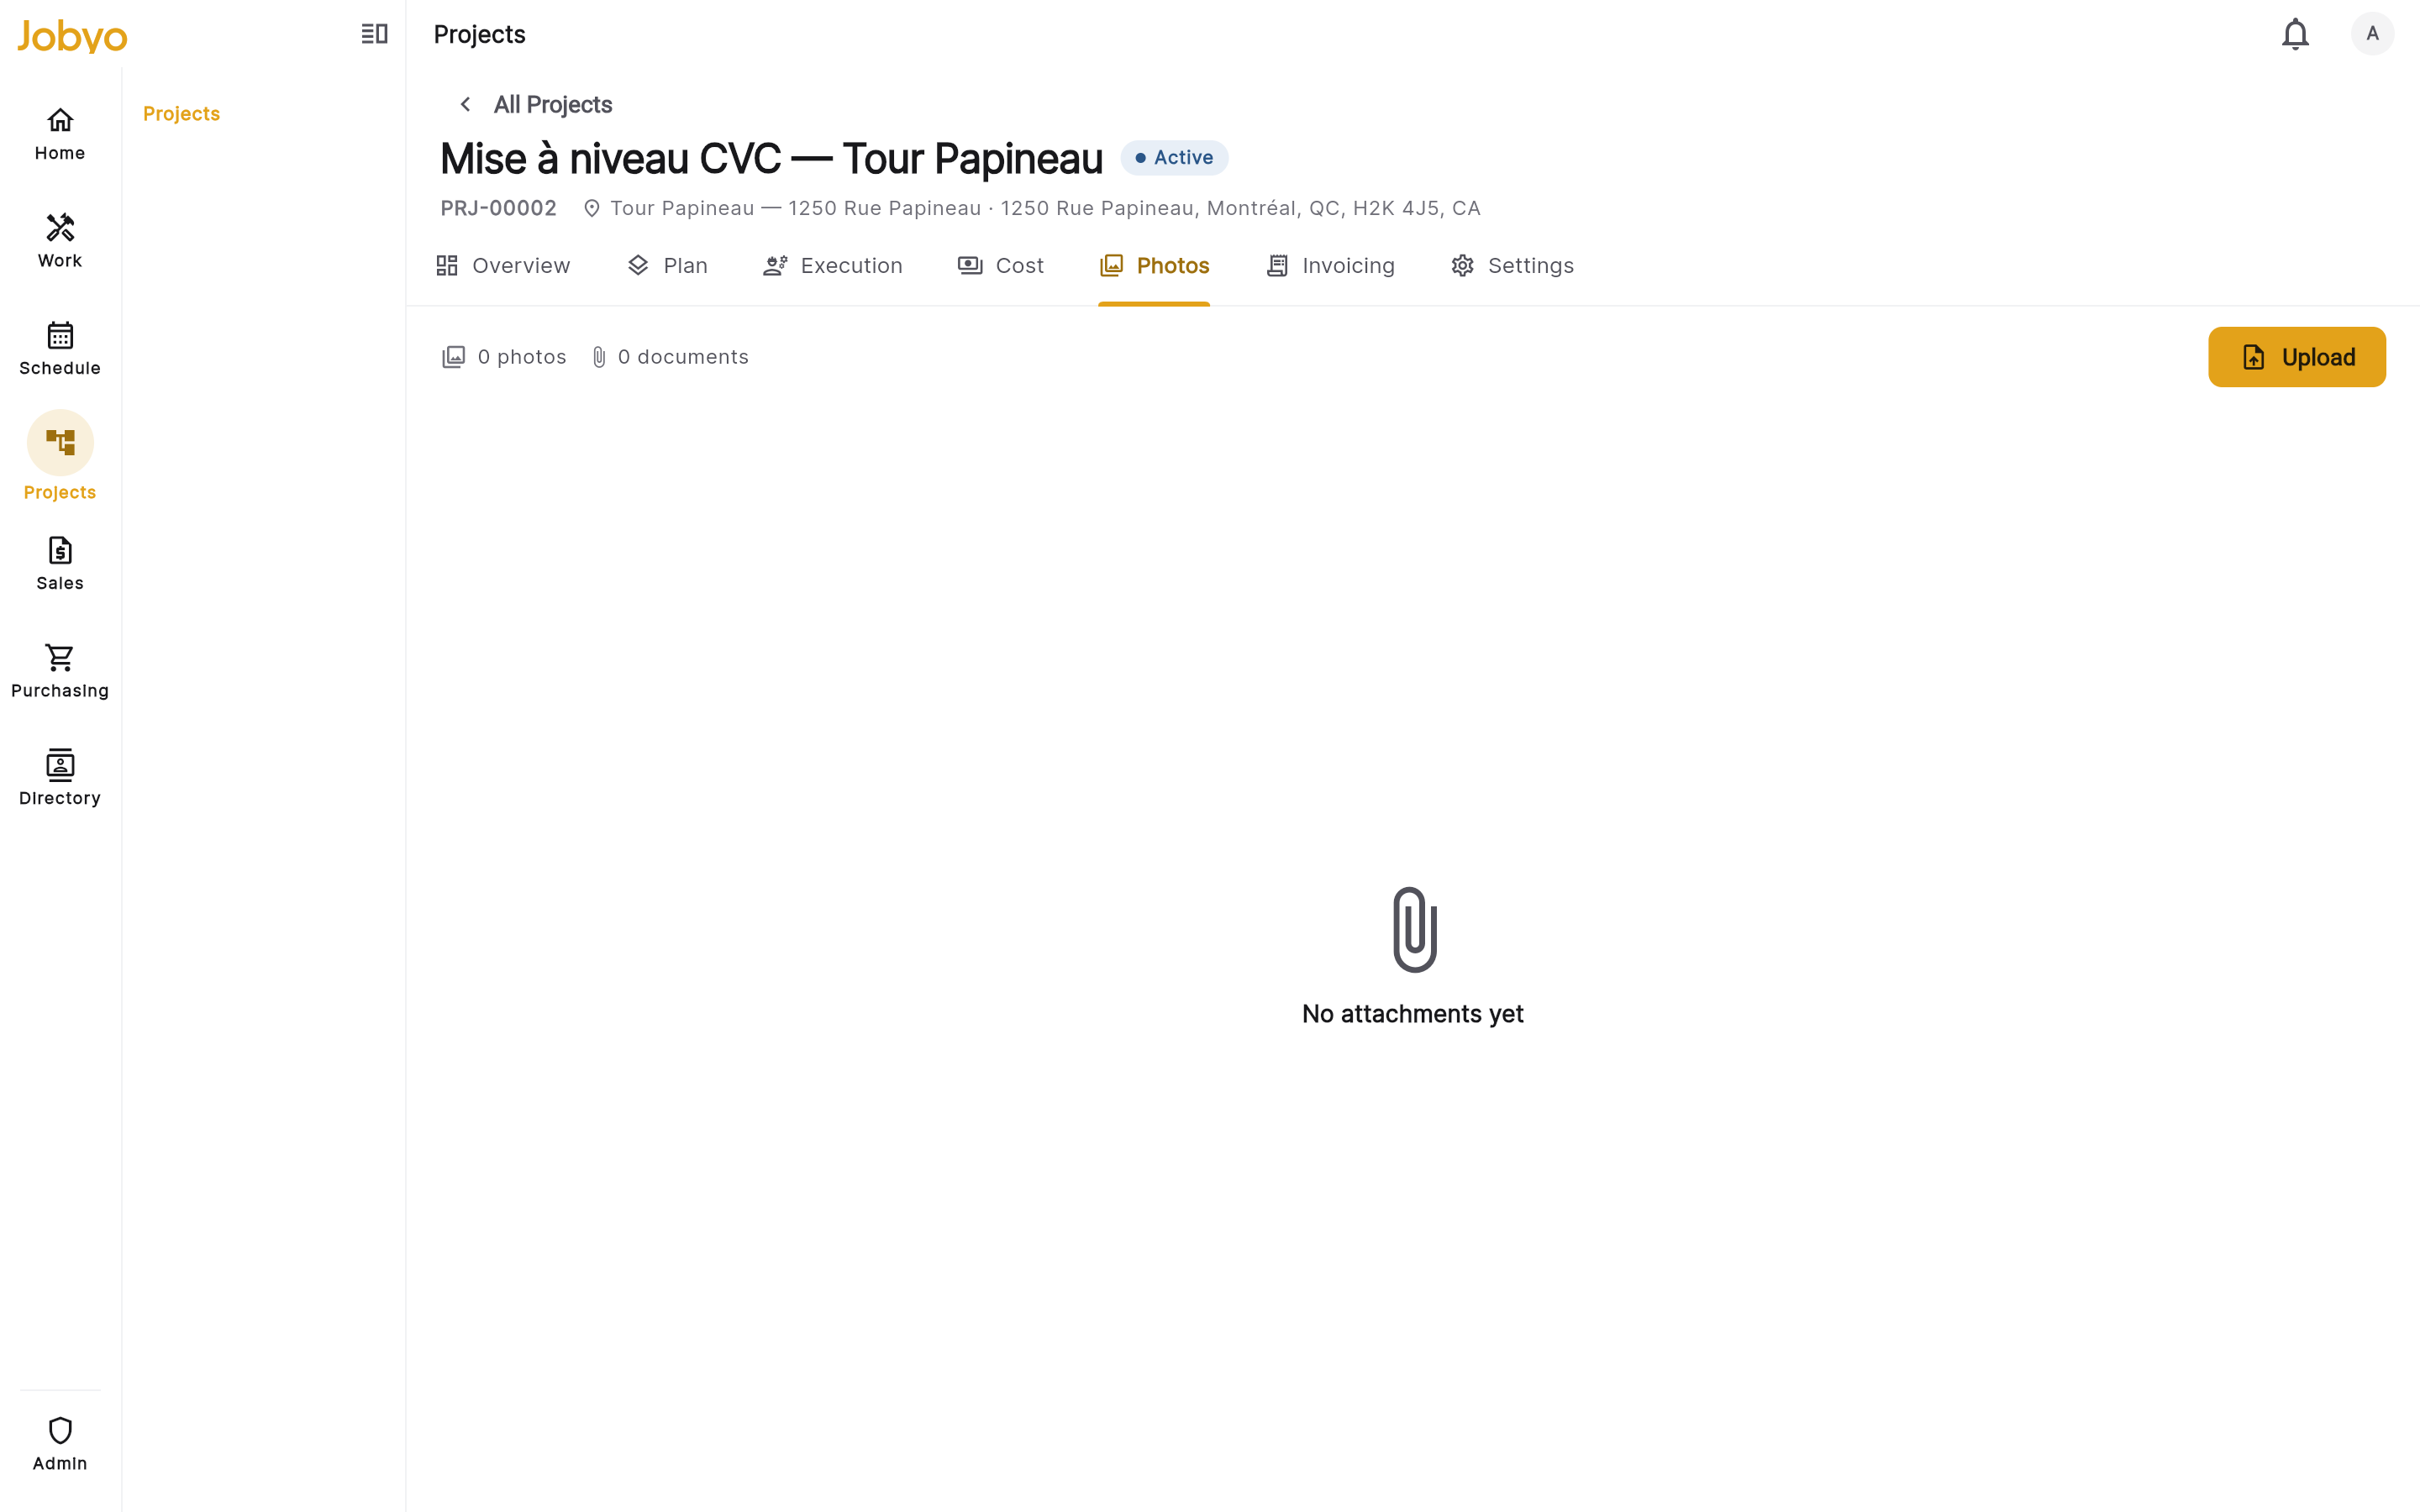
Project detail — Photos tab, gallery grid Switch grid or list
Use the view switcher to see photos as a grid of thumbnails or as a list. Images show a thumbnail preview; PDFs and documents show a file icon instead.
Group and search
Group the gallery by date, phase, or location to browse by when or where the work happened, and use the search box to find a photo by its description.
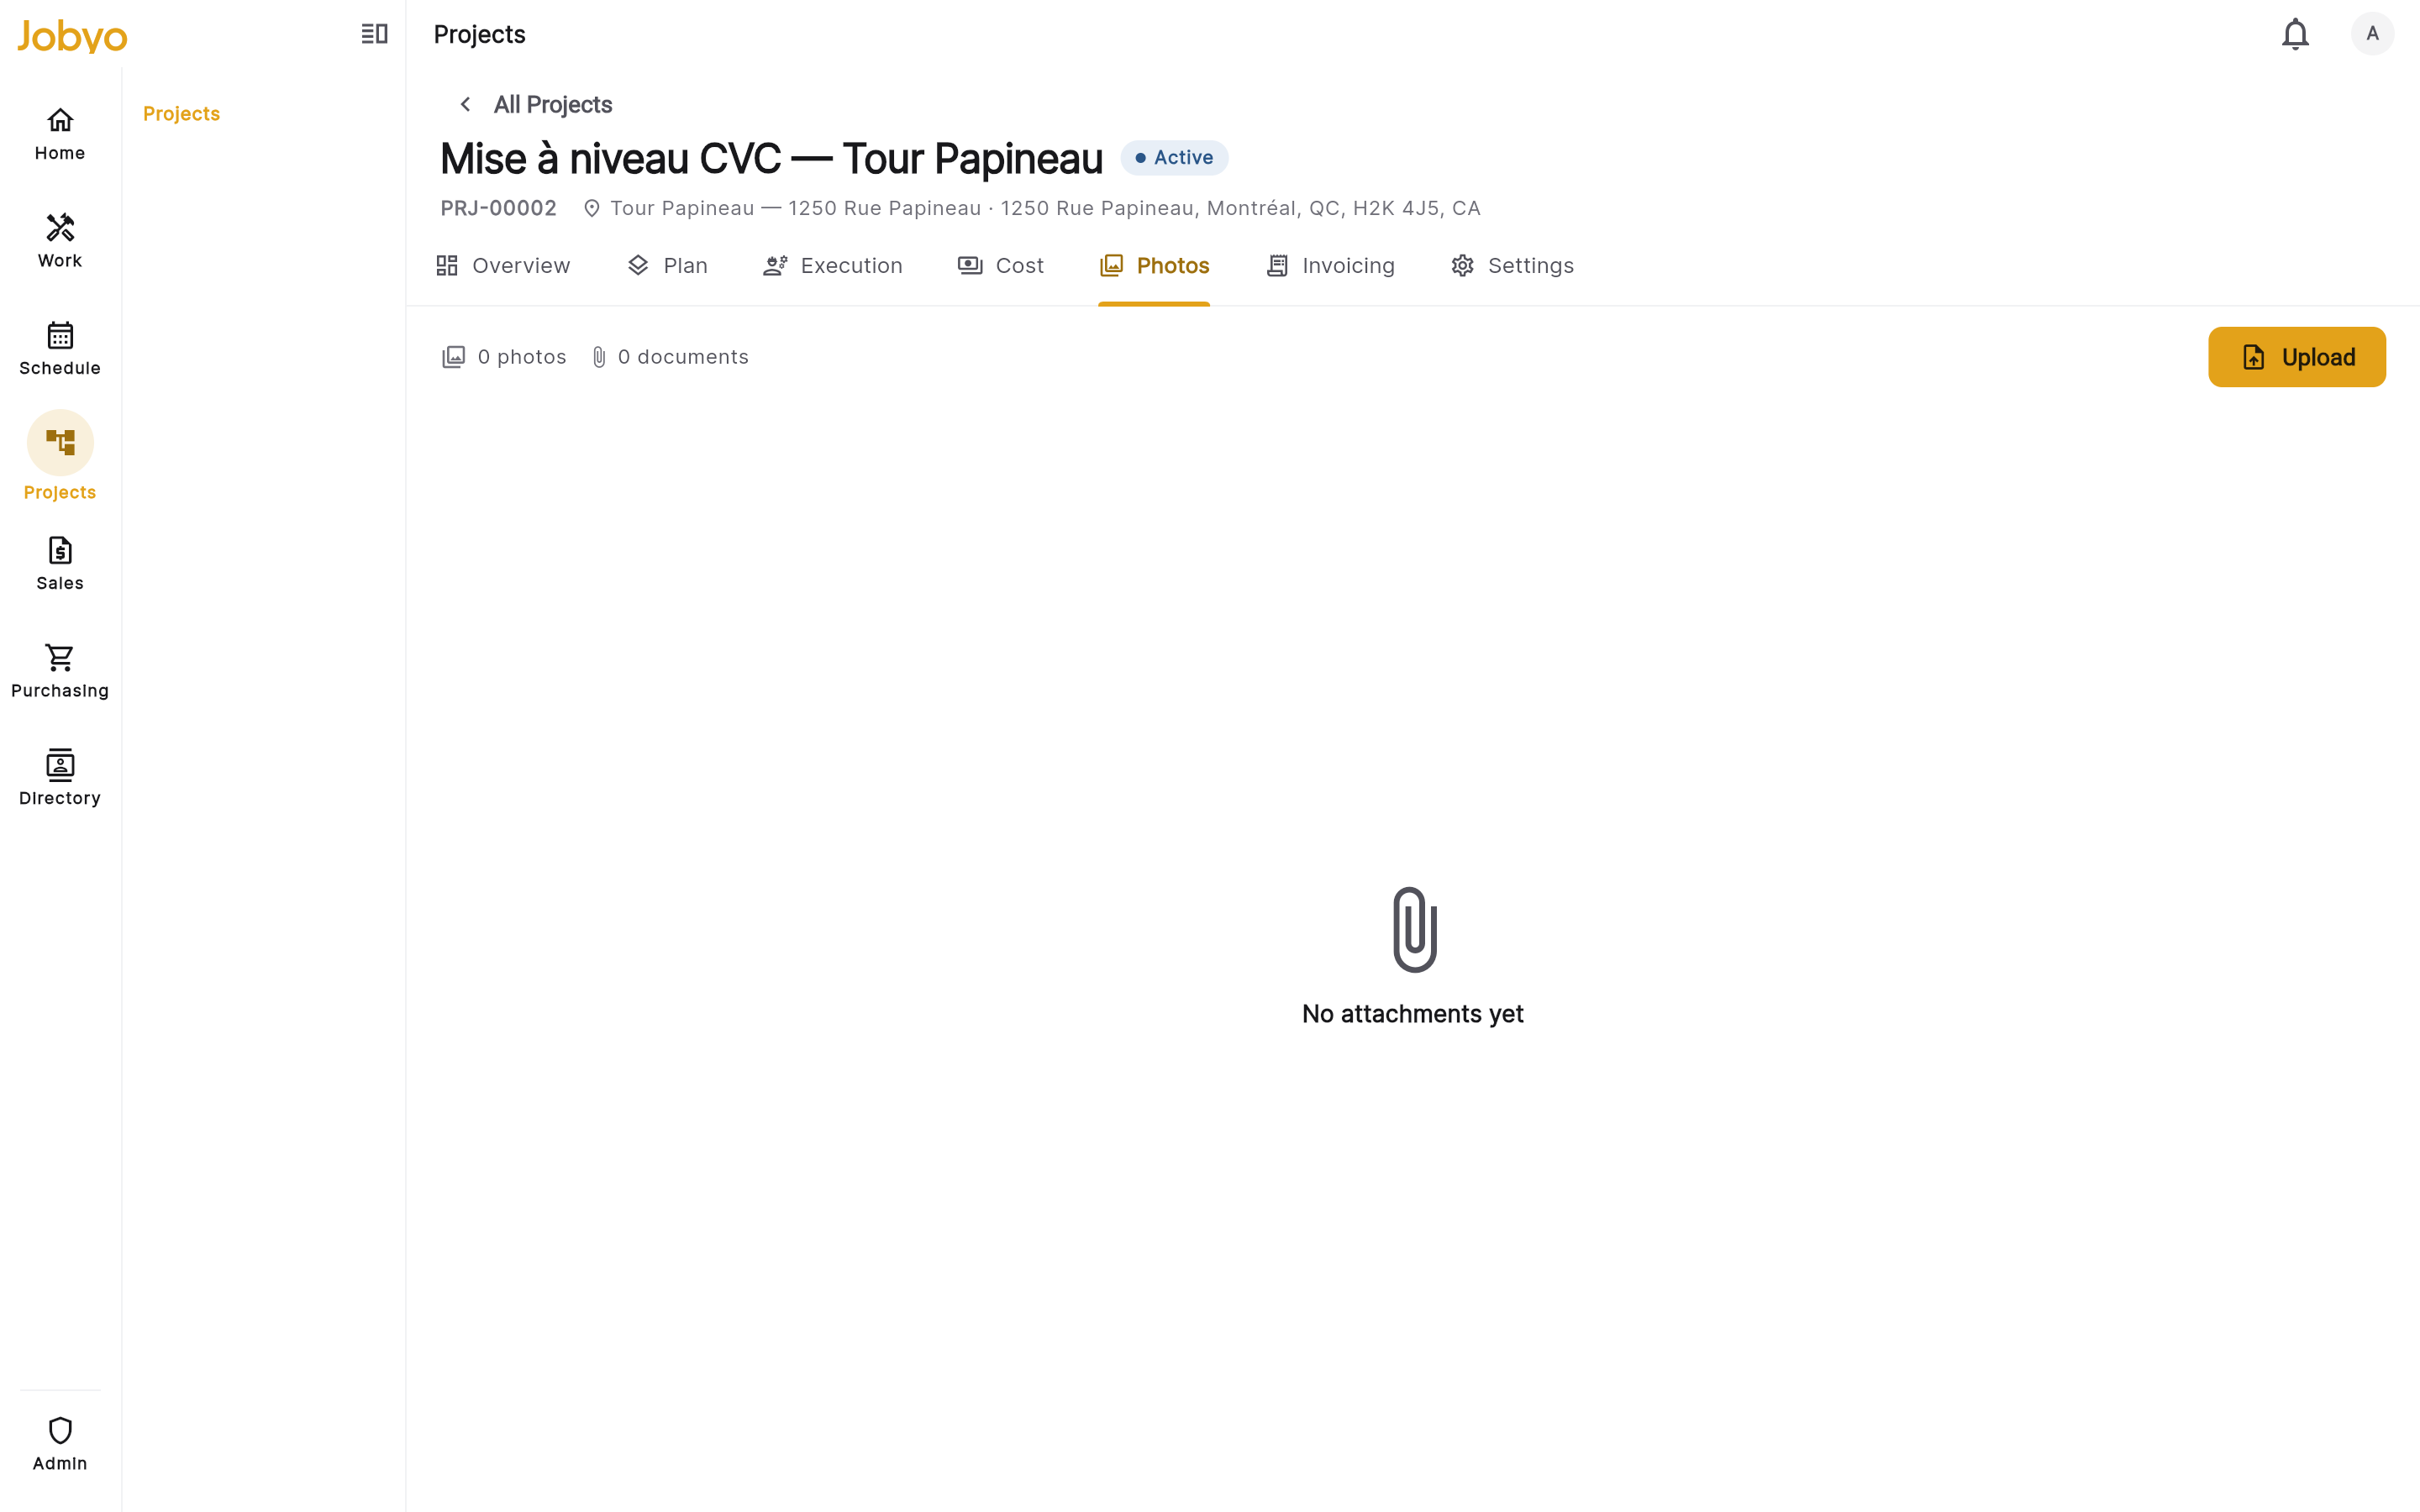
Photos tab — group by date / phase / location and search Open a photo full screen
Select any photo to open the full-screen viewer. Use the filmstrip along the bottom to move between photos without leaving the viewer.
Add a photo or file
Choose Add
From the Photos tab (or a work order's Attachments section), select Add and pick a source — take a new photo with the camera, choose one from your gallery, or browse for a file (PDF, Word, or Excel).
Upload
The upload starts automatically. Wait for the progress indicator to finish before navigating away — a file that fails to upload won't appear in the gallery.
Describe it (optional)
After the file appears, open it to add a description or set the date taken. These are the only two details you can edit later.
The richest way to add site photos is from the work order as the job happens — those uploads roll up into the project's Photos tab automatically, grouped by phase and location where that context is known.
What you can attach
These rules apply to every record and every role.
| Accepted | |
|---|---|
| Images | JPG, PNG, BMP, WebP, TIFF |
| Documents | PDF, Word (.docx), Excel (.xlsx, .xls) |
| Max size | 4 MB per file |
Anything else — video, ZIP archives, or an unlisted format — is rejected with an error. If a file is over 4 MB, resize the image or compress the document before uploading. Images get an automatic thumbnail; documents don't.
Phone and tablet photos often carry hidden GPS coordinates and device details (EXIF data). Jobyo automatically removes this from JPEG photos on upload, so your exact position isn't stored with the image.
Edit, download, and delete
- Edit — open a photo and change its description or date taken. You can't change the file itself after upload, and no other field is editable.
- Download — select Download to save the original file. Jobyo generates a secure link that's valid for 15 minutes; if it expires before you open or save, tap Download again for a fresh one.
- Delete — remove a photo you no longer want. Field users can delete only their own uploads; company roles can delete any photo on the project. There's no undo in the app.
A file can't be swapped out once uploaded. To correct a photo or document, delete it and upload the new version.
If it doesn't work
- "File too large"The file is over 4 MB. Resize the image or compress the document, then upload again.
- "File type not supported"Only JPG, PNG, BMP, WebP, TIFF images and PDF / Word / Excel documents are accepted. Video and ZIP are not.
- Upload never finishesCheck your connection and try again. A file that failed to upload will not appear in the gallery.
- "Not found" on a photoThe file may have been deleted, or it was uploaded by someone else and your role only sees its own uploads. Ask your ops team.
- No Add buttonYour role doesn't include creating attachments. An administrator can grant it under Users & roles.
- No Delete optionYour role may include upload but not delete. Contact your manager, or ask an admin to remove the file.