Notifications & rules
Notifications keep you aware of work that involves you — a timesheet waiting for approval, a task assigned to you, a work order created. Every user has a personal inbox behind the app-bar bell, and administrators get a separate screen for tuning which events notify whom.
How it's split
There are three parts, and what you can reach depends on your role:
- Your inbox — every user has one. No special permission is needed; you only ever see your own notifications.
- Your devices — every user can view and remove the devices that receive push alerts.
- Notification rules — administrators and account owners only. This is where the delivery behaviour for the whole company is configured.
Notifications are available to every Jobyo plan — there's no upgrade or feature unlock involved.
Your notification inbox
Everyone with a Jobyo account has an inbox. It shows the notifications raised for you, newest first, with an unread badge on the bell.
Open the inbox
Tap the bell in the app's top bar. On desktop it opens as a dropdown panel; on mobile it opens as a full-screen sheet. If there are unread notifications, a number badge sits on the bell.
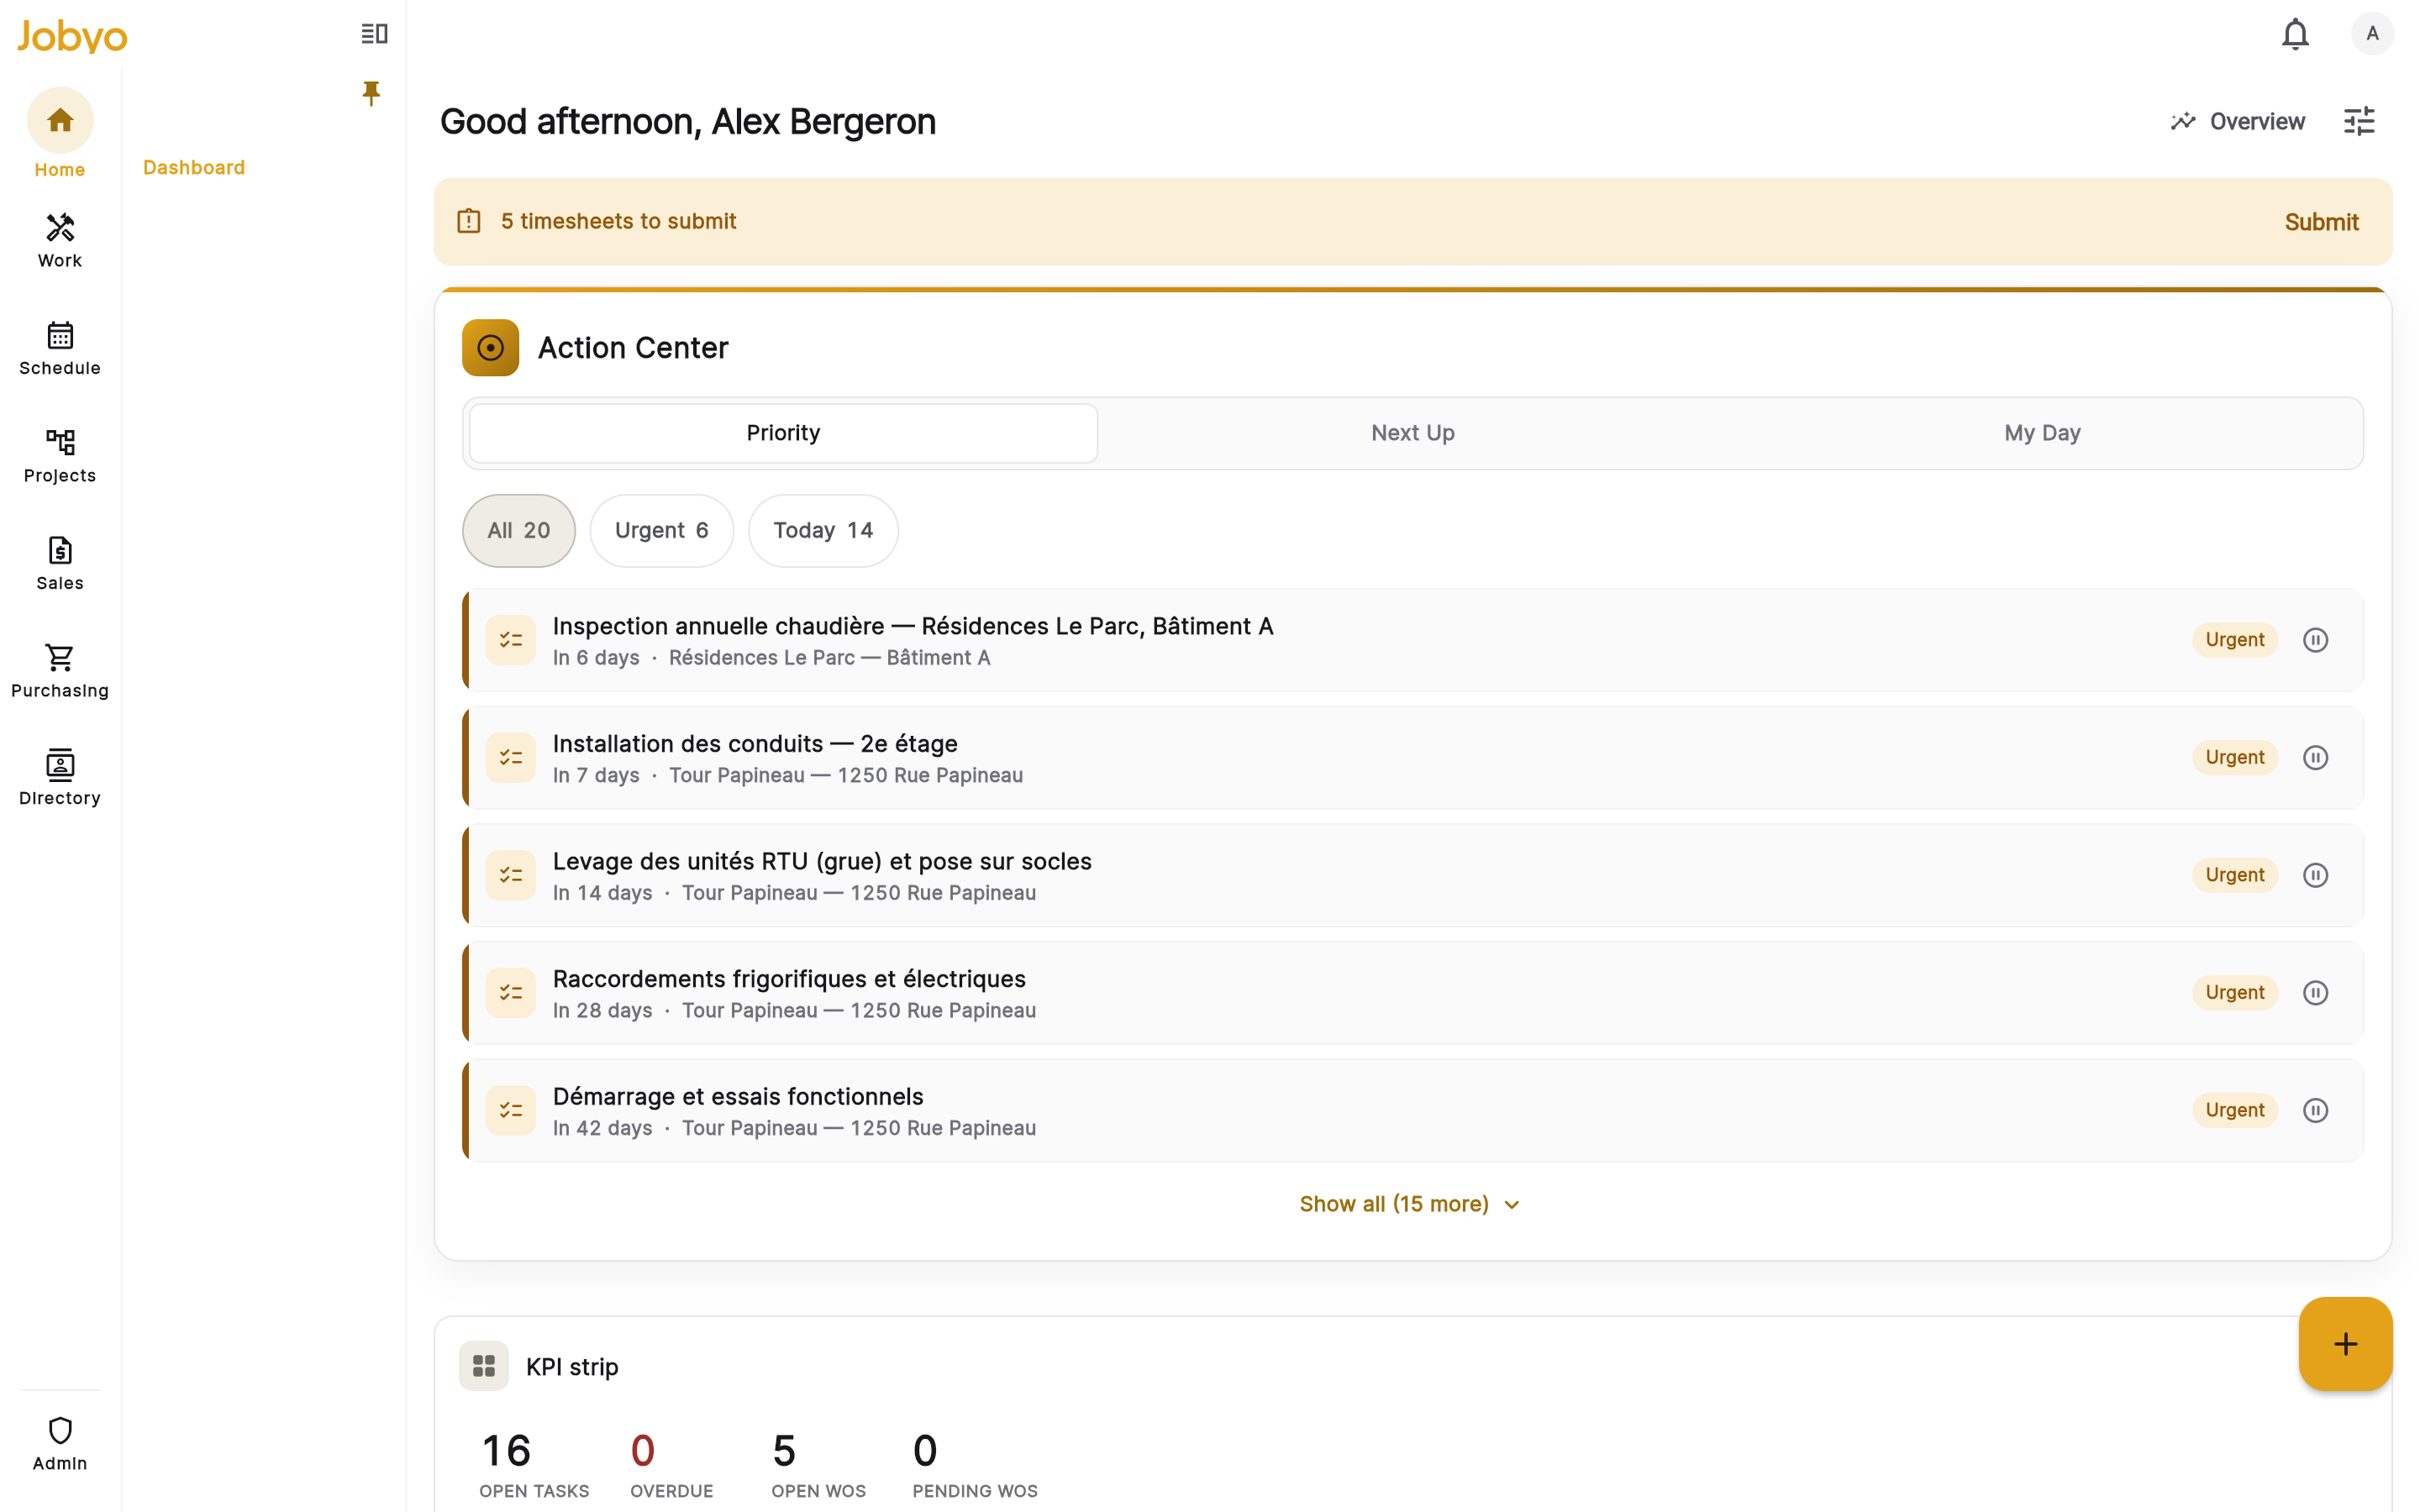
App bar — bell icon with a numbered unread badge Read one and jump to the record
Tap any row. The notification is marked read, and Jobyo navigates you to the record that triggered it — a task notification opens that task, a timesheet notification opens your timesheet. If that record was deleted or you no longer have access, the app simply reopens the inbox.
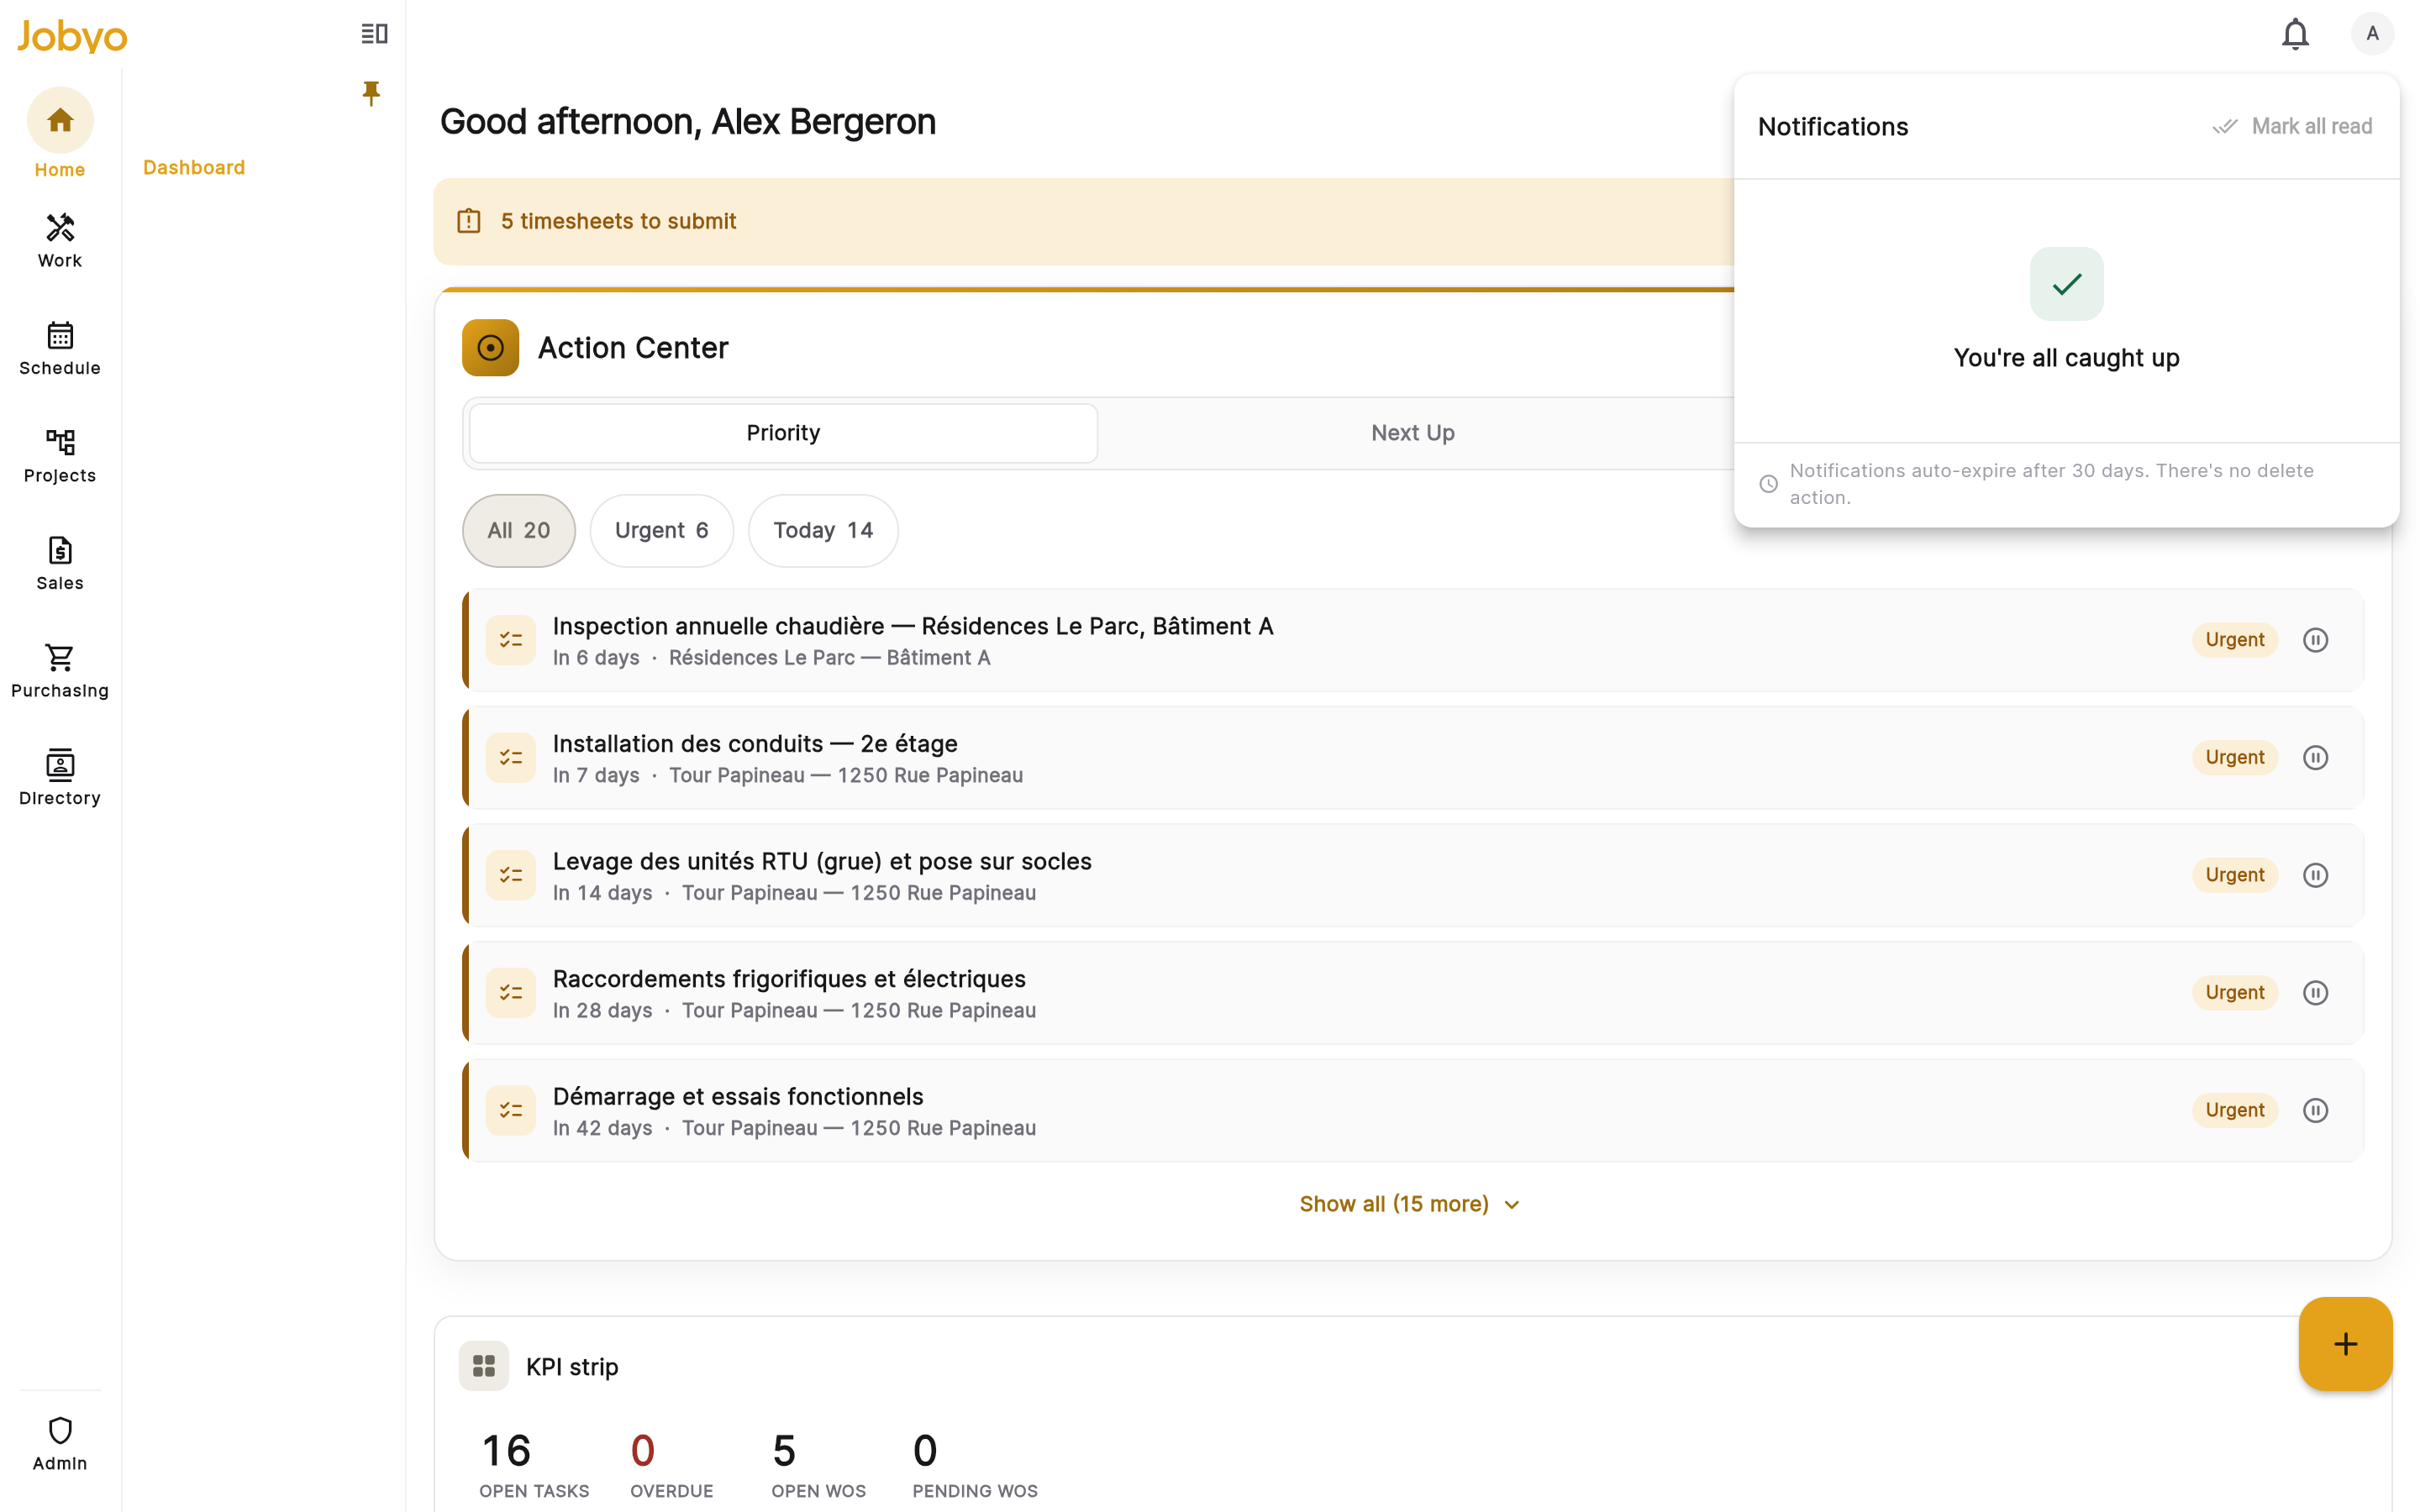
Inbox panel — newest first, unread rows highlighted Mark everything read
Use Mark all read at the top of the panel to clear the unread state on every row at once. The badge on the bell disappears.
Scroll back through older items
Scroll down and the next page loads automatically. The list runs newest to oldest.
Tapping a notification always marks it read — there's no "mark as unread." And there's no unread-only filter: the inbox always shows read and unread together, with unread ones highlighted. Notifications are removed automatically after 30 days and can't be retrieved after that.
Push notifications on your device
Push alerts let Jobyo reach you even when the app is closed. They're set up automatically — when you log in, your device registers itself, and no manual configuration is needed. A push shows the same title and body as the inbox entry, and tapping it opens the app on the relevant record.
- No pushes at allCheck your device system settings allow notifications for Jobyo (Settings → Notifications → Jobyo).
- Reinstalled or switched phonesLog in again — the device re-registers on each login.
- Some events push, others don'tPush delivery depends on an admin enabling the push channel for that event's rule. Without it, the event still lands in the inbox but sends no push.
Your devices
Jobyo tracks which devices you're signed in to so it knows where to send push alerts. You can review and prune that list, but you can't add devices manually — they register on login.
Open your devices
Go to your account or profile settings and open the Notifications section (also reachable as a dedicated My devices screen). Each entry shows its platform — Android, iOS, or web.
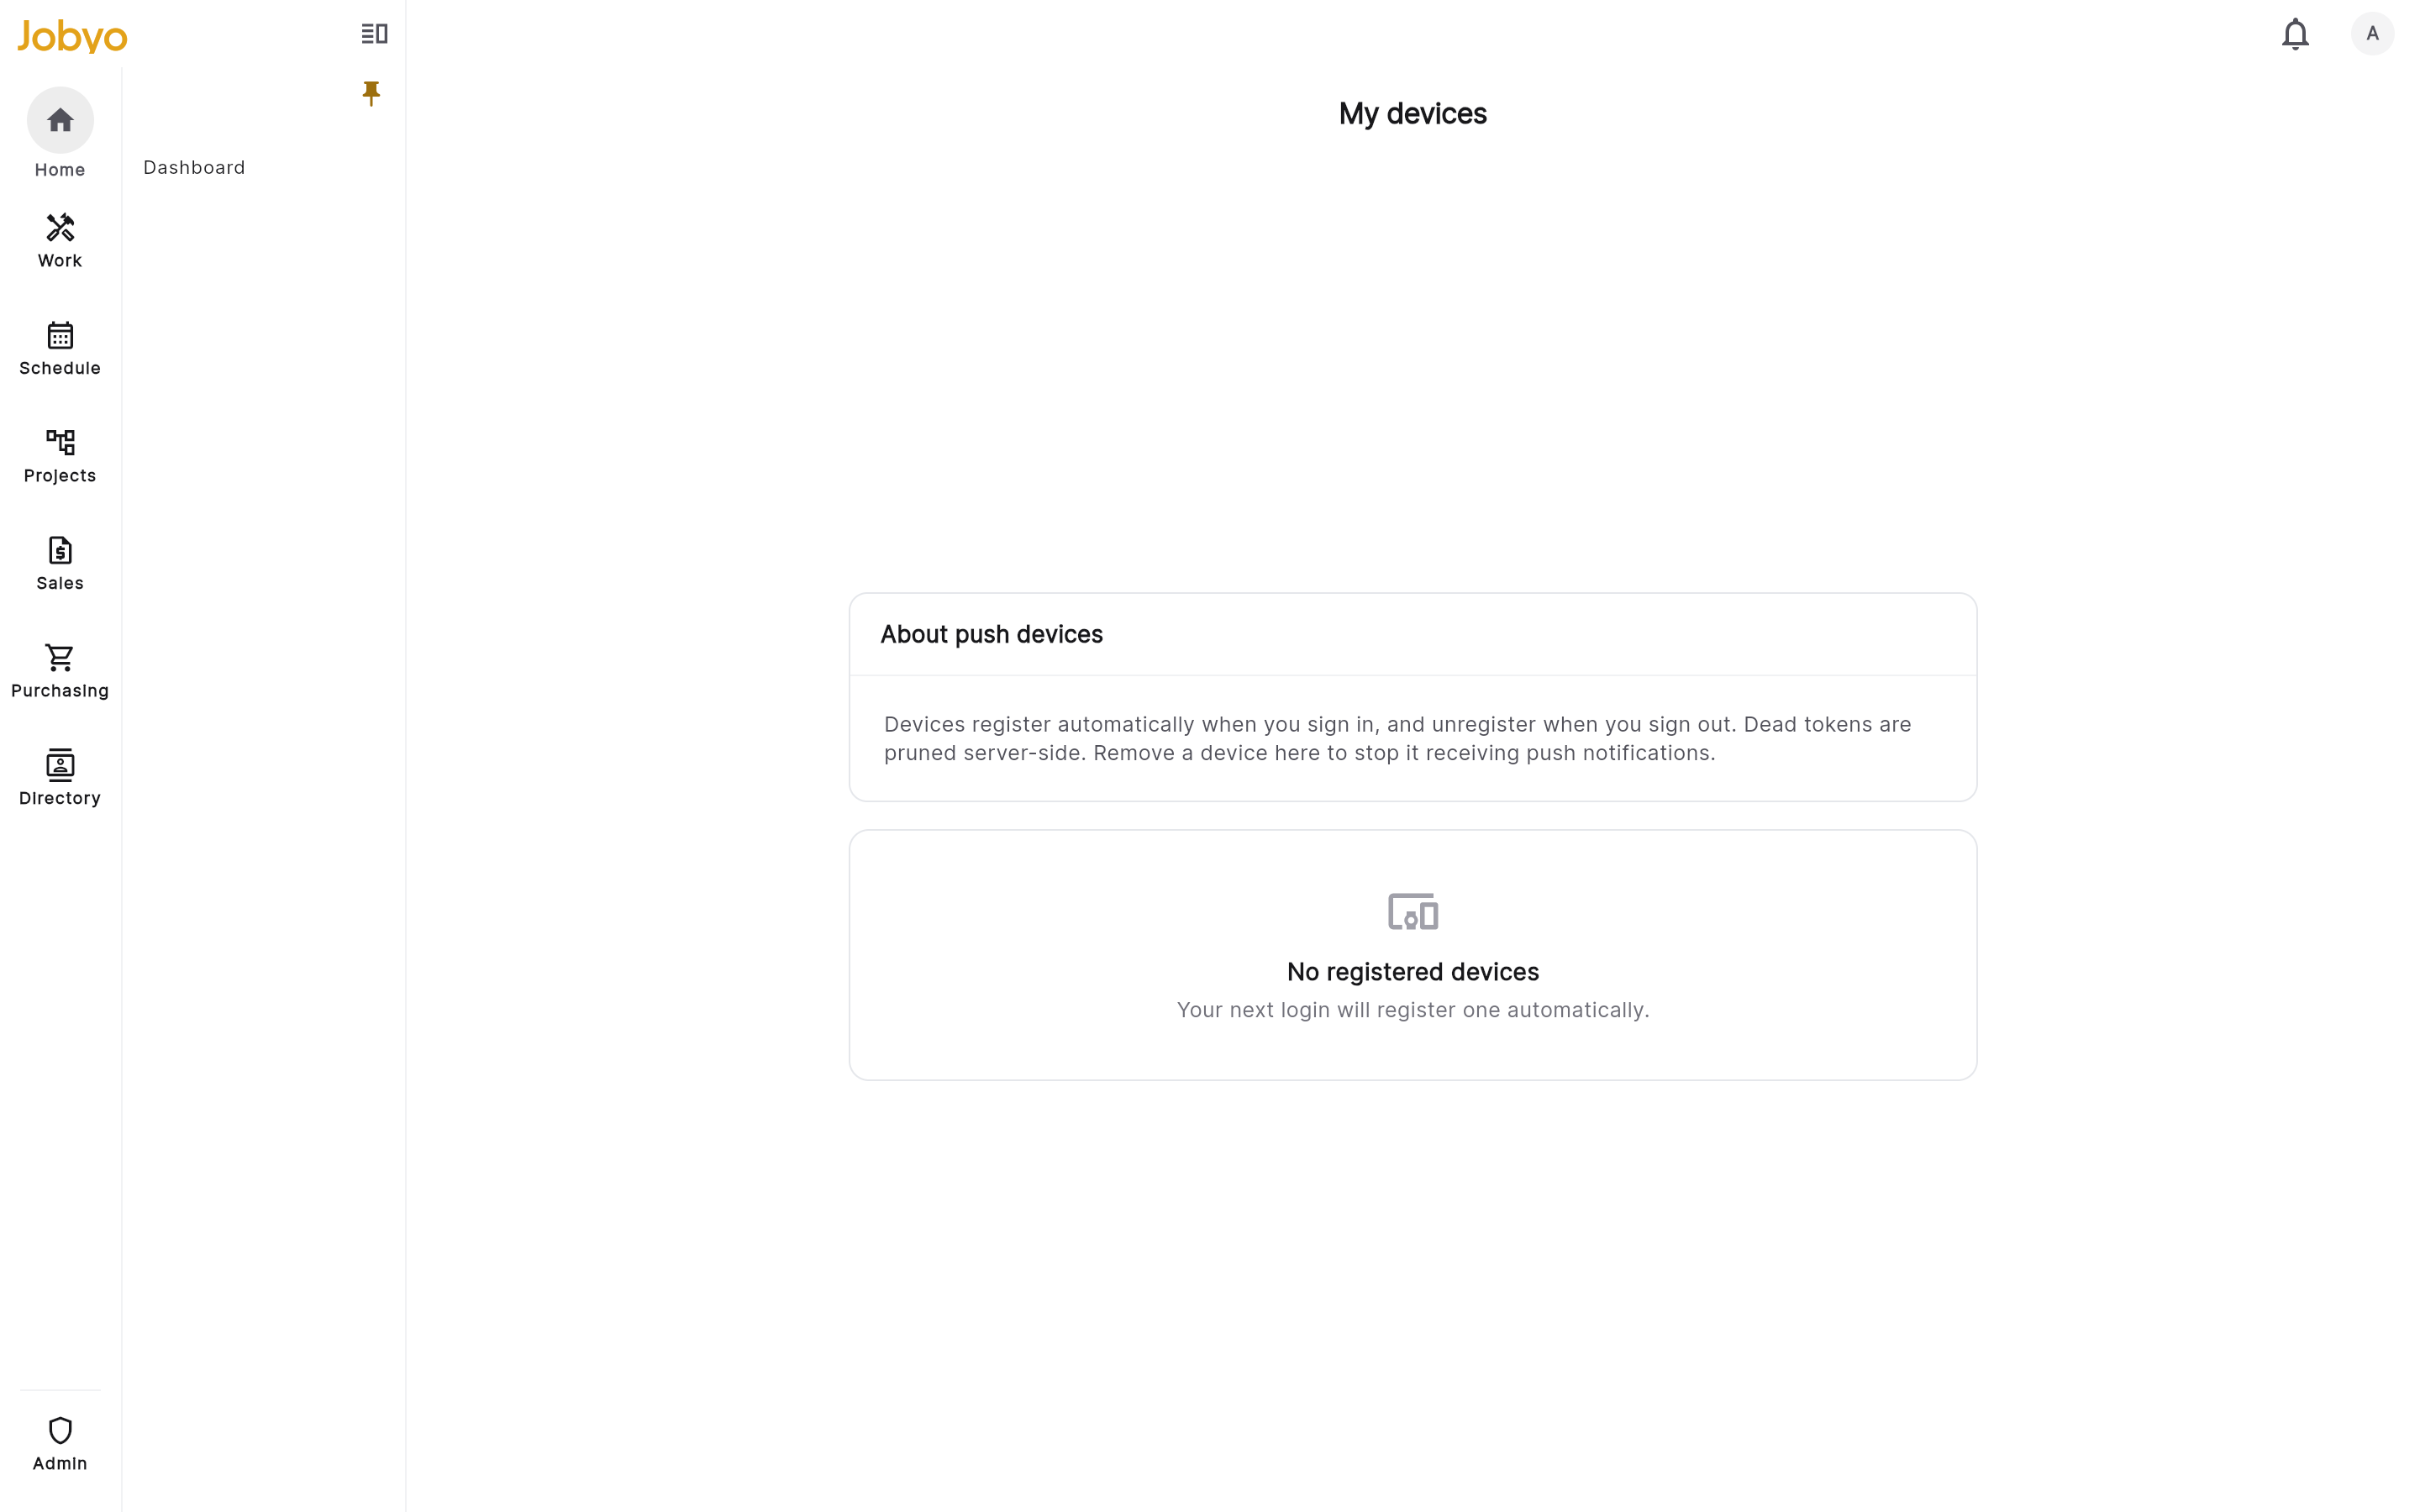
My devices — registered devices with platform Remove a device
Tap Remove next to a device to stop sending push alerts to it. It disappears from the list.
A normal logout unregisters that device automatically. Remove is for taking a device off the list without logging out — for example, one you no longer have.
Notification rules (admin)
Administrators and account owners get a Notification Rules screen under Settings. A rule decides, per event type, whether it fires an in-app notification, a push, or both, and who receives it. If you don't see a Notifications option in Settings, your role doesn't include the rule-admin permission.
Jobyo delivers on two channels only: the in-app inbox and push. There is no email notification channel.
Open the rules list
From Settings, select Notifications (or Notification Rules). System rules appear first, then any custom rules your company added. Each row shows the event it covers, its channels, whether it's active, and a System label on rules that can't be deleted.
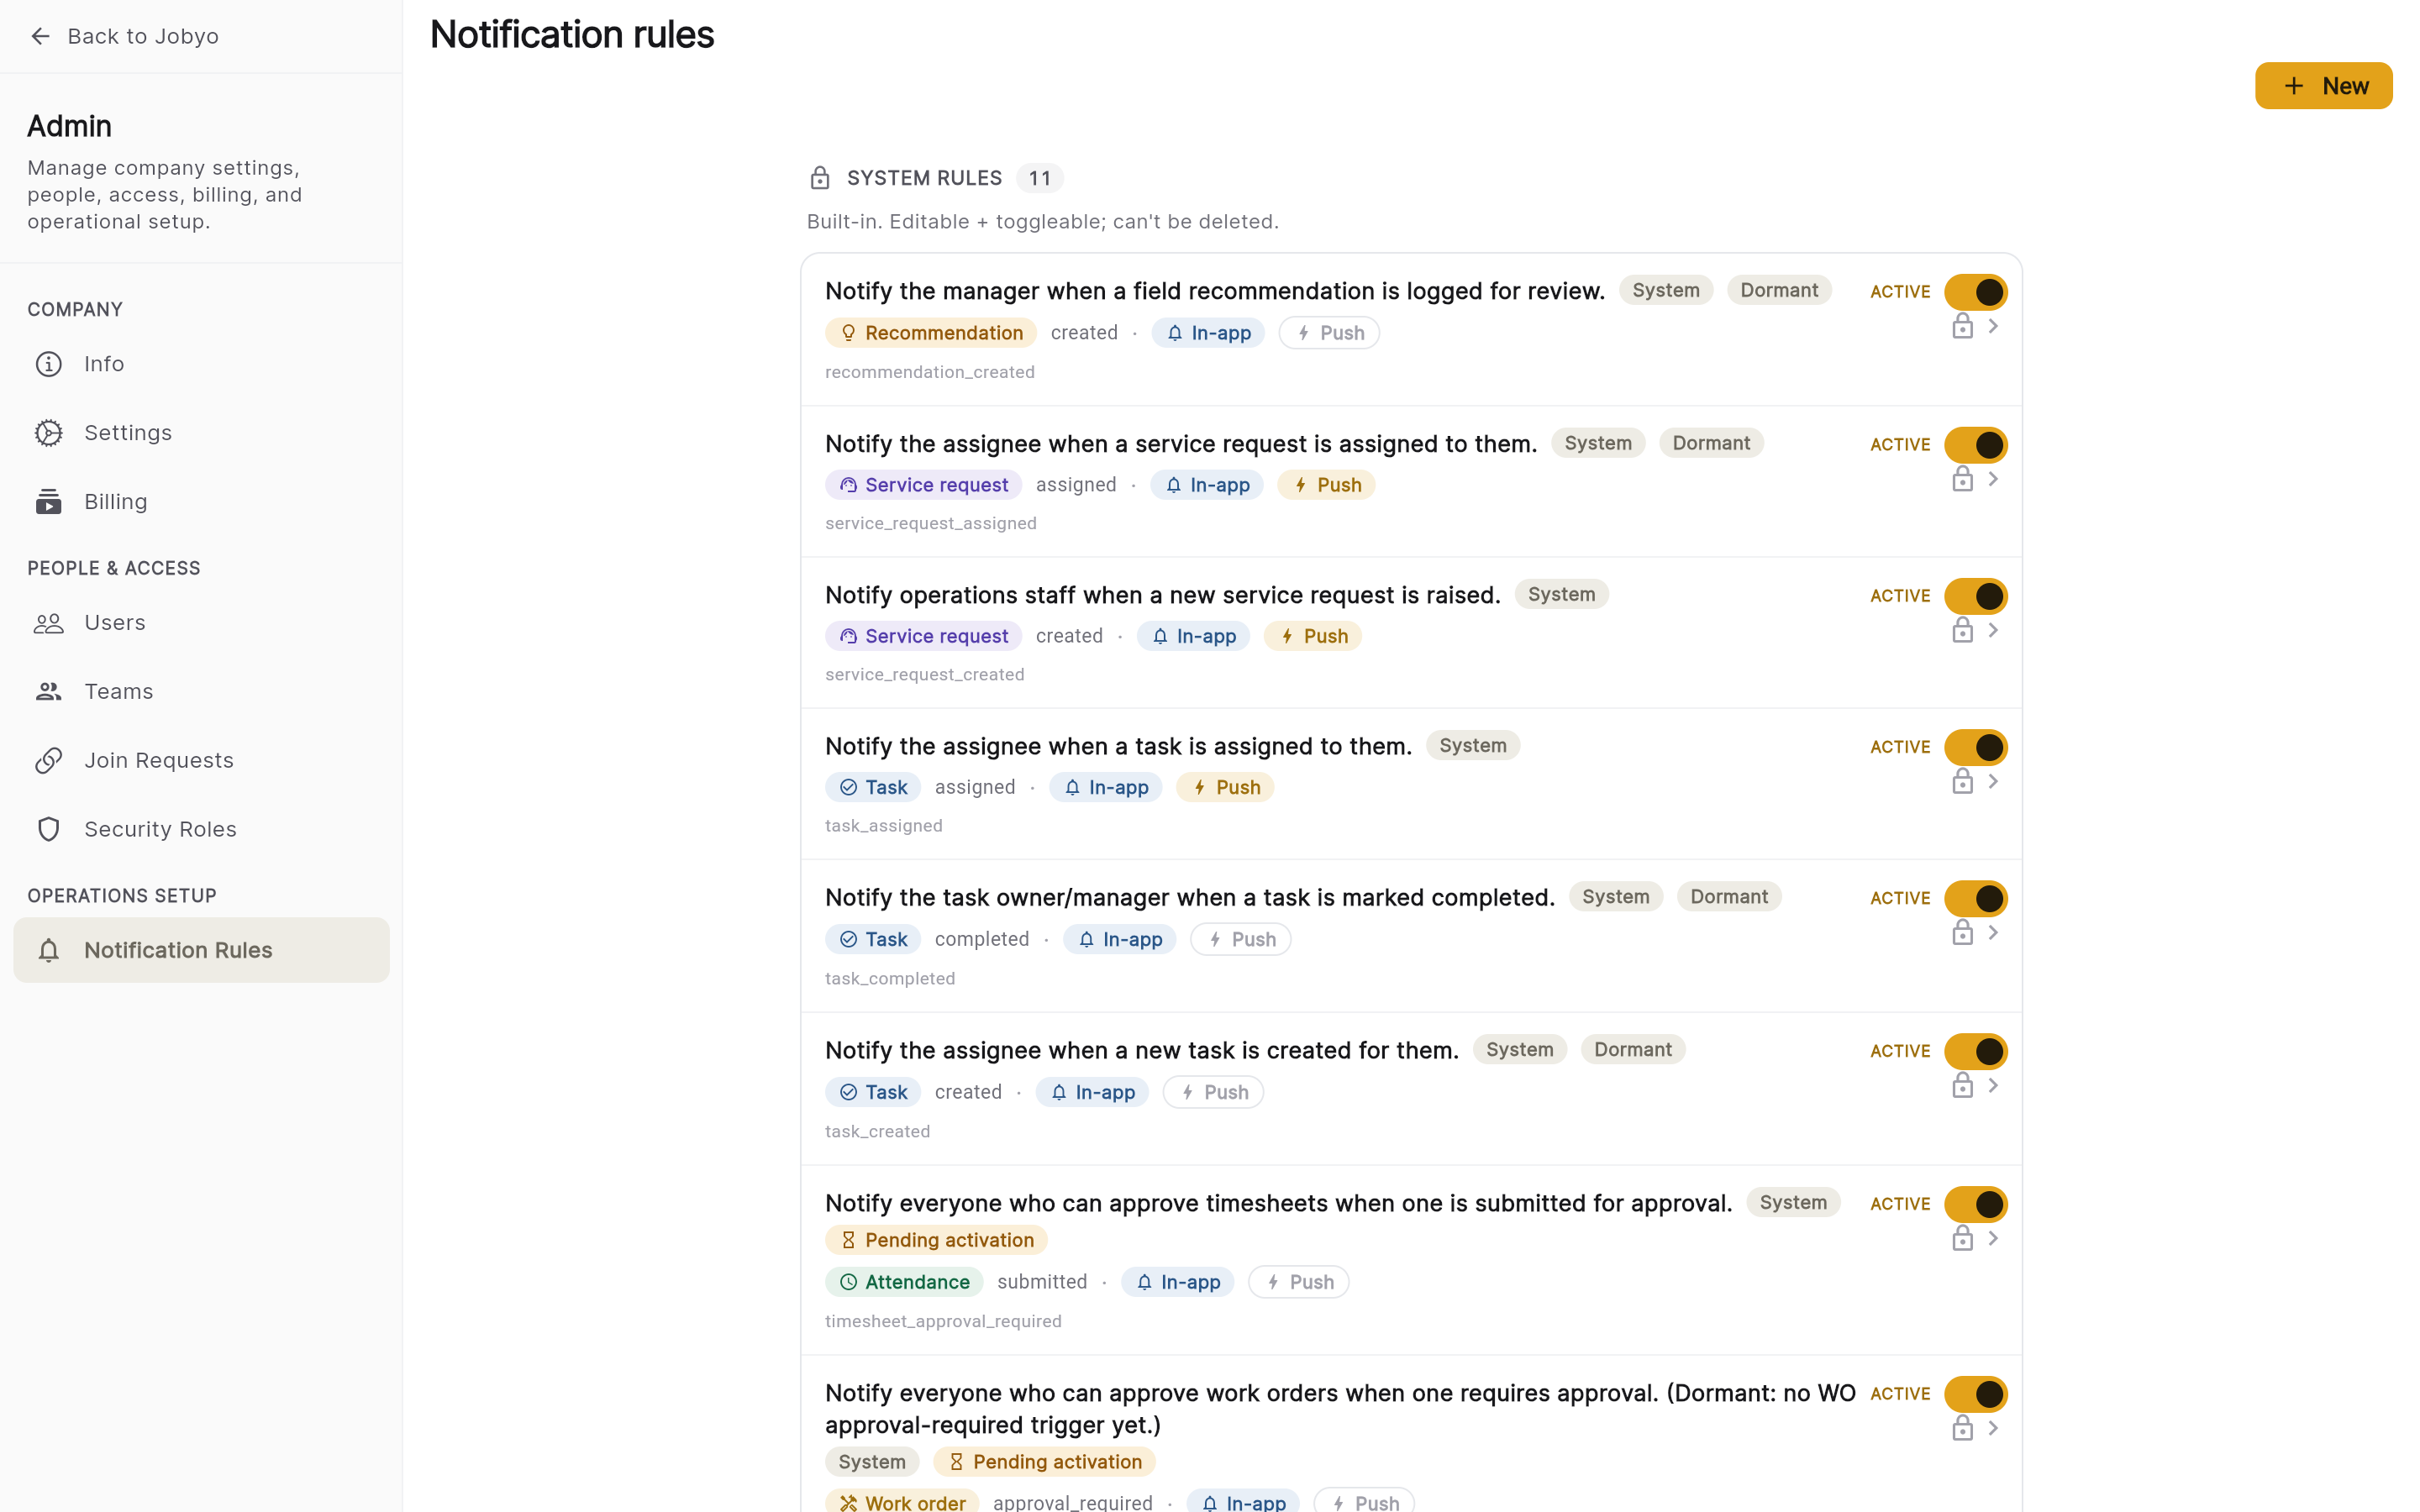
Notification Rules — system rules above custom rules Enable or disable a rule
Use the Active toggle on the row. Any rule can be disabled — including system rules — and it's always reversible. A disabled rule won't fire even when its event happens.
Edit channels and recipients
Open a rule and select Edit. Both system and custom rules can be edited. You can change the In-app and Push channels (have both on, one, or neither), the recipients, and the description.
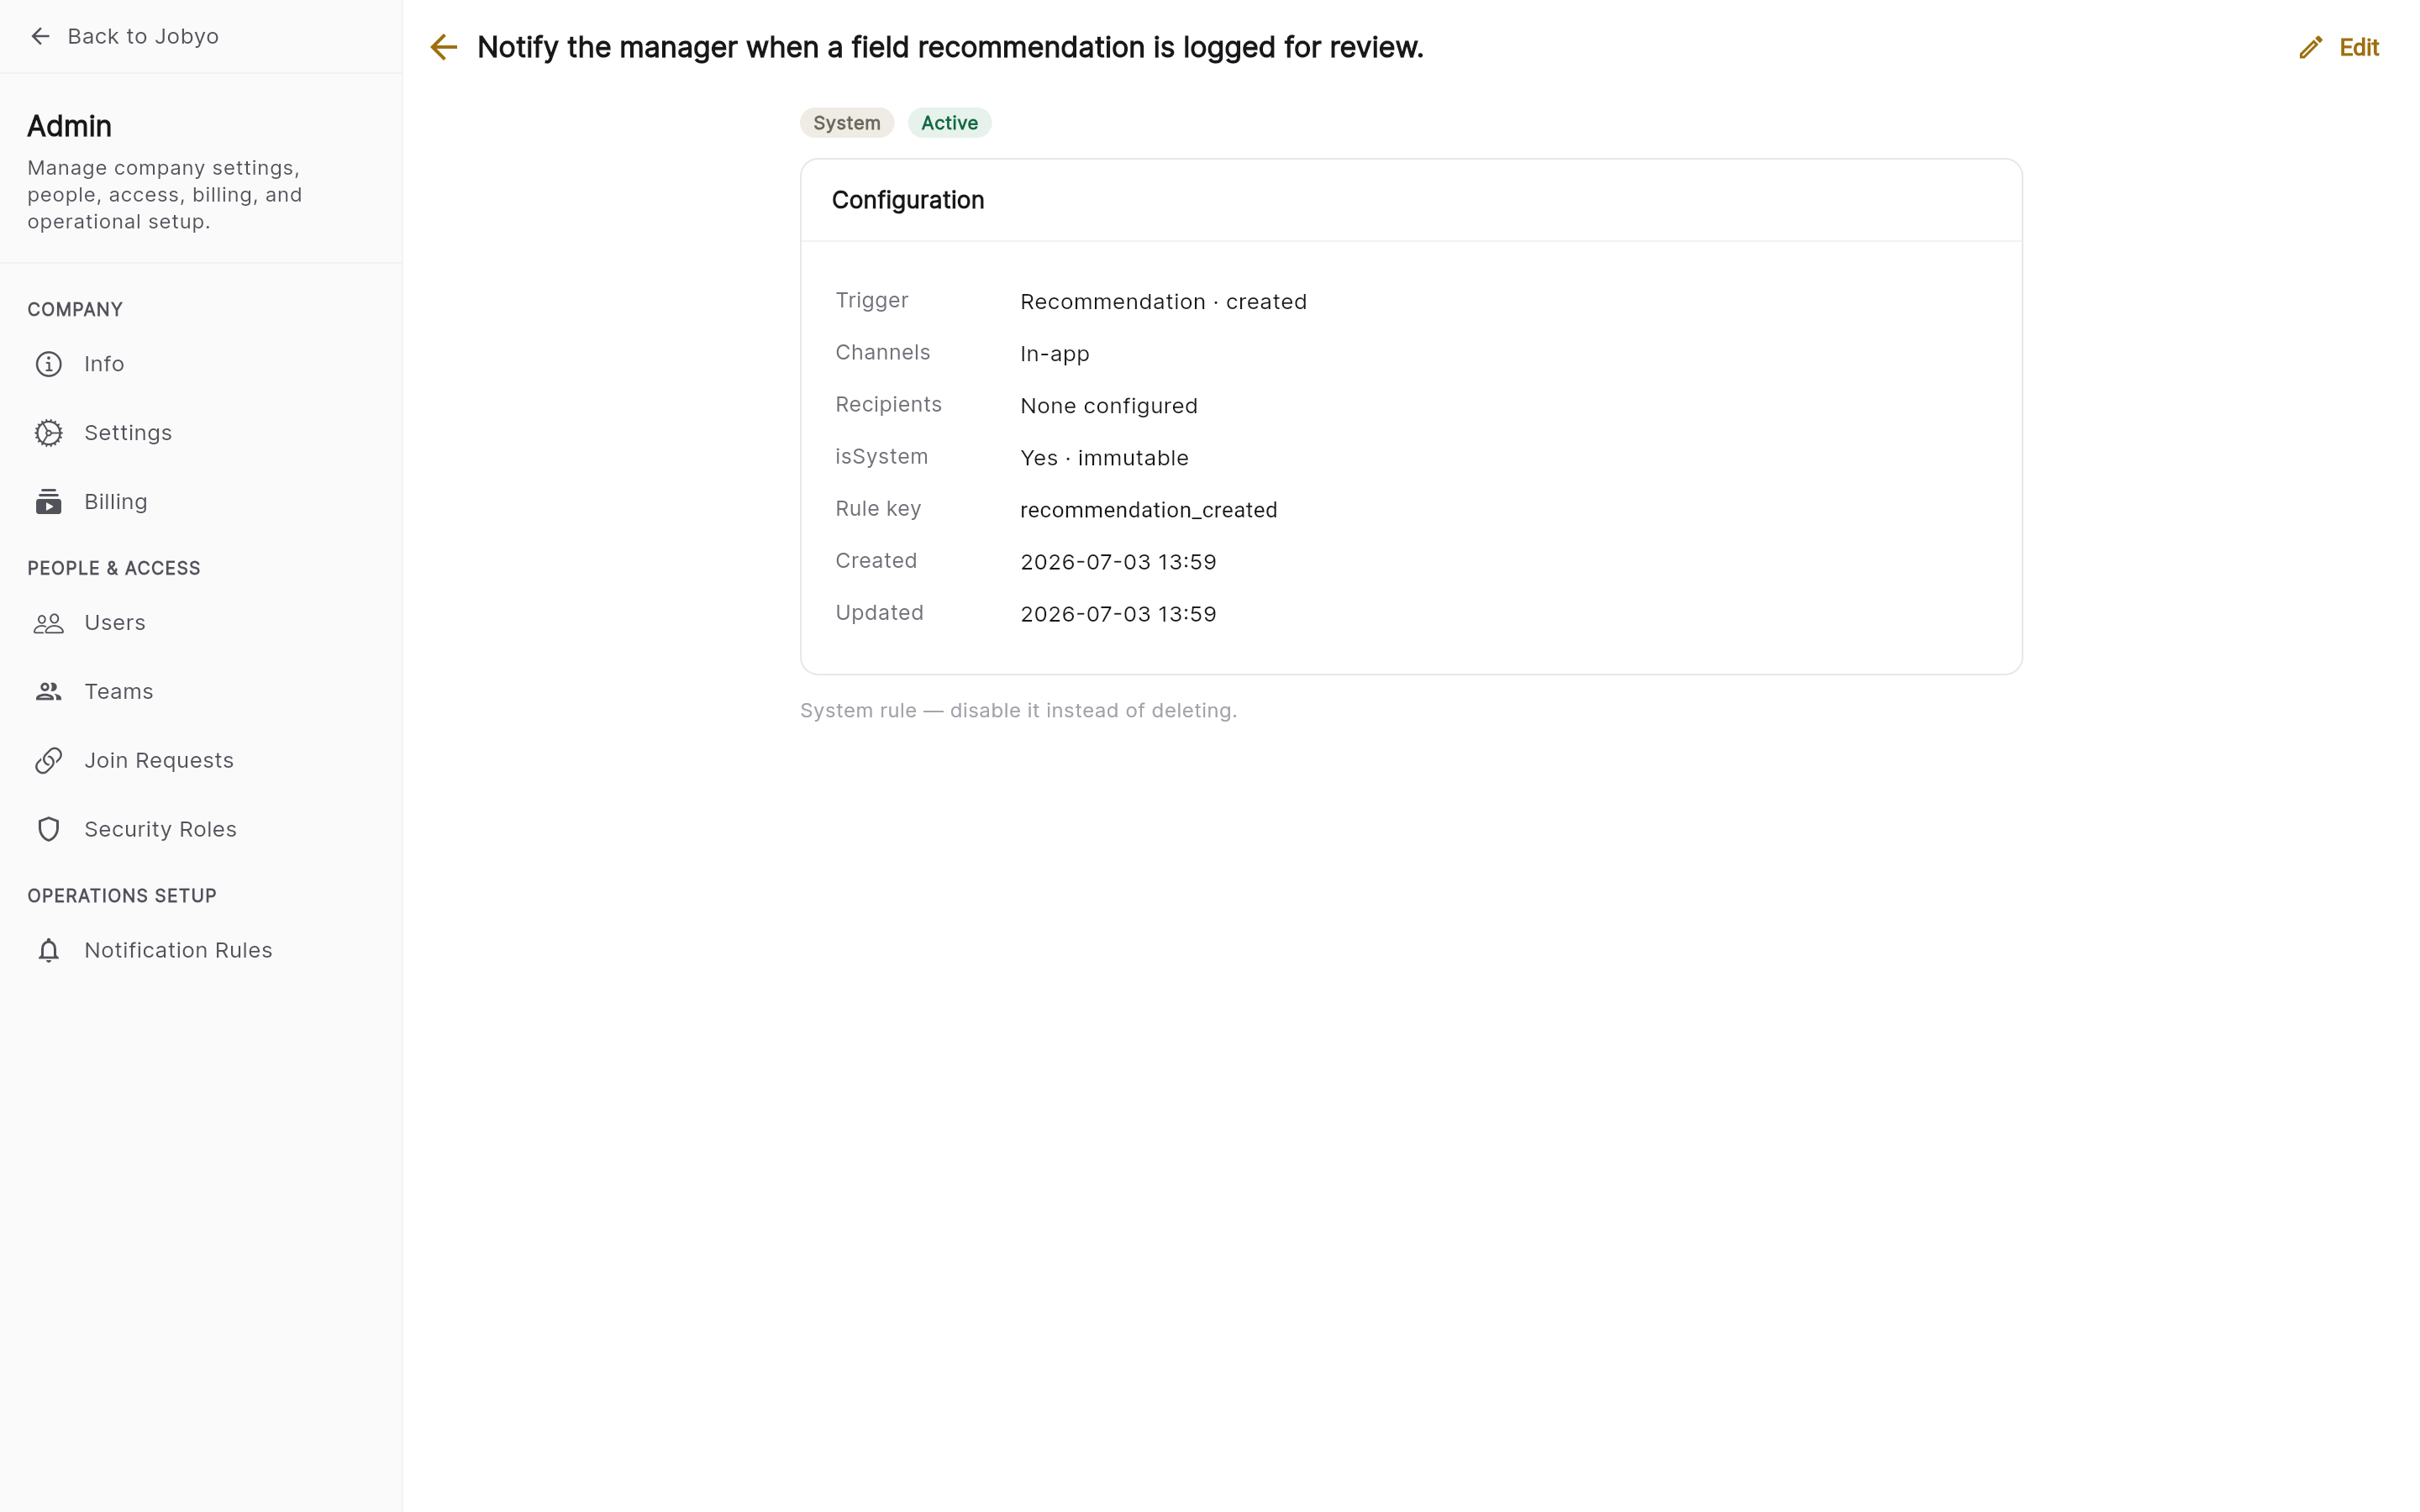
Rule edit — channel toggles and recipient fields
The 11 built-in system rules
Jobyo ships 11 pre-built rules. They're owned by the system: you can enable, disable, and edit them, but you can't delete them.
| Rule | What it covers |
|---|---|
| Task assigned | Someone is assigned to a task |
| Task created | A new task is created |
| Task completed | A task is marked complete |
| Work order assigned | Someone is assigned to a work order |
| Work order created | A new work order is created |
| Work order completed | A work order is closed / completed |
| Service request created | A new service request is raised |
| Service request assigned | Someone is assigned to a service request |
| Recommendation created | A recommendation is raised from a work order |
| Timesheet approval required | A technician submits a timesheet for approval |
| Work order approval required | A work order requires approval |
A rule only sends when the relevant part of Jobyo is wired to fire it. Today that wiring is partial, so several rules are catalogued and configurable but don't reach users yet. Configuring them now is safe — they'll start delivering once wiring completes, using the channels and recipients you set.
Current delivery state, so you know what to expect:
- Timesheet approval required — fires when a technician submits a timesheet. The recipient list (people who can approve timesheets) isn't resolved yet, so it won't reach the right people until an administrator completes a role-assignment step. Worth keeping enabled for when it does.
- Task assigned and Service request created — these do reach users today, but through an older delivery path. The matching rules on this screen are visible and configurable, and your changes here take effect when that path is connected to these rules.
- Work order approval required — seeded and visible, but no "work order requires approval" trigger exists yet.
- All the others — configured and ready, but the action-to-notification link isn't built yet. Set their channels and recipients now so they're ready.
Recipients
When editing a rule, you can add recipients three ways:
- Specific users — individual people who always receive it. Pick them by name.
- Roles — a role name so everyone with that role is notified. Saved but not yet active in delivery — this takes effect in a future update.
- Approvers of a resource — for rules like timesheet approval, notify everyone who can approve that resource. This activates once the role-assignment step above is complete.
Create a custom rule
When you need a notification for an event the 11 built-ins don't cover, create your own.
Open the create form
From the rules list, select New rule.
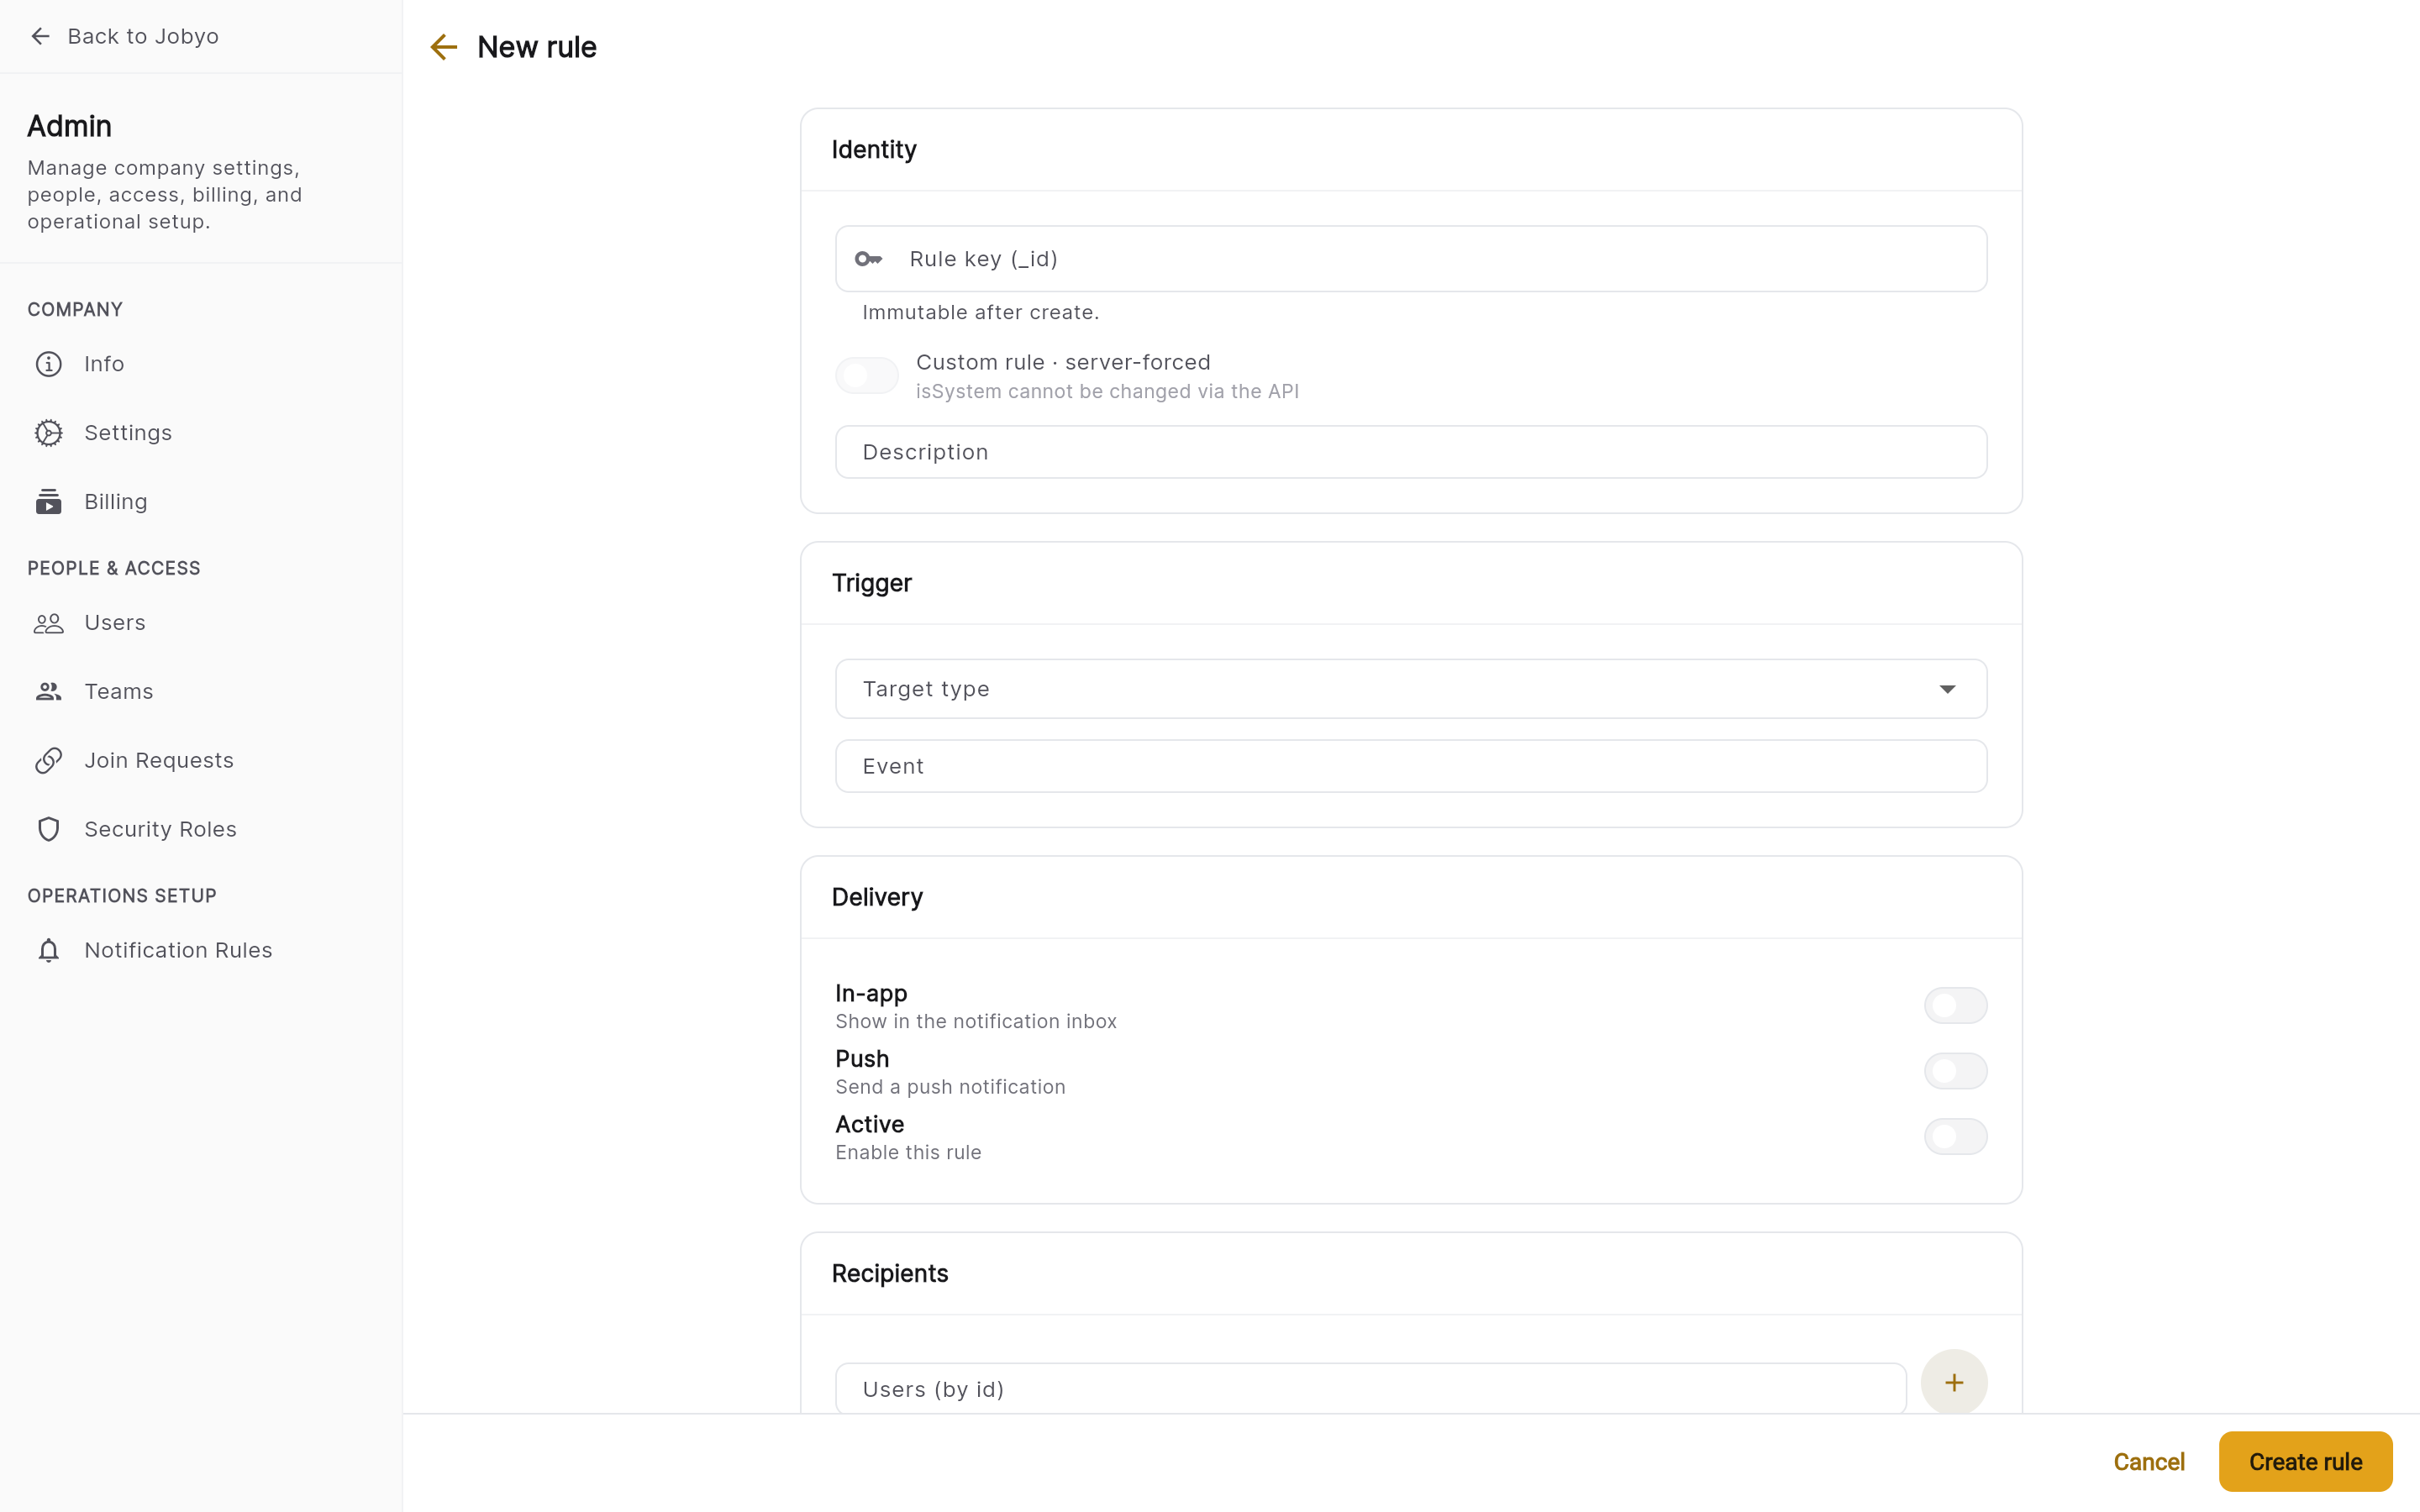
New rule form — event key, entity type, event, channels Fill in the rule
Set the event key (a short unique id in lowercase-with-underscores, for example
invoice_overdue— this can't be changed later), the entity type (task, work order, service request…), and the event (created, assigned, completed…). Toggle the In-app / Push channels, set Active, add a description, and choose recipients.Save
The rule appears in the custom section with no System badge, and can be fully edited or deleted anytime.
A custom rule is configuration only — it delivers when a part of Jobyo is wired to raise its event key. Rules you create today are ready to go, but connecting them to a live event is a development step.
Delete a custom rule
Only custom rules can be deleted. Open the rule and select Delete, then confirm — it's removed from the list. If there's no Delete option, you're on a system rule: disable it with the Active toggle instead.
If it doesn't work
- No Notifications option in SettingsYour role doesn't include rule administration. An administrator or owner can grant it under Users & roles.
- Bell shows a badge but the panel looks emptyClose and reopen the panel to refresh the count.
- A rule is on but nobody's notifiedThe event may not be wired to that rule yet, or its recipients aren't resolved. See "A rule being enabled doesn't mean it delivers yet" above.
- "Event key must be in the correct format"Keys start with a letter, use only lowercase letters, numbers, and underscores, and are 3 to 64 characters. Example: invoice_overdue.
- "A rule with this key already exists"Event keys are unique. Choose a different key.
- Can't delete a ruleSystem rules can't be deleted — only disabled. Only custom rules can be removed.