Run a project end to end
Bigger jobs don't fit on a single work order. This walkthrough follows one multi-phase project from an empty shell to a customer bill — plan it, freeze a baseline, let the field work accrue cost, watch budget against actual, then invoice. It ties the whole Projects module family into one journey.
The scenario
Throughout this guide we follow Northline Mechanical, a Québec HVAC contractor, running one project:
Mise à niveau CVC — Tour Papineau — an HVAC upgrade for the customer Les Tours Papineau, carried out at the Tour Papineau worksite. Northline breaks it into four phases, sets an ~$85k budget, publishes a baseline, sends technicians out to do the work, watches the spend, and bills it at the end.
How the pieces fit
A project is the top of Jobyo's Project → Task → Work Order hierarchy — the container that holds phases, tasks, and work orders under one plan, one budget, and one billing view. The journey below moves through the project workspace tabs in order: Overview → Plan → Cost → Execution → Invoicing.
The budget is a planning estimate you type in. The cost is built up automatically from the time, materials, purchases, and expenses recorded against the project's work. They live on separate tabs and never overwrite each other — you'll set one and watch the other.
Create the project
From the main menu open Projects and select New project. Give it a name — Mise à niveau CVC — Tour Papineau — and pick the Tour Papineau worksite. Name and worksite are the only required fields; the description, start and end dates, budget estimate, and an optional quotation reference can all be added later. Save it: Jobyo mints the next project number (for example PRJ-00001), sets the status to Active, and opens the project workspace.
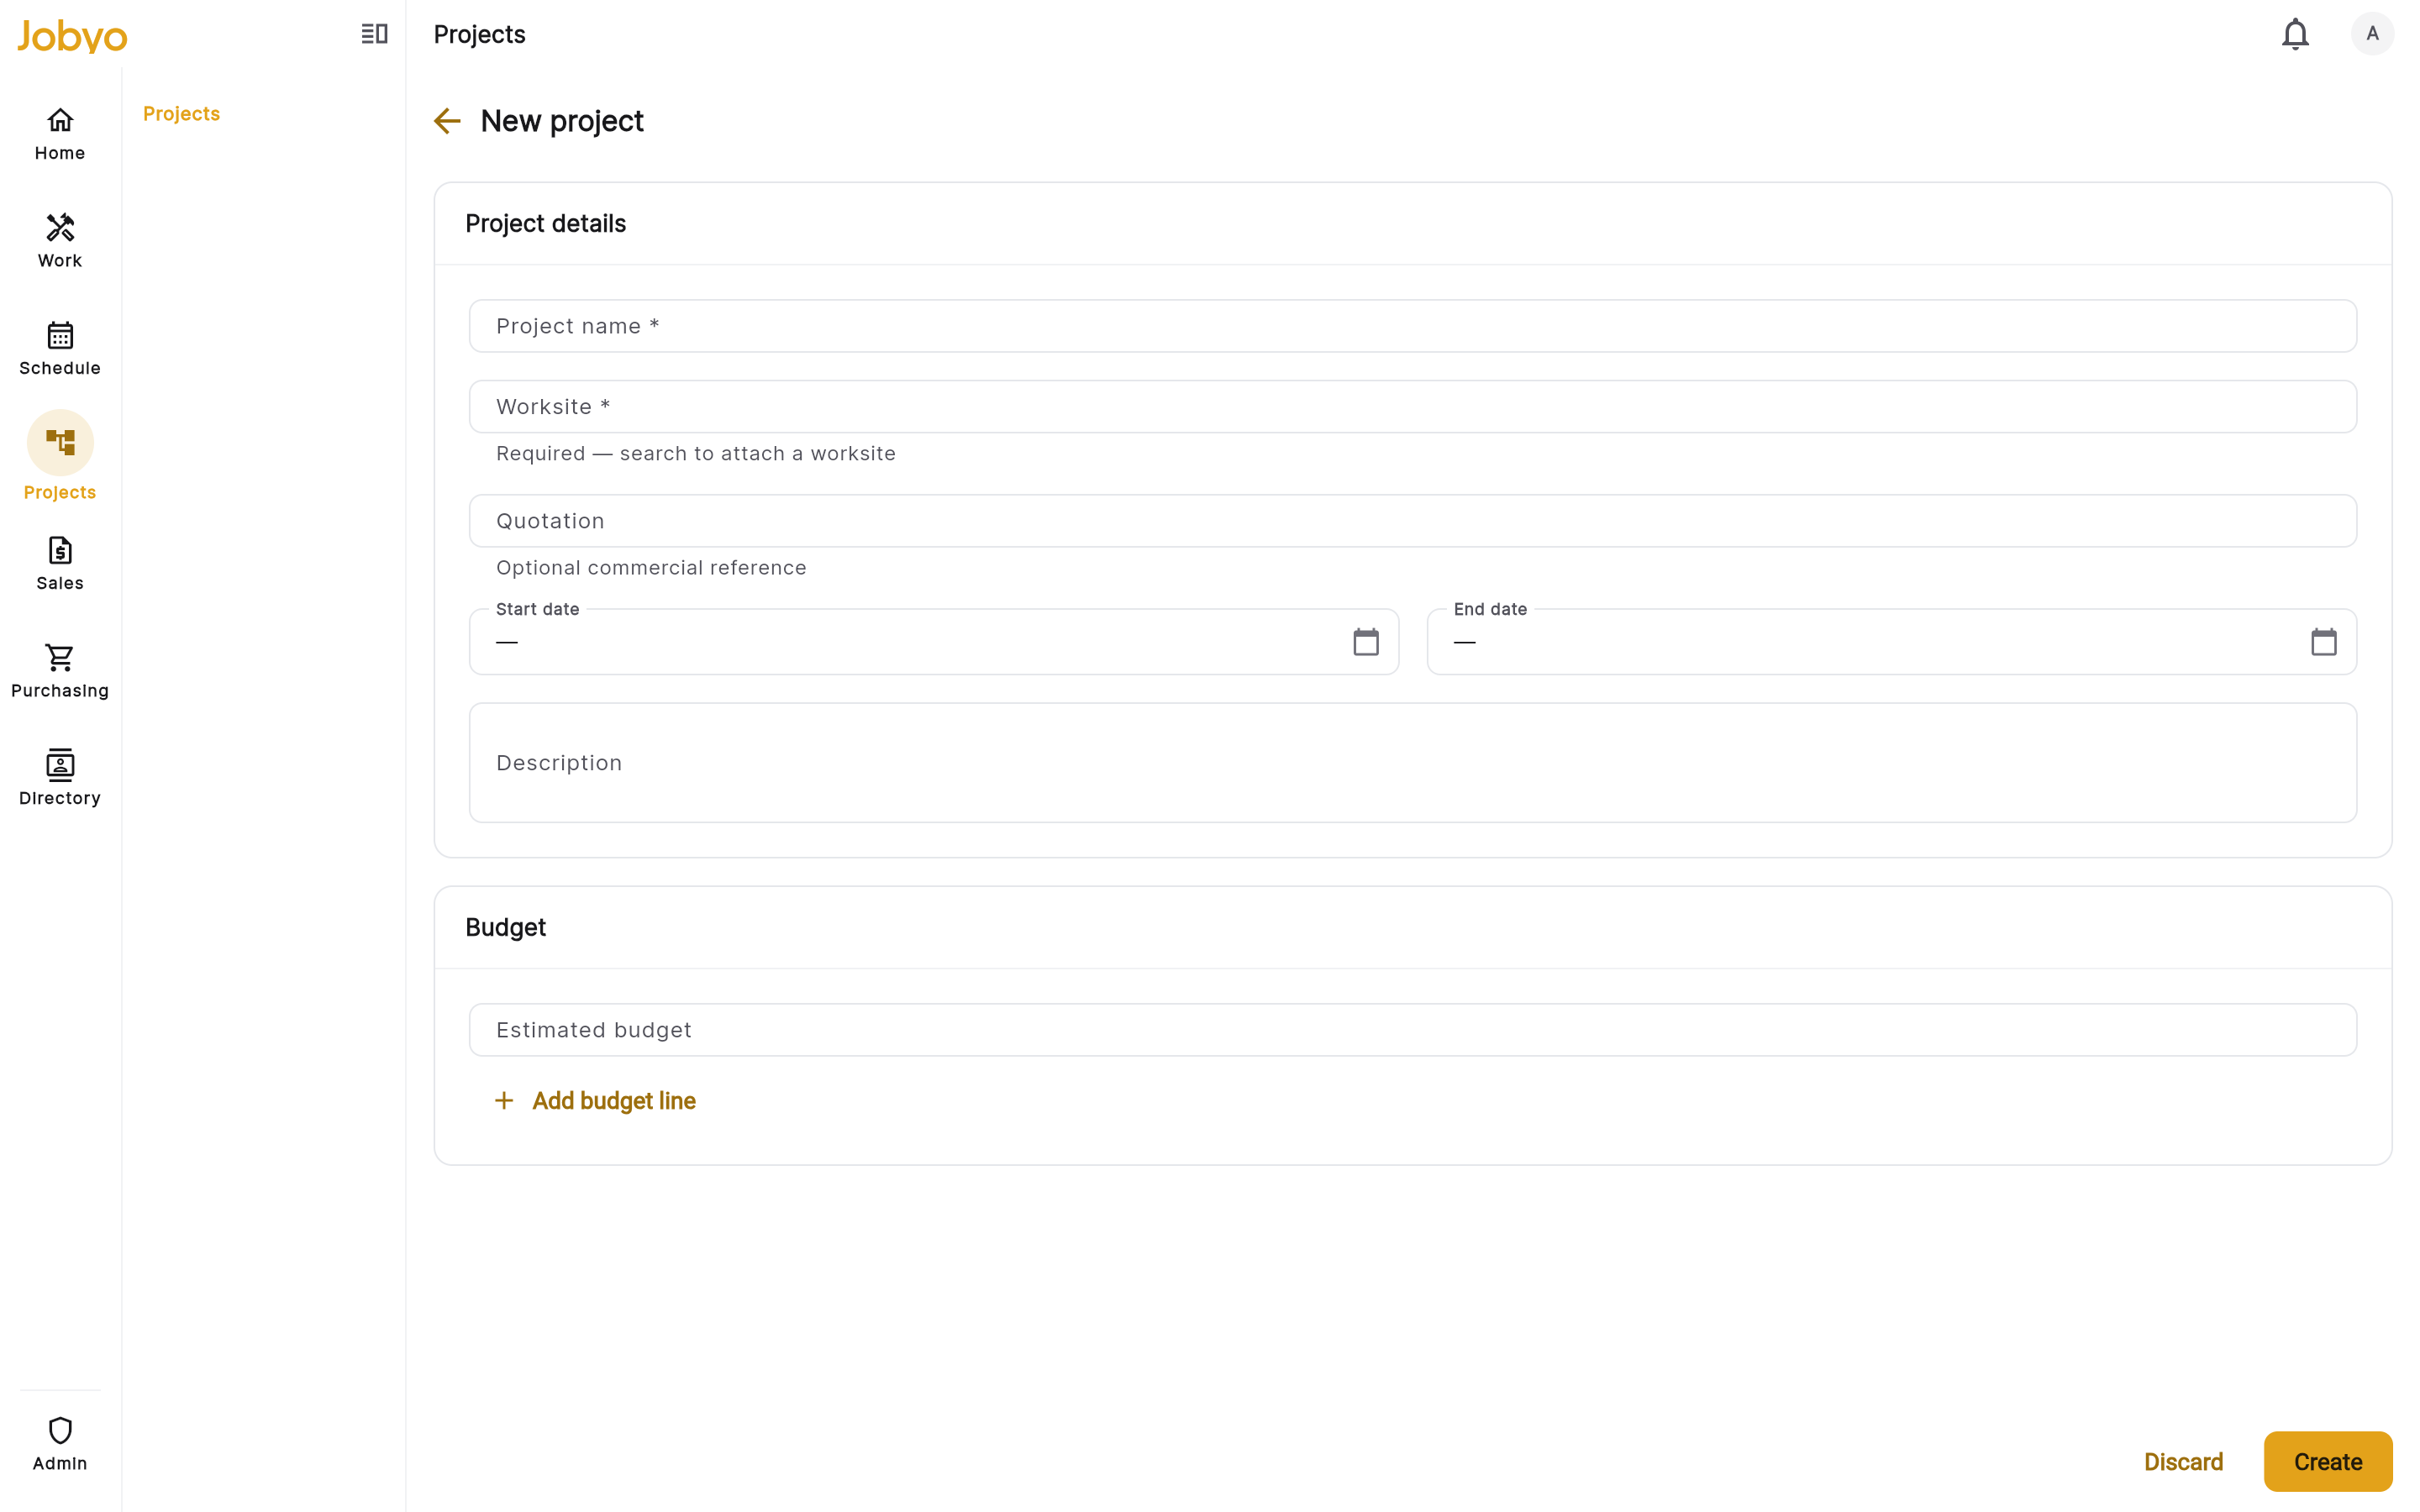
New project form — name and worksite are required The bill-to customer comes from the worksite's active customer, so make sure Tour Papineau is linked to Les Tours Papineau — that's who the project invoice will be addressed to at the end. See Projects overview.
Plan it — phases, tasks, and Gantt dependencies
Open the Plan tab. This is where the project takes shape as a Gantt timeline built from phases and the tasks under them. Add Northline's four phases with Add phase — Démolition, Ventilation — conduits, Unités RTU, and Mise en service. Only the phase name is required; add dates if you have them.
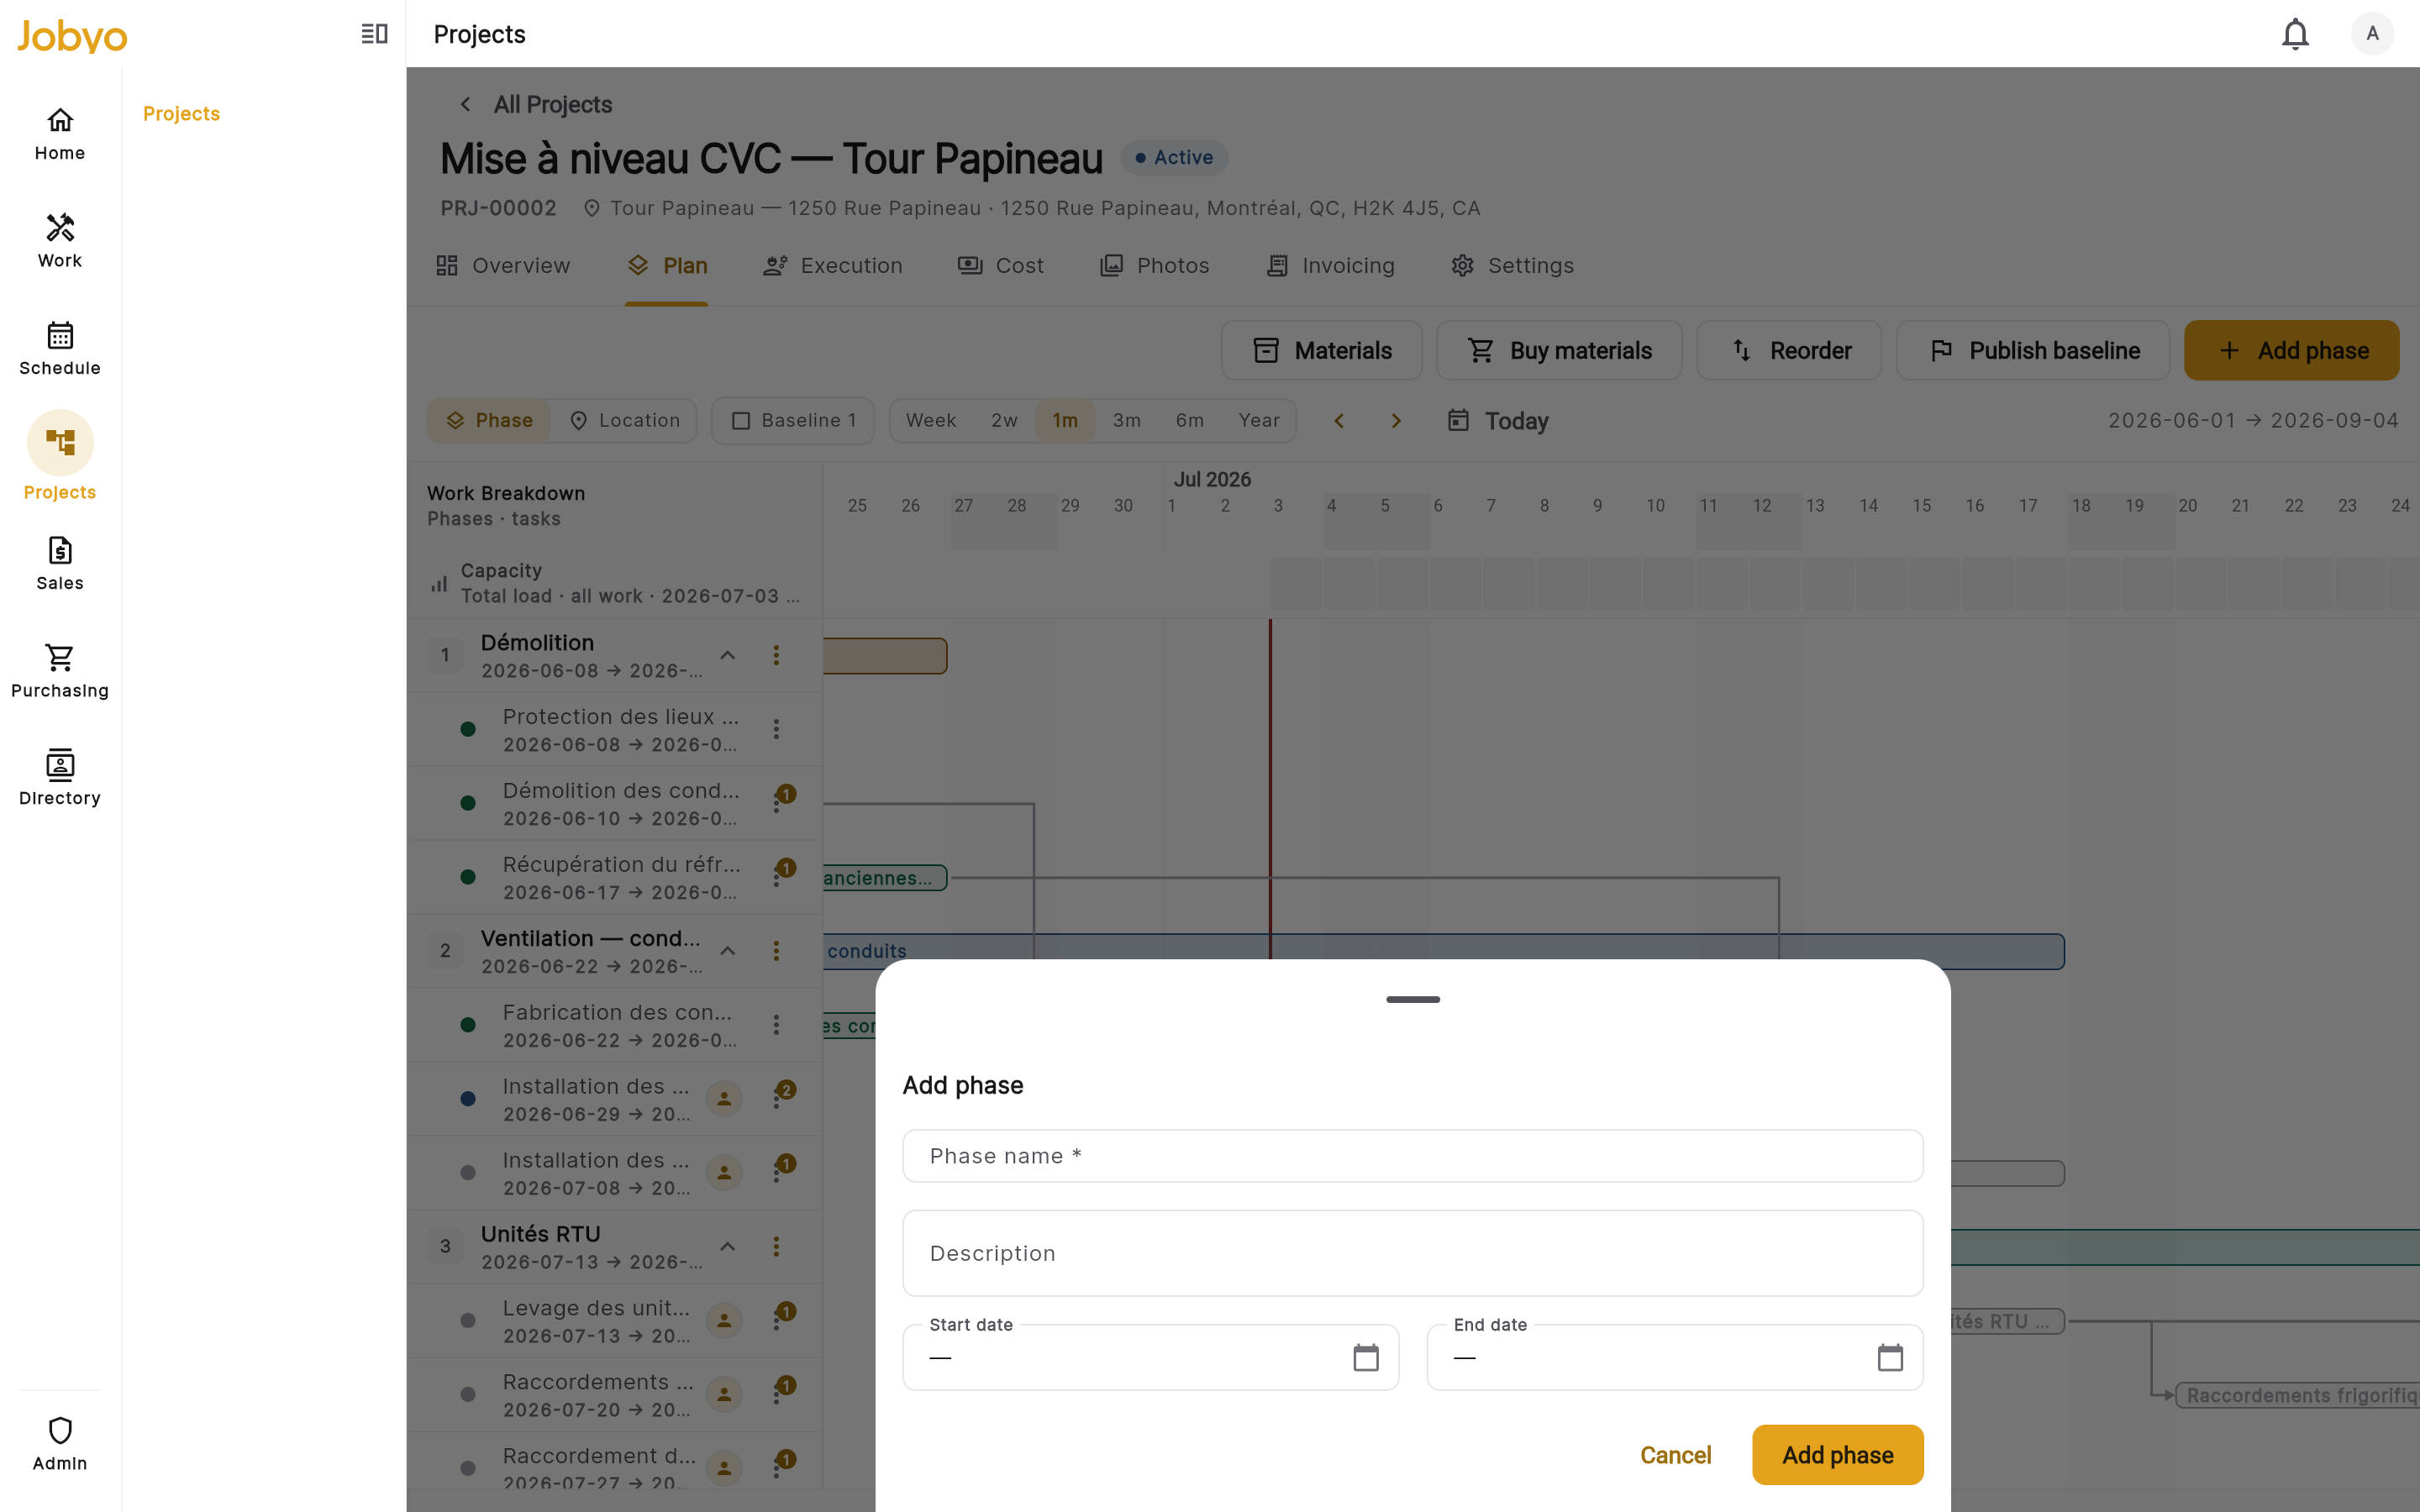
Add a phase — only the phase name is required Then add tasks under each phase using the + on the phase row, and lay them out on the timeline. You can draw finish-to-start dependencies between tasks — so Ventilation — conduits can't start until Démolition finishes, and Mise en service waits on Unités RTU. Tap a task bar to edit it, drag it to reschedule, or use its menu to assign it. See Project planning.
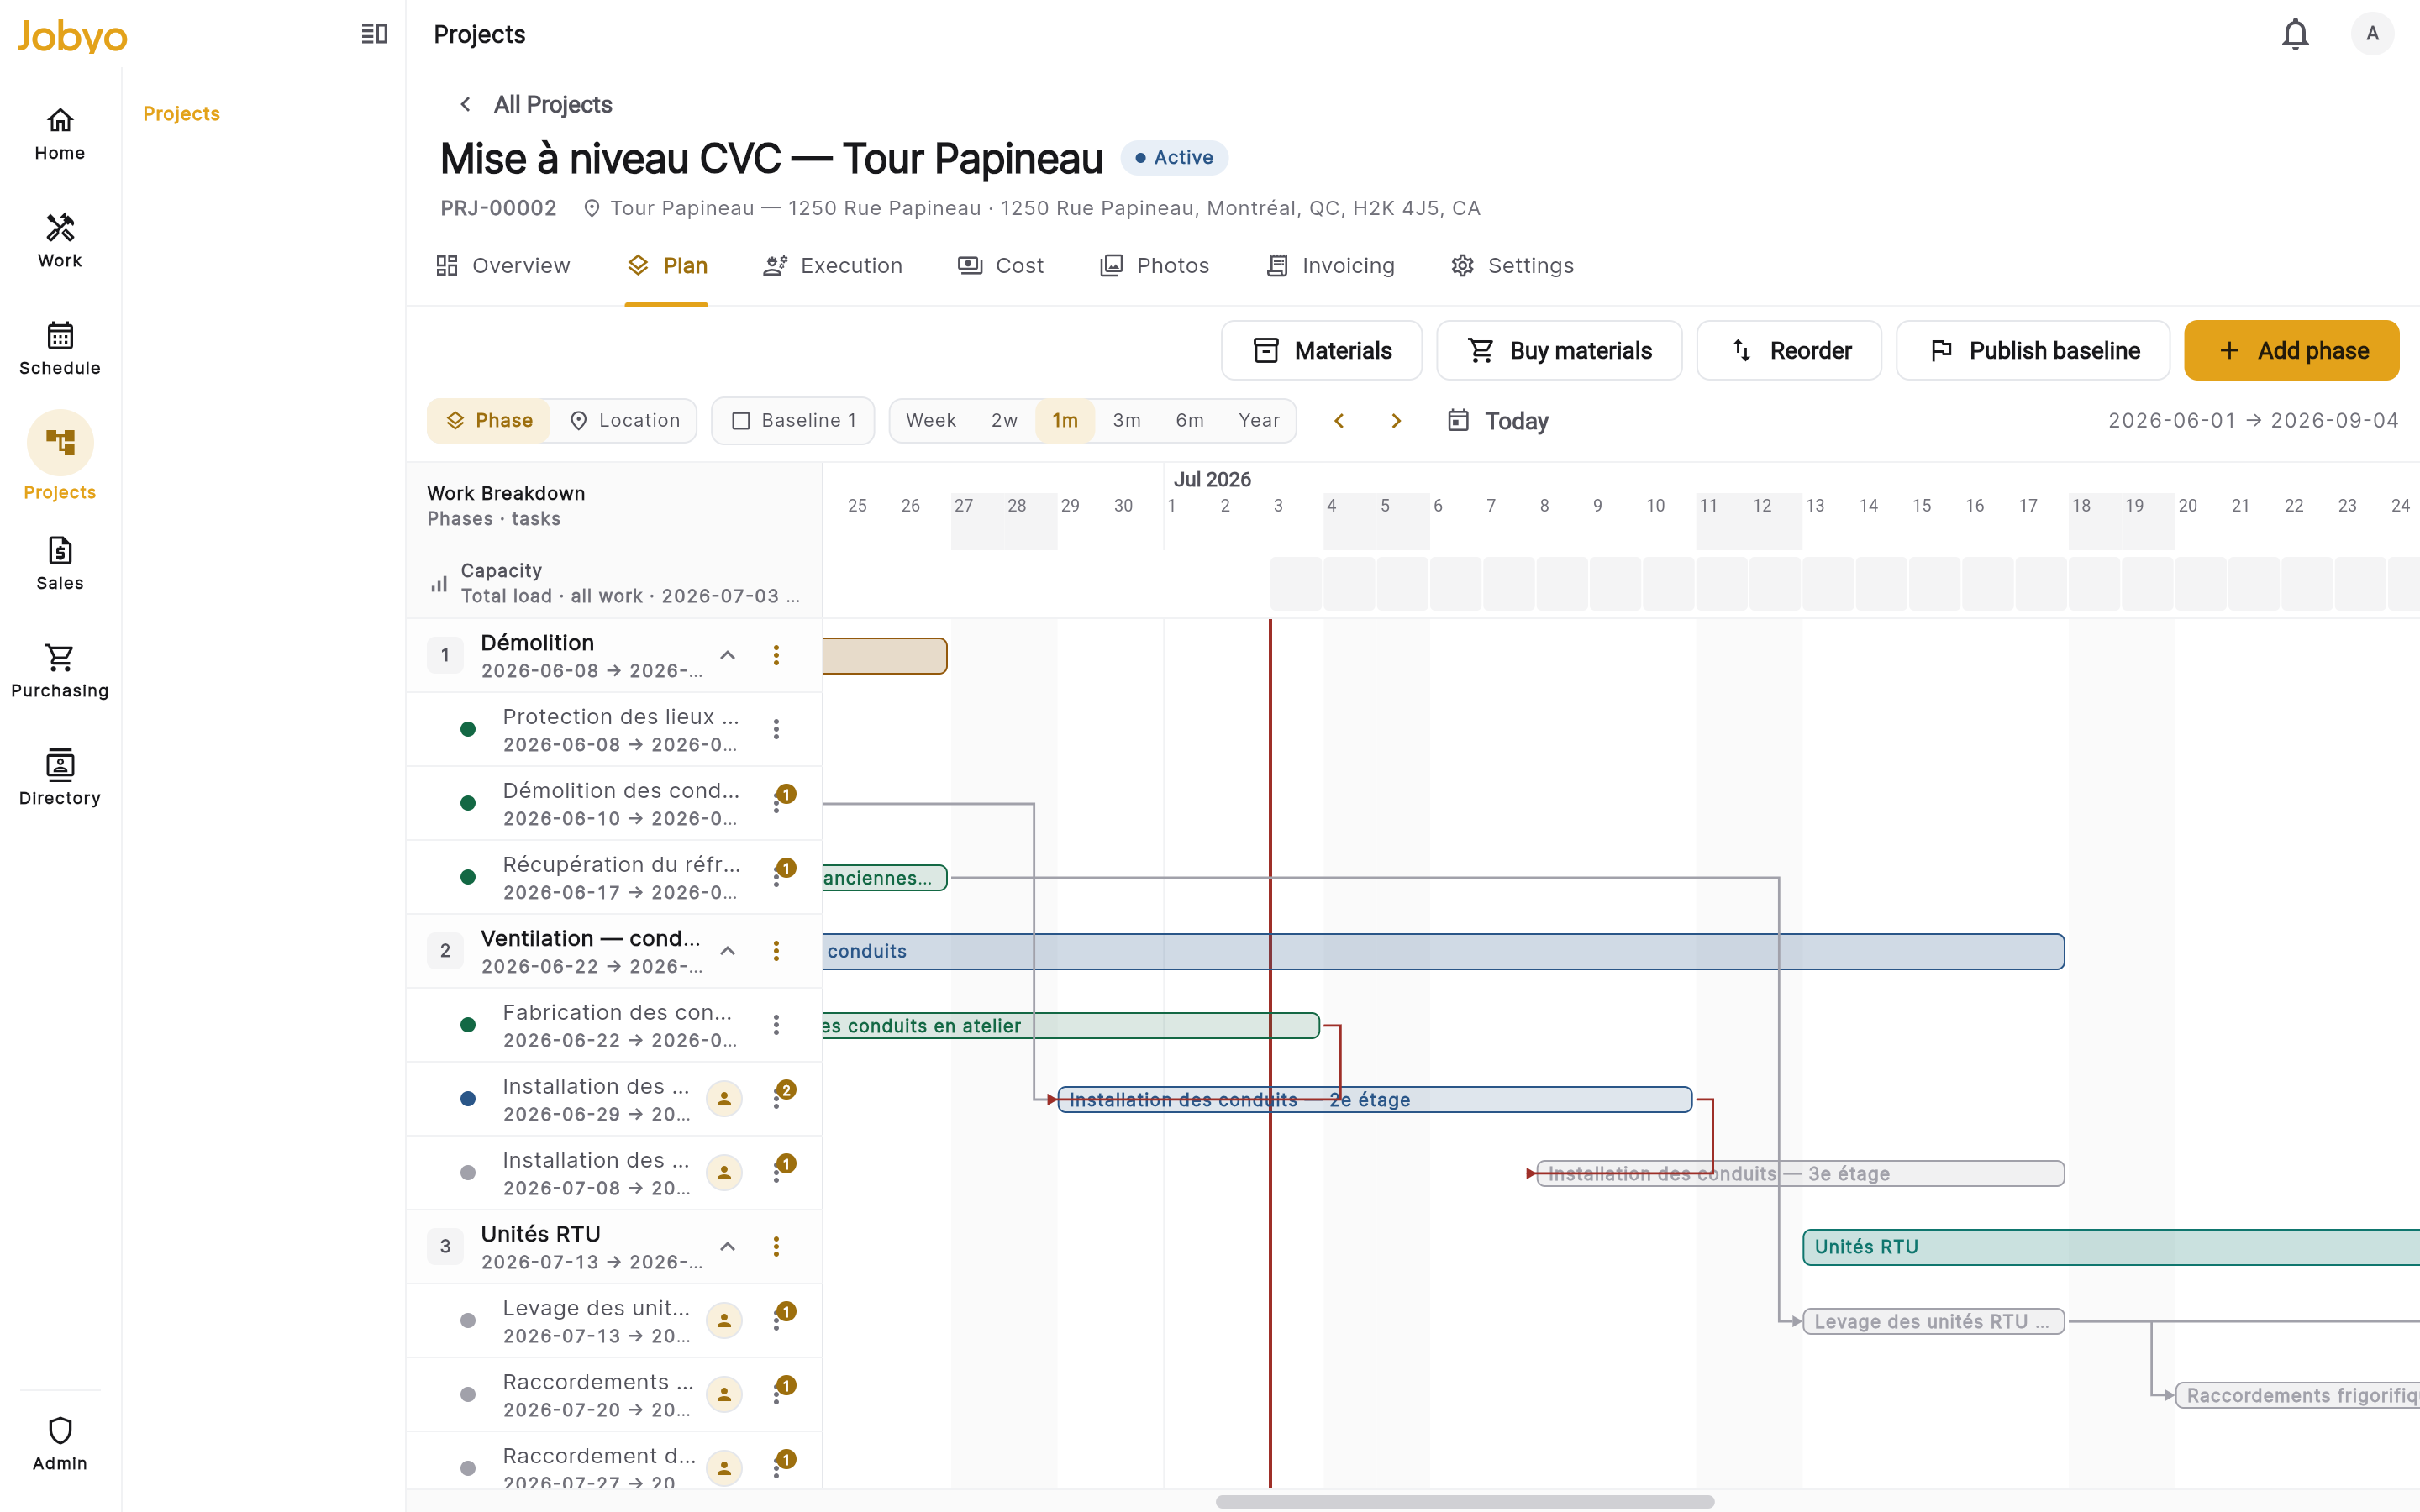
Plan tab — phase rows, task bars, and finish-to-start dependency arrows Phase dates aren't ordering-checkedJobyo checks that phase dates are valid dates but doesn't enforce start-before-end, so double-check the range yourself.
Set the budget and publish a baseline
Two separate things happen here. First, on the Cost tab, choose Edit budget and enter the estimated total — around $85,000 for the Tour Papineau upgrade — optionally split into category rows (labour, material, expense). This is your planning header; you type it, Jobyo never fills it in.
Second, back on the Plan tab, choose Publish baseline to freeze the agreed plan as a versioned, immutable snapshot. Give it a unique version name (up to 64 characters) such as
v1, pick a snapshot mode (Full by default — schedule and cost — or Cost only / Dates only), and optionally add a reason as an audit note. Publishing writes the baseline, adds a changelog entry, and freezes the planned-cost figures in one step.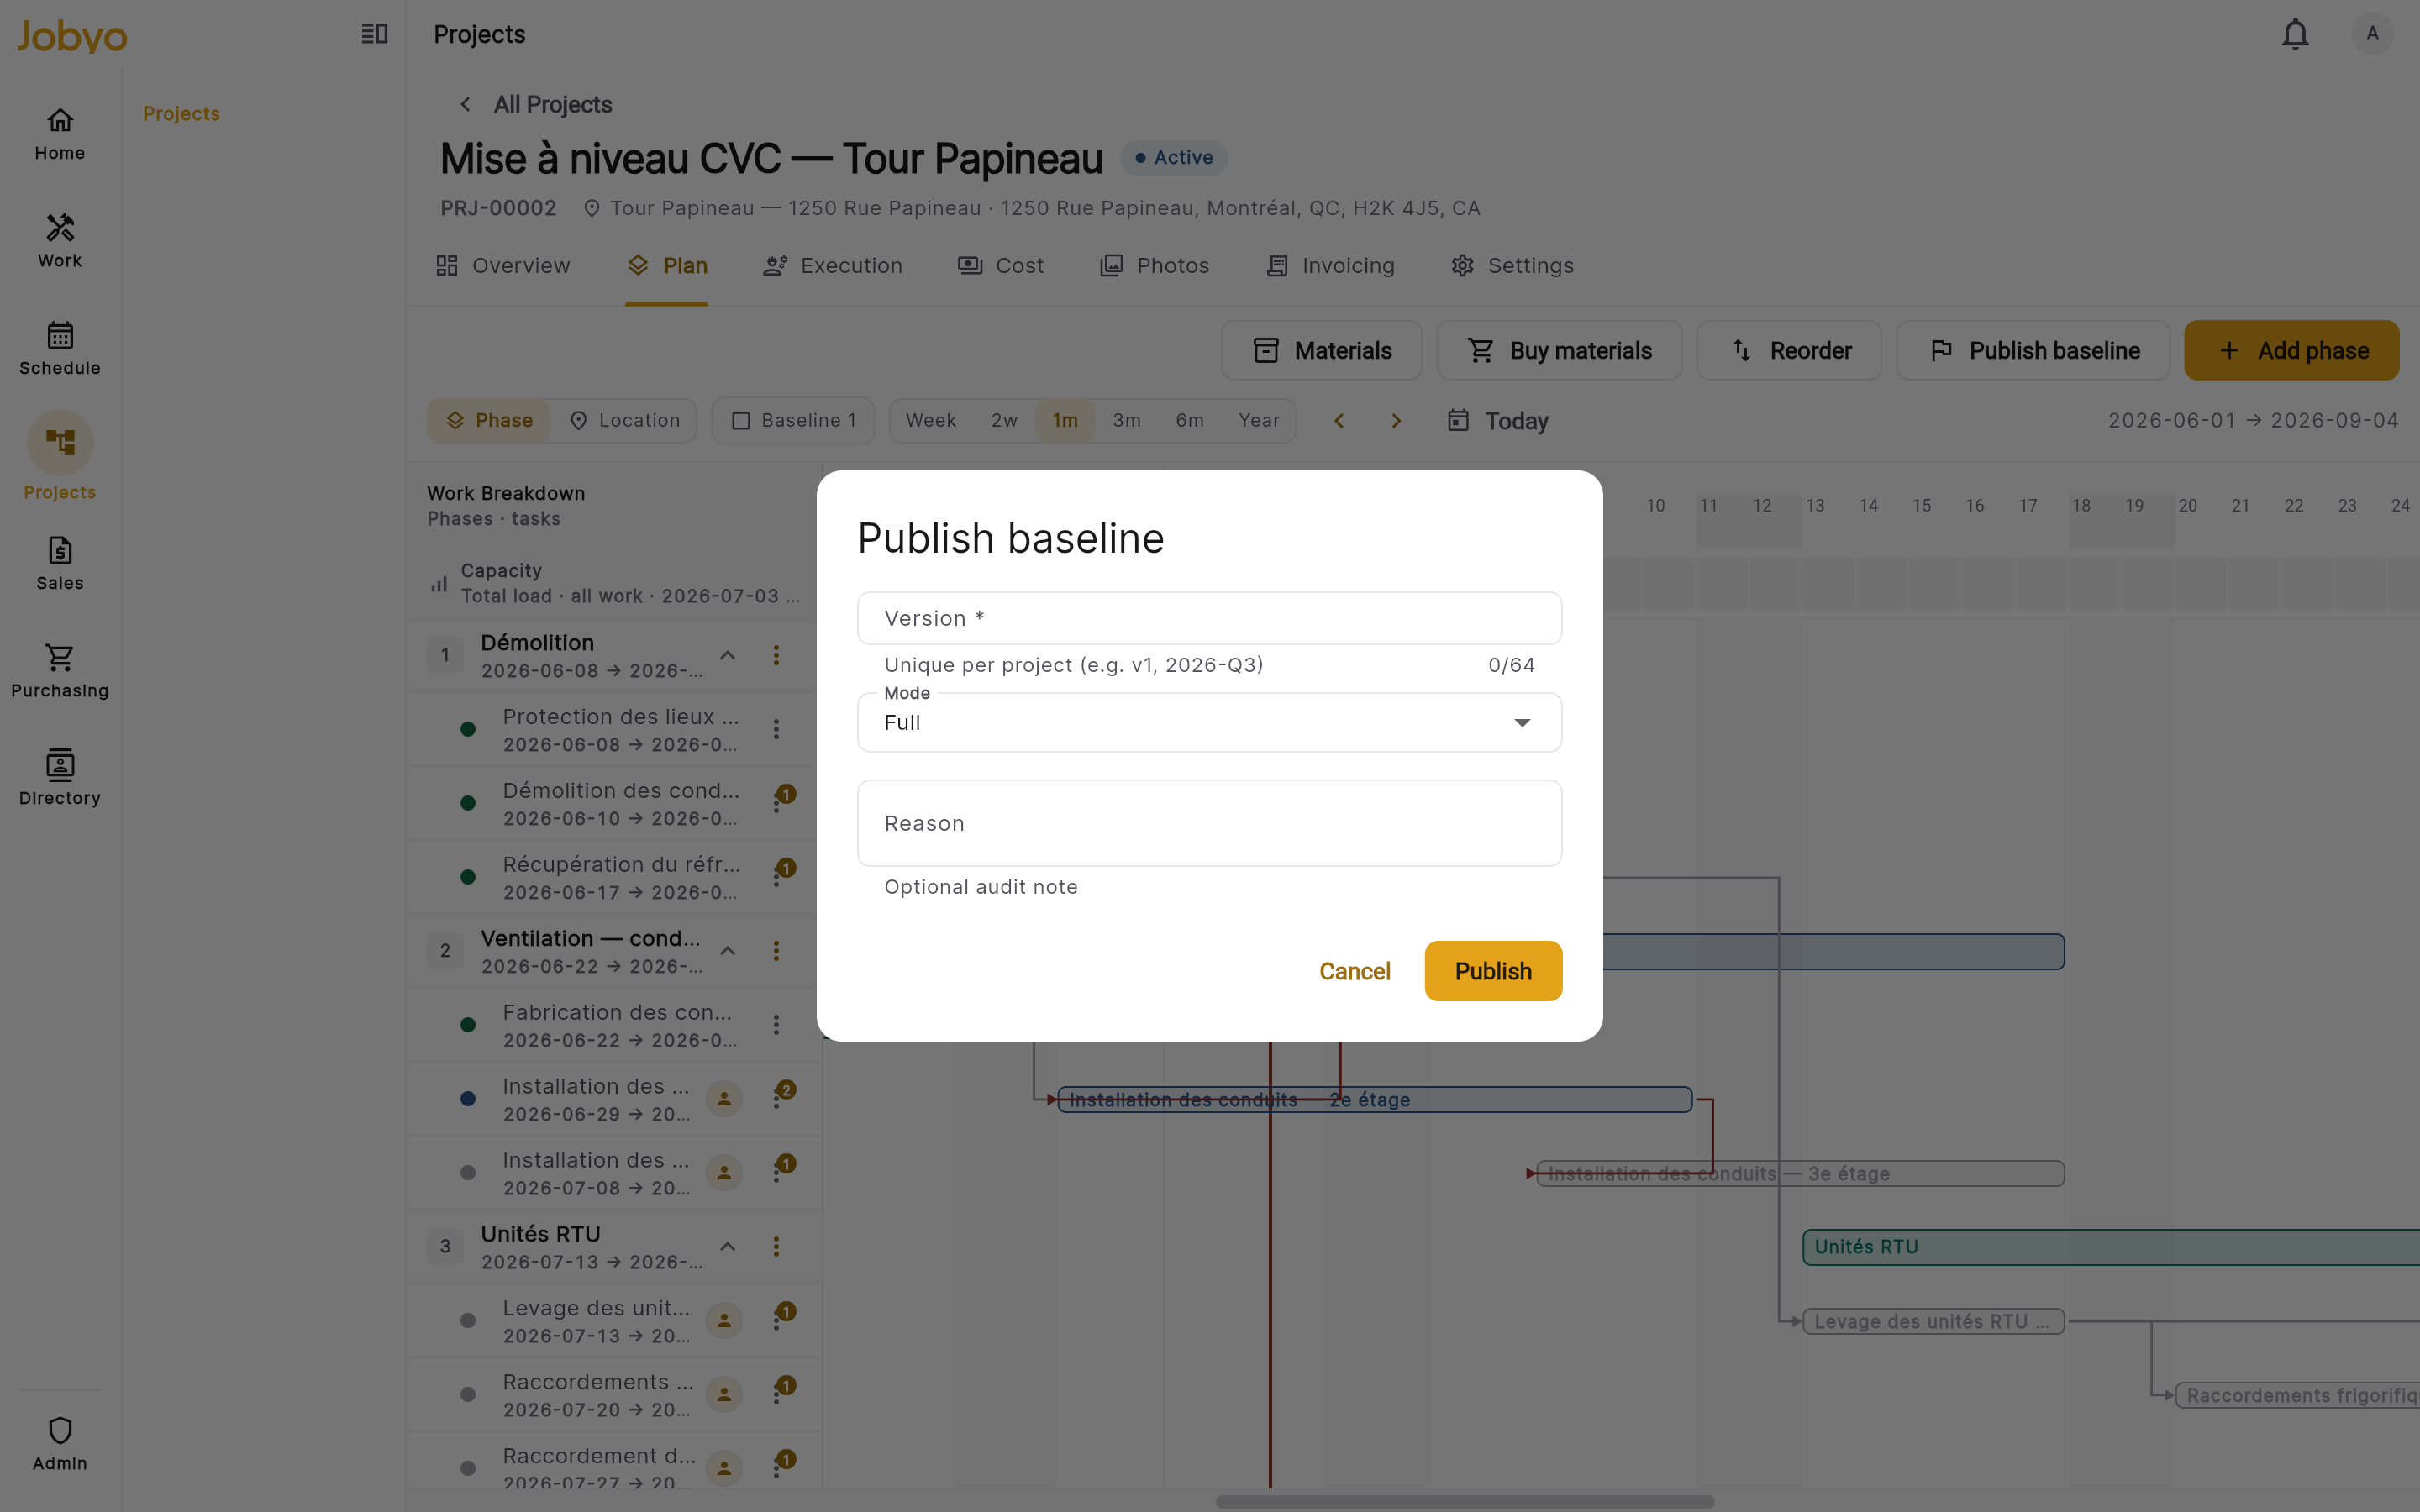
Publish baseline — version name, snapshot mode, and optional reason A published baseline is permanentOnce published, a baseline can't be edited or deleted. If the plan changes — say a change order on the RTU phase — publish a new version with a different name; the history keeps every version. The baseline is what the variance report measures actual spend against.
Execute the work — tasks become work orders, costs roll up
Now the field work happens. Each planned task turns into a work order — the tracked unit of on-site work — either created from the task or stood up against the worksite and linked back. Technicians go on site, check in to record their time, add the materials they used, attach photos, and close the work order when the job's done. Closing completes the linked task and derives the work order's billing status — it does not create an invoice on its own.
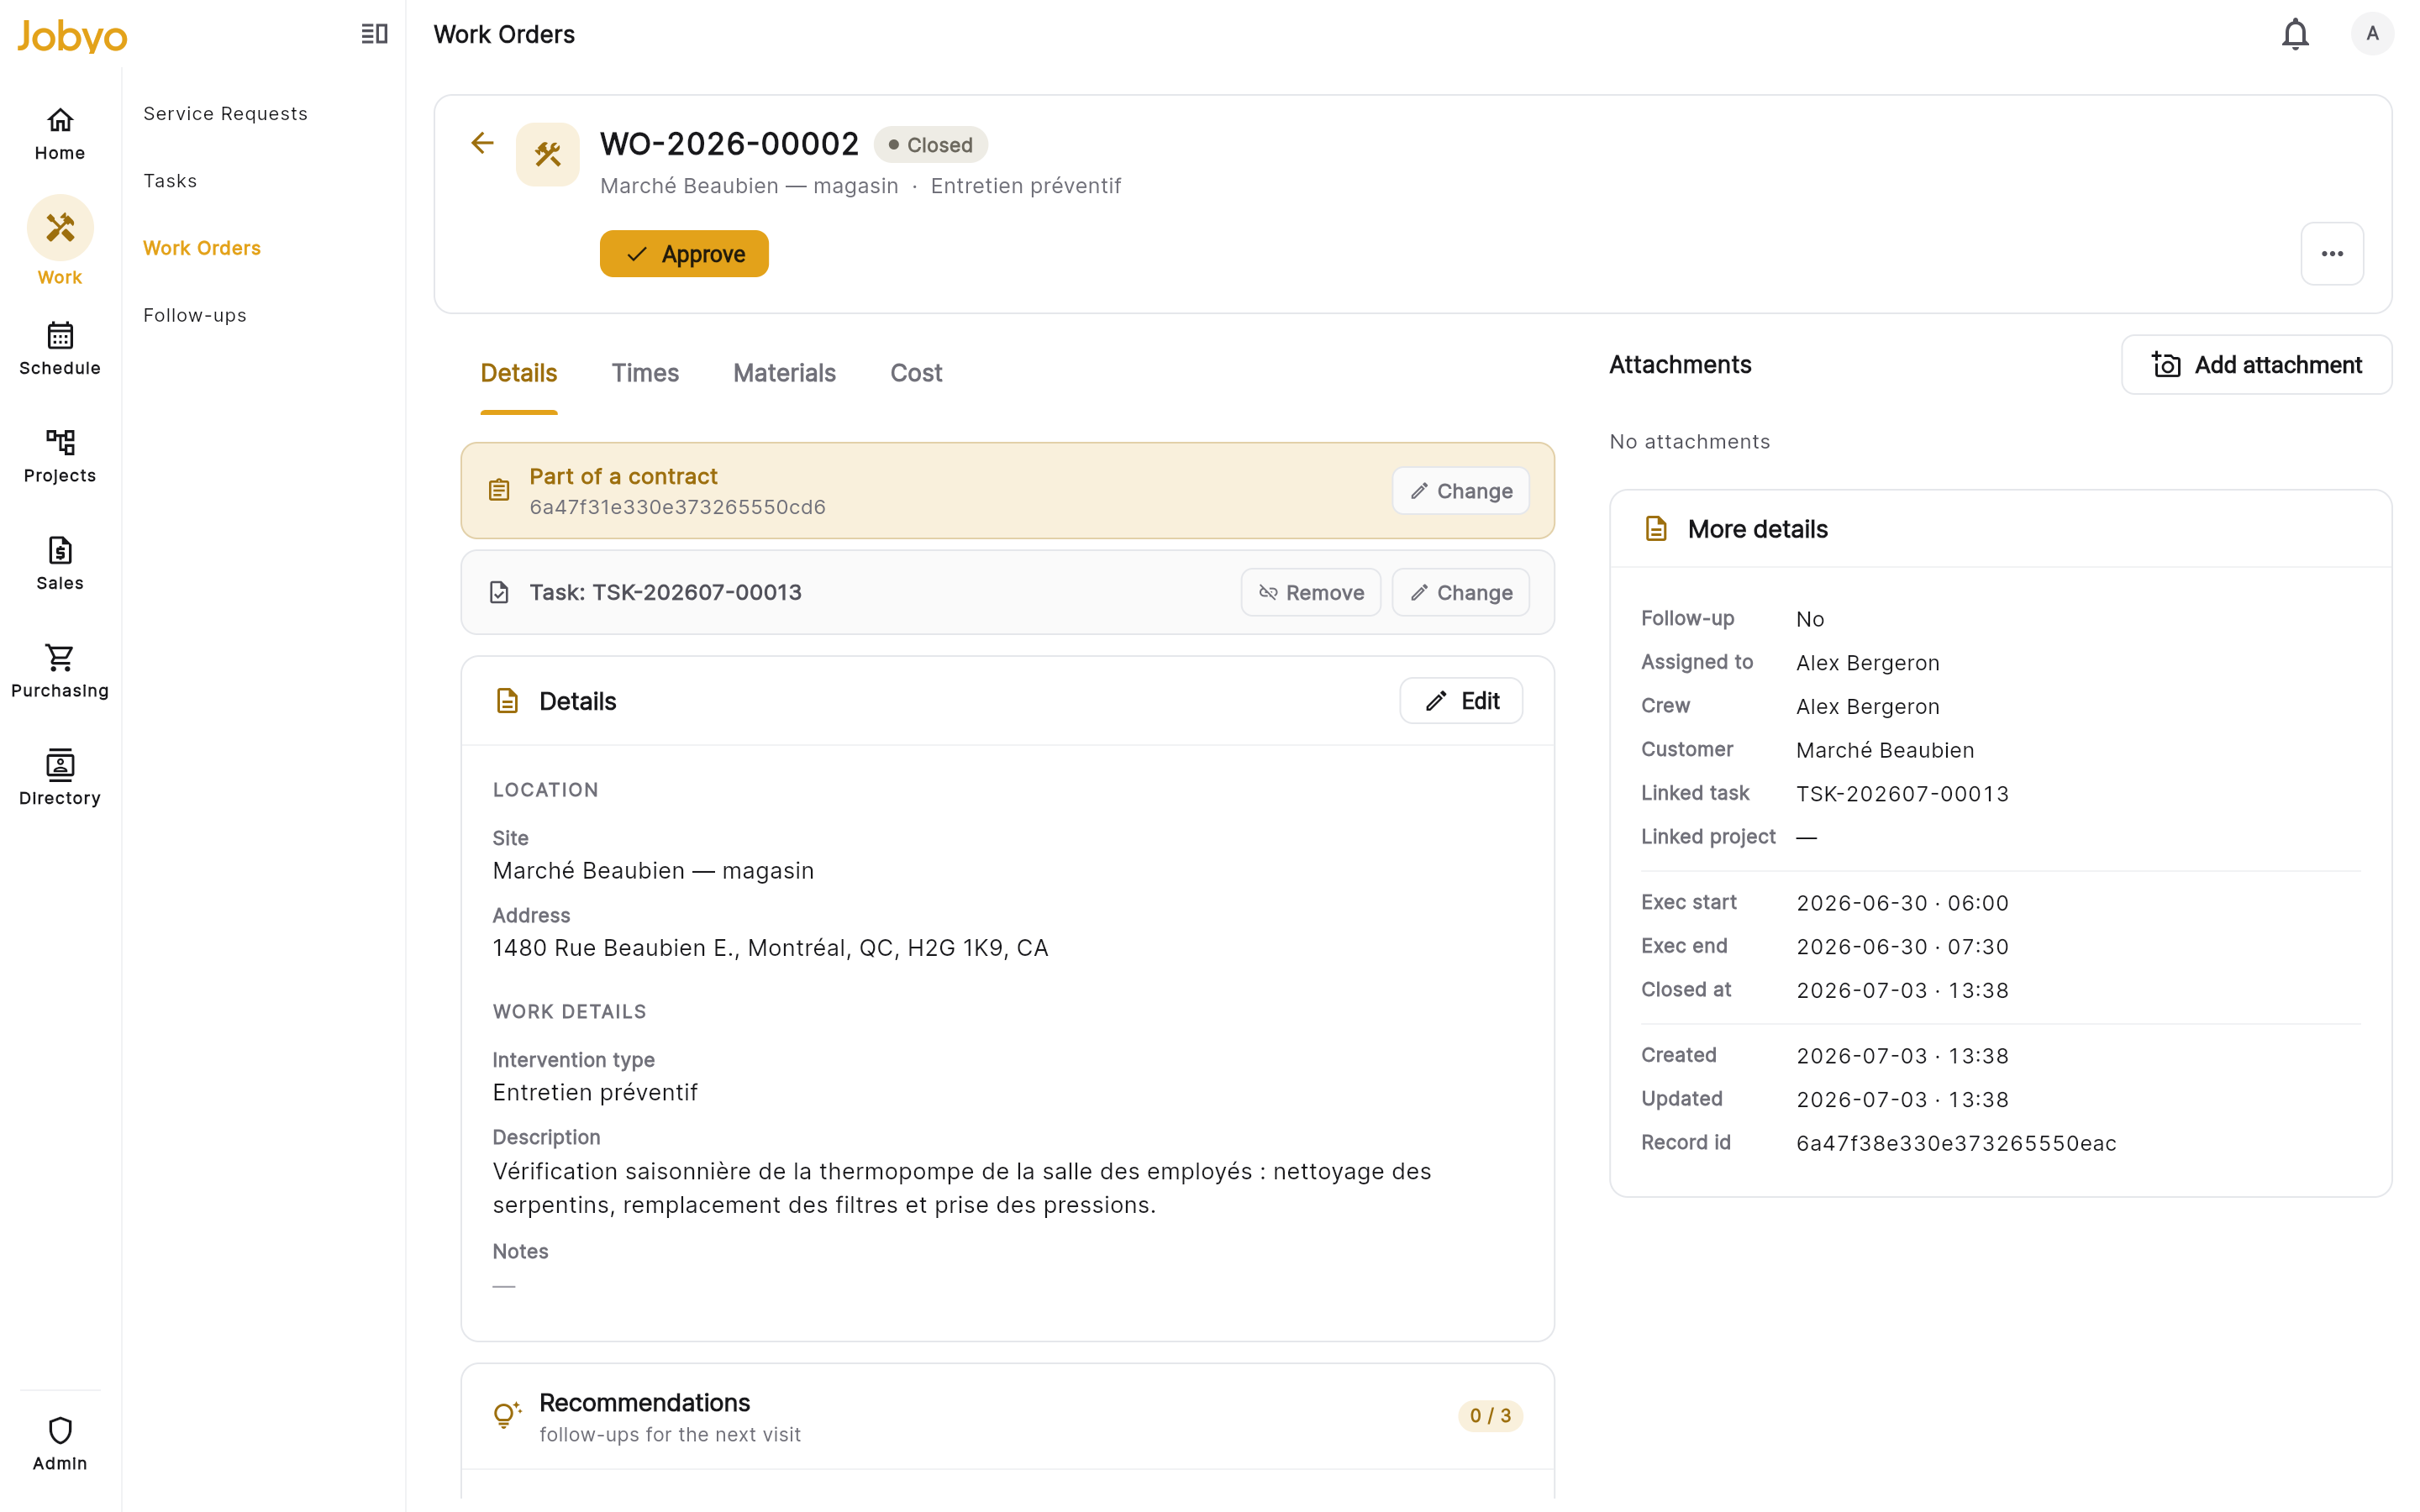
Work order hub — record time, materials, and photos, then close As each work order accrues time and materials, Jobyo builds cost entries and rolls them up to the project automatically. For project work, set each work order's billing structure to project so it feeds group billing rather than being invoiced on its own. The Execution tab on the project gives you a read-only window into all of this — work orders, times, materials, purchase orders, and expenses — in one place. See Work orders.
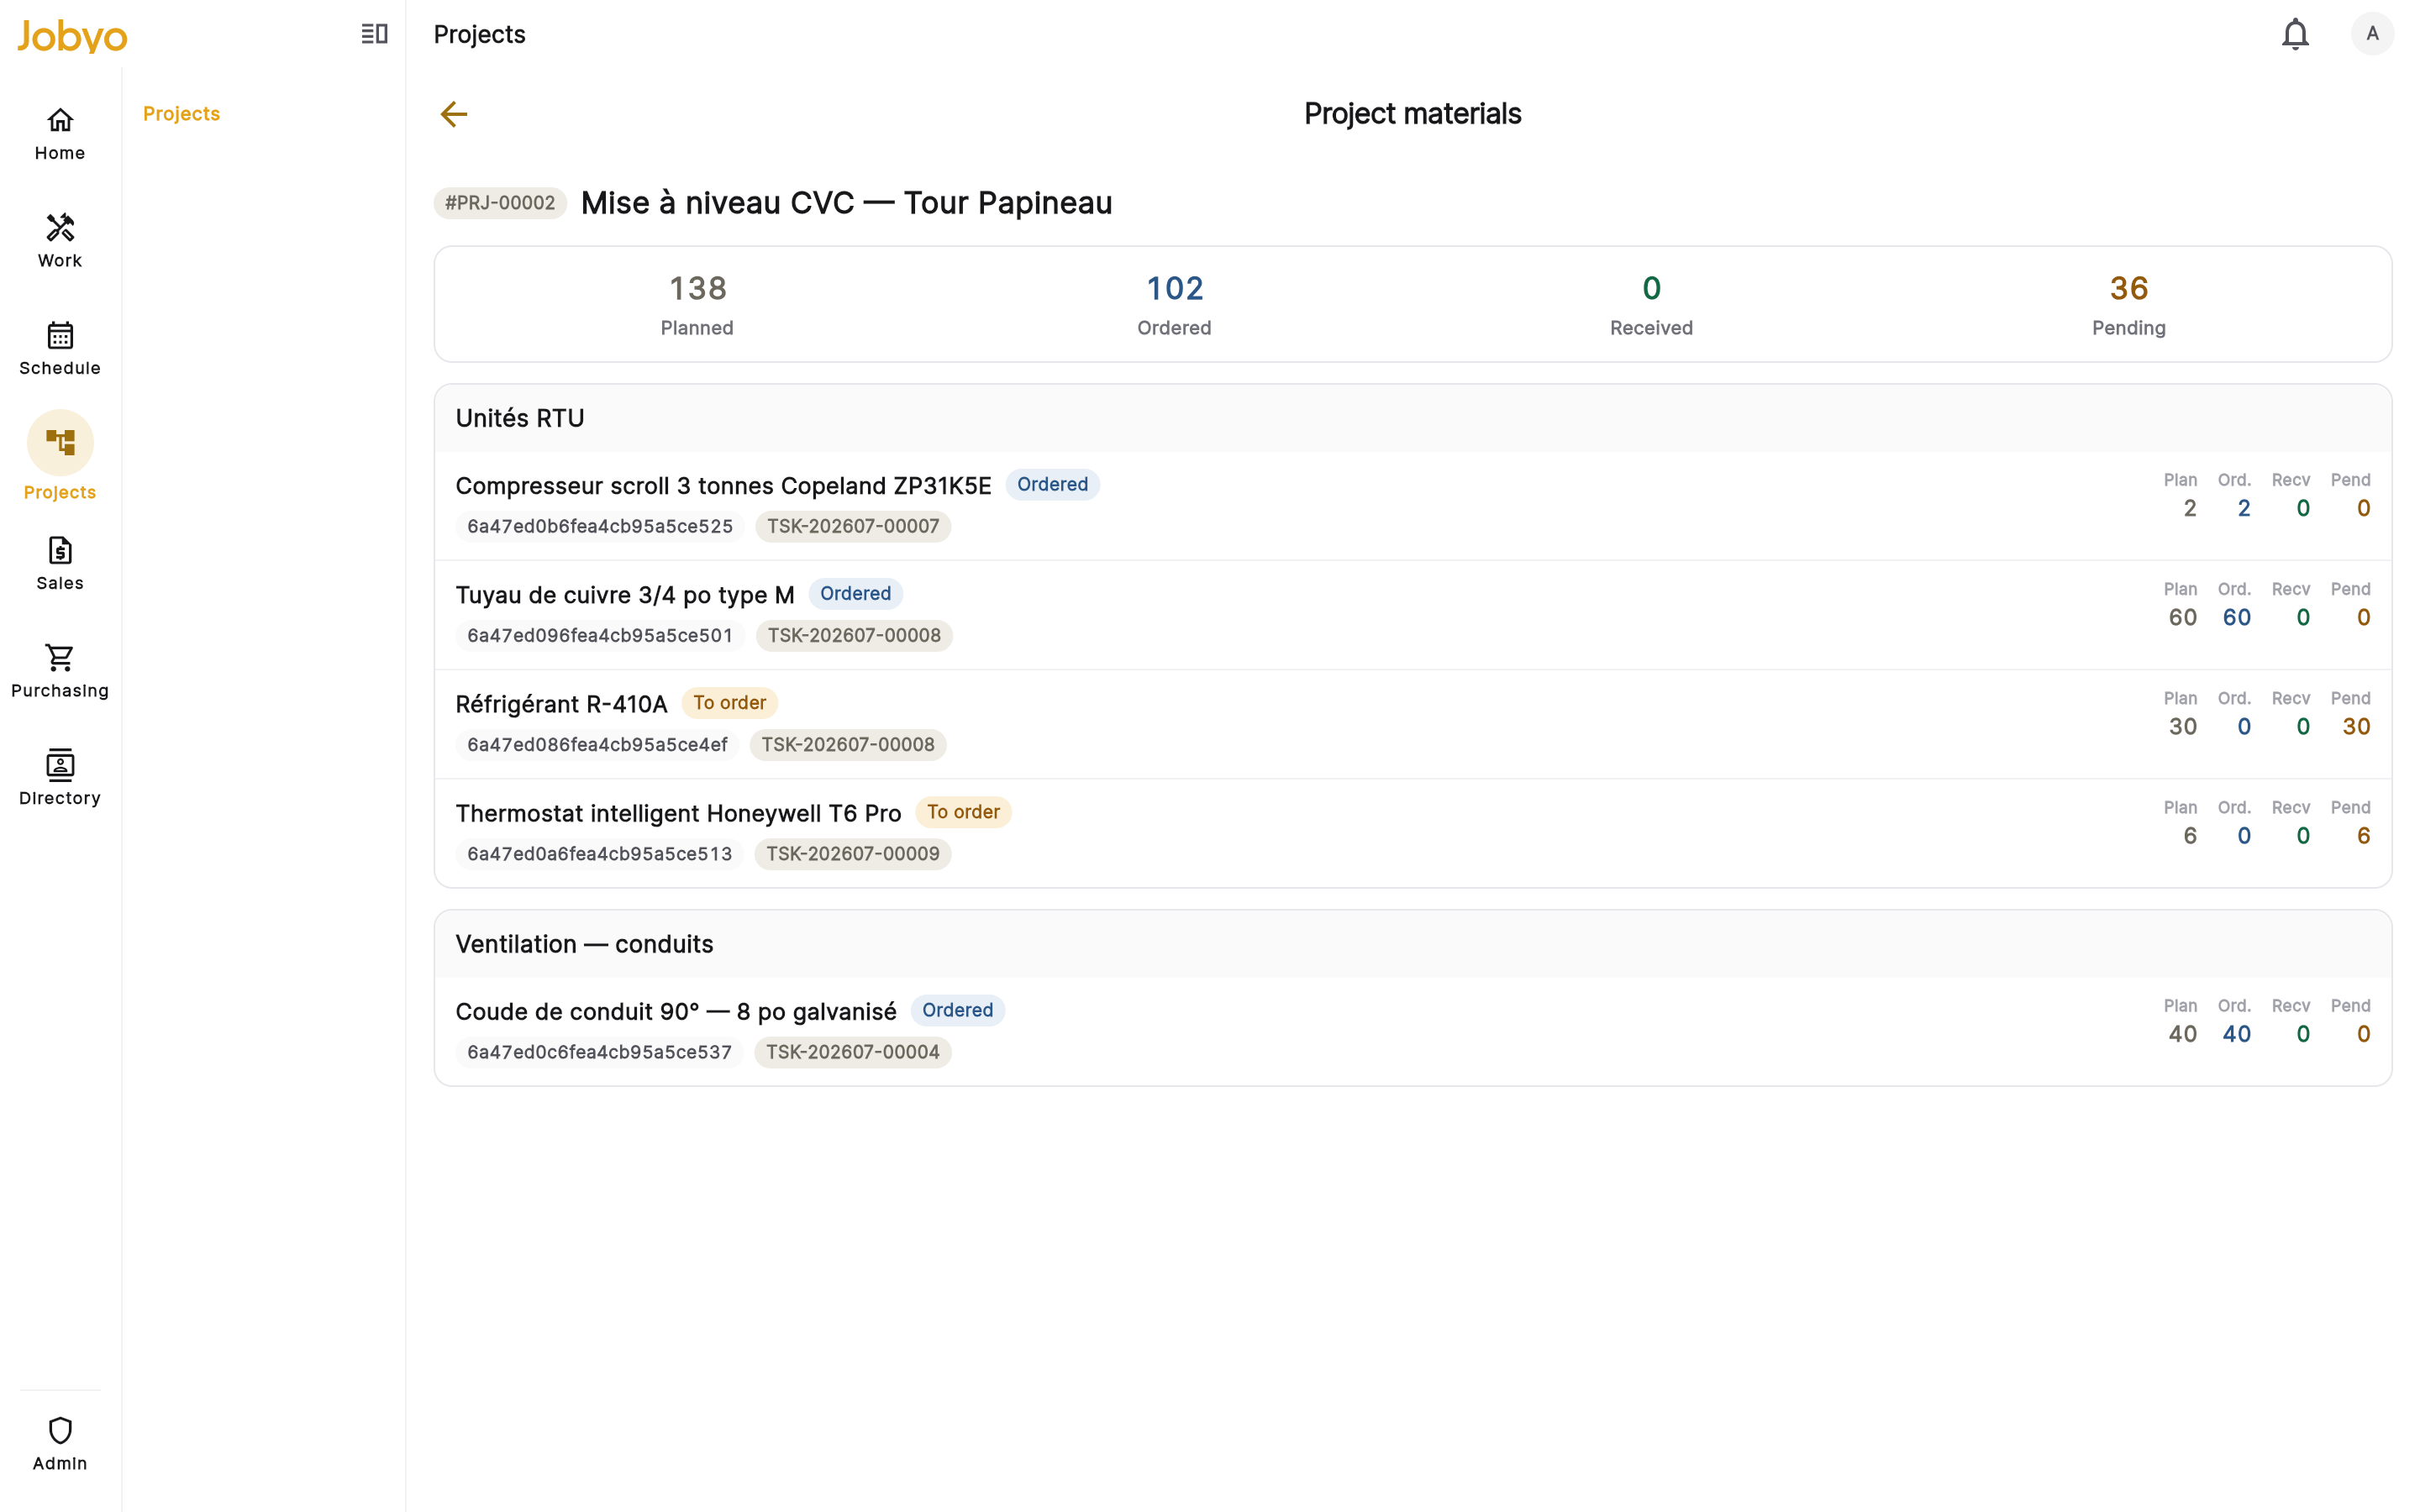
Material status — planned vs ordered vs received per phase Track budget vs actual — variance by phase
Return to the Cost tab to see what the project has actually cost. It's a read-only picture built from the recorded work: a spend summary (posted vs draft), cost by category, cost by work order, and the cost lens by worksite / location / equipment. A brand-new project reads zero and fills in as work is logged — that's the honest empty state, not an error.
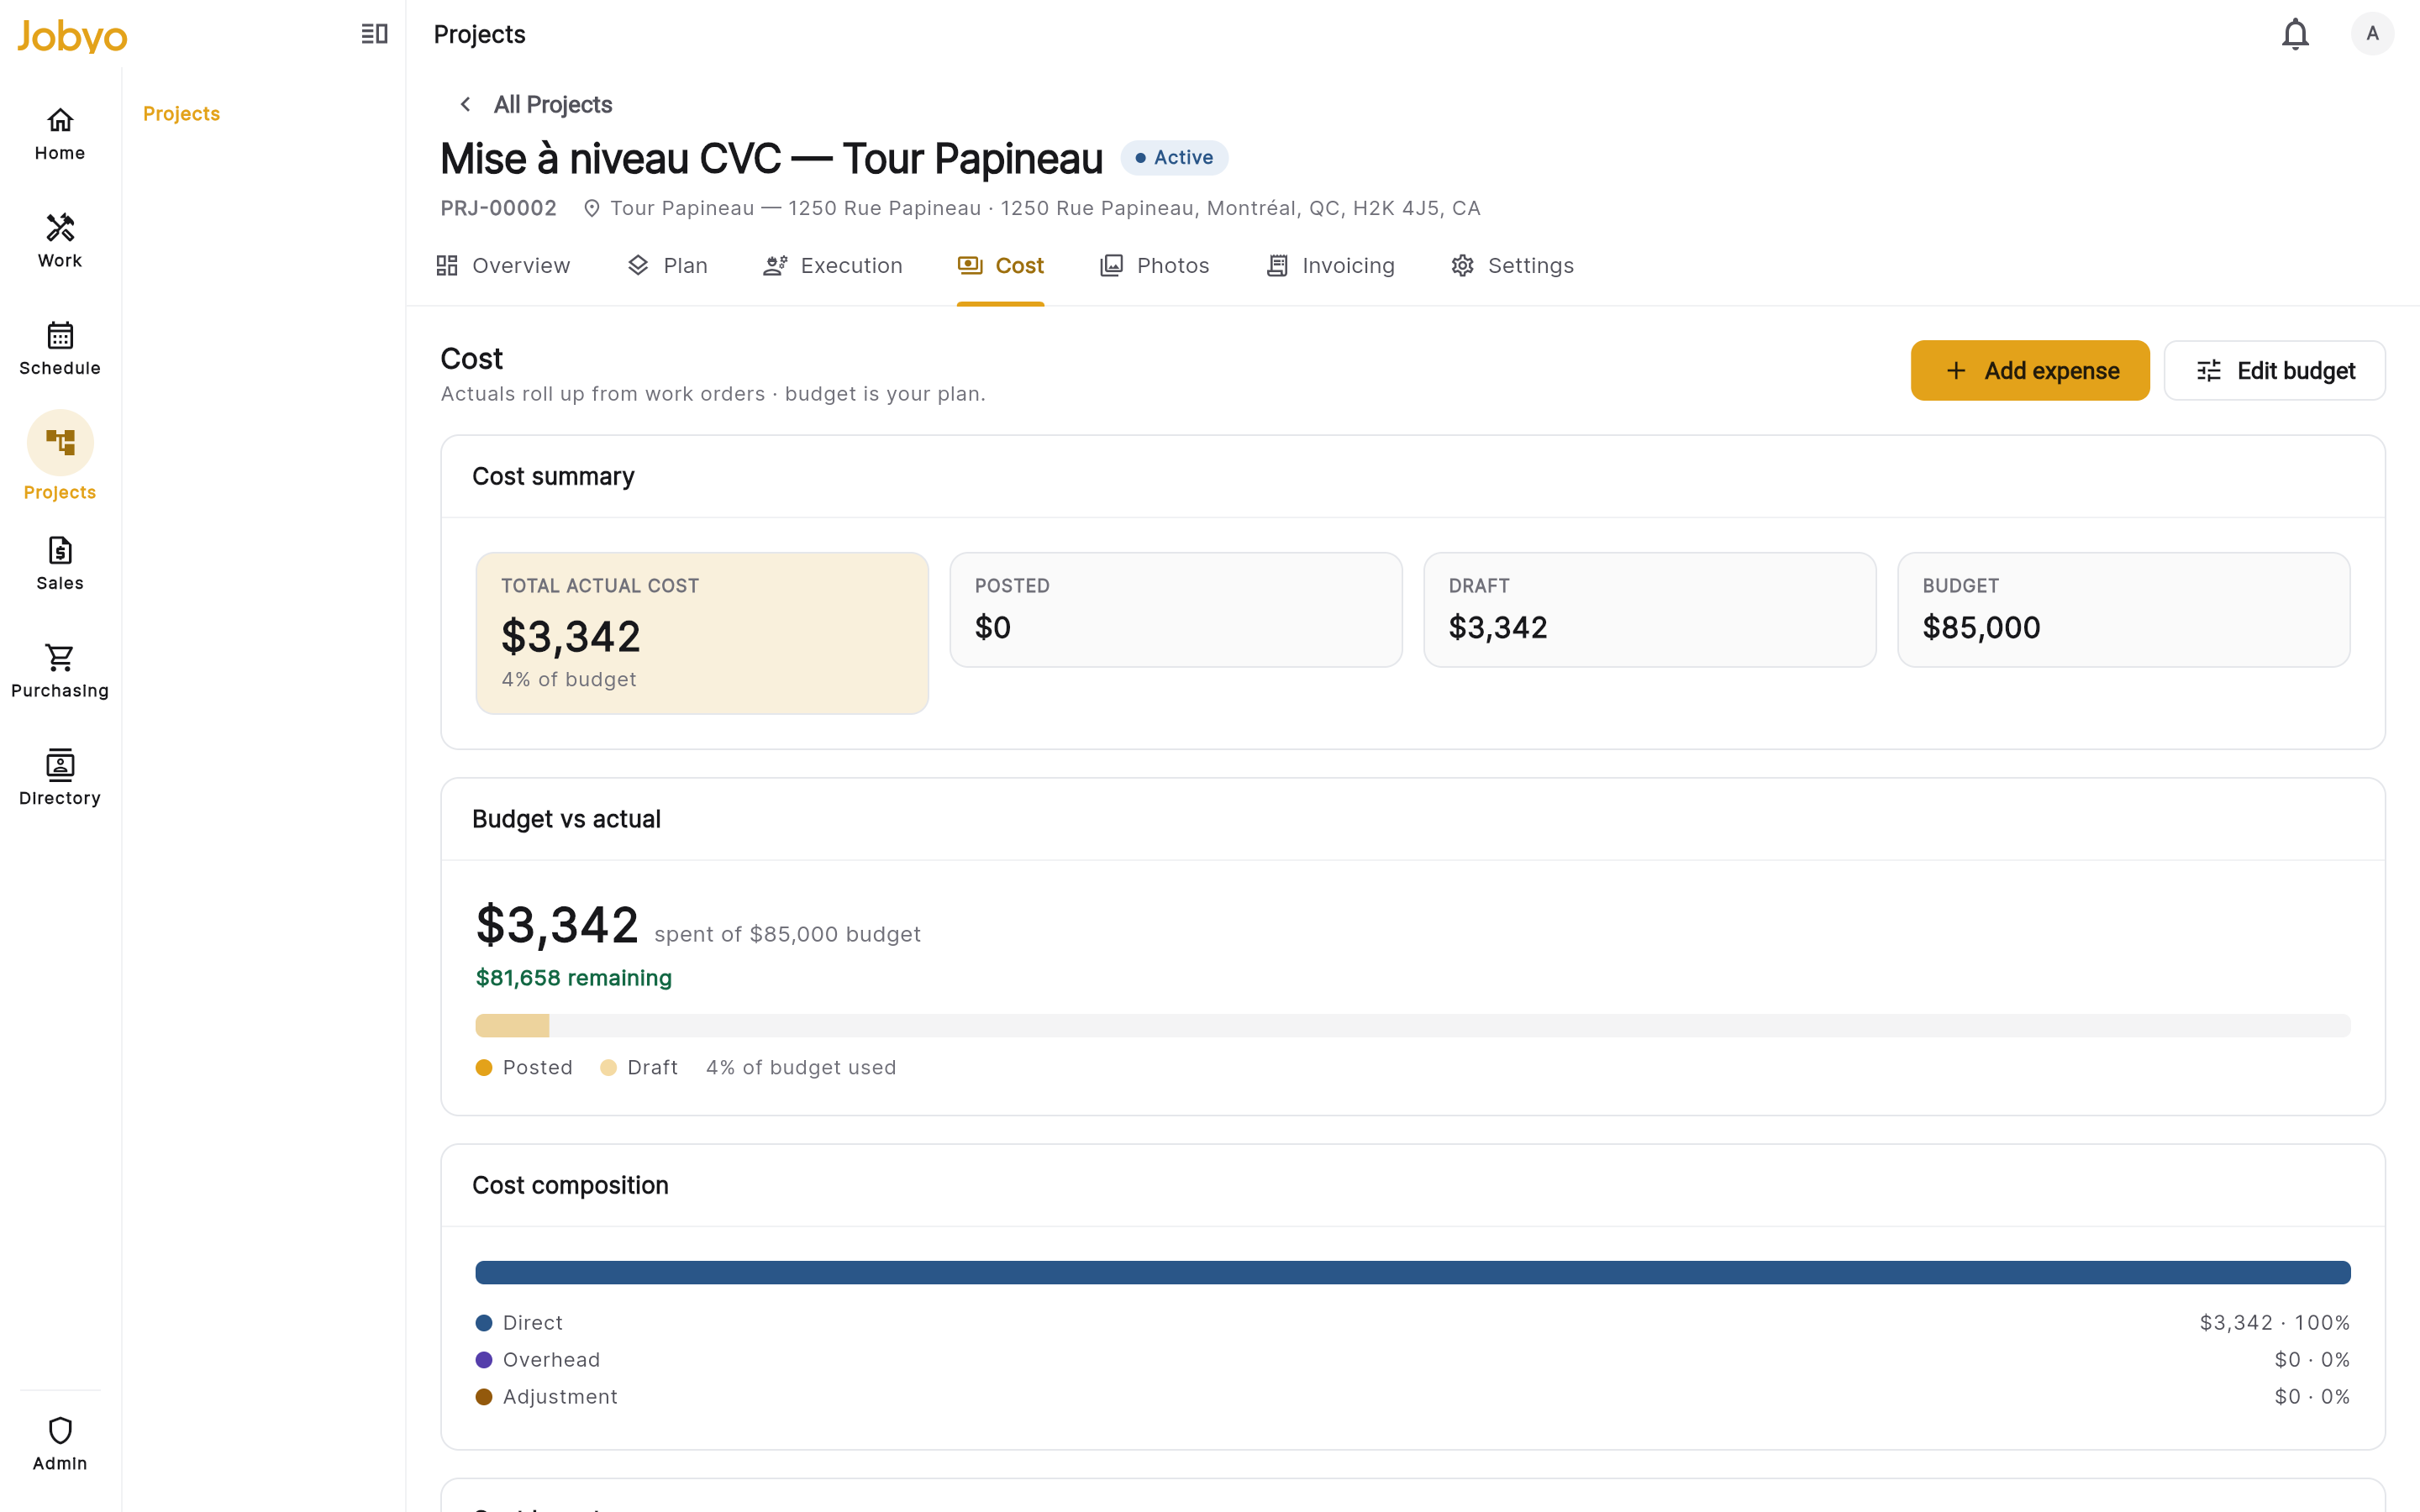
Cost tab — spend summary, budget-vs-actual, and the variance section Scroll to Planned vs actual variance, pick your baseline version (
v1), and read one row per phase plus a project total. Each row shows Planned (the figure frozen in the baseline), Actual (direct job cost so far), Variance ($) (actual minus planned — negative means under plan), and Variance (%). Rows where actual exceeds planned are flagged — so if Unités RTU is running hot, you'll see it here. See Project budget and Project costs.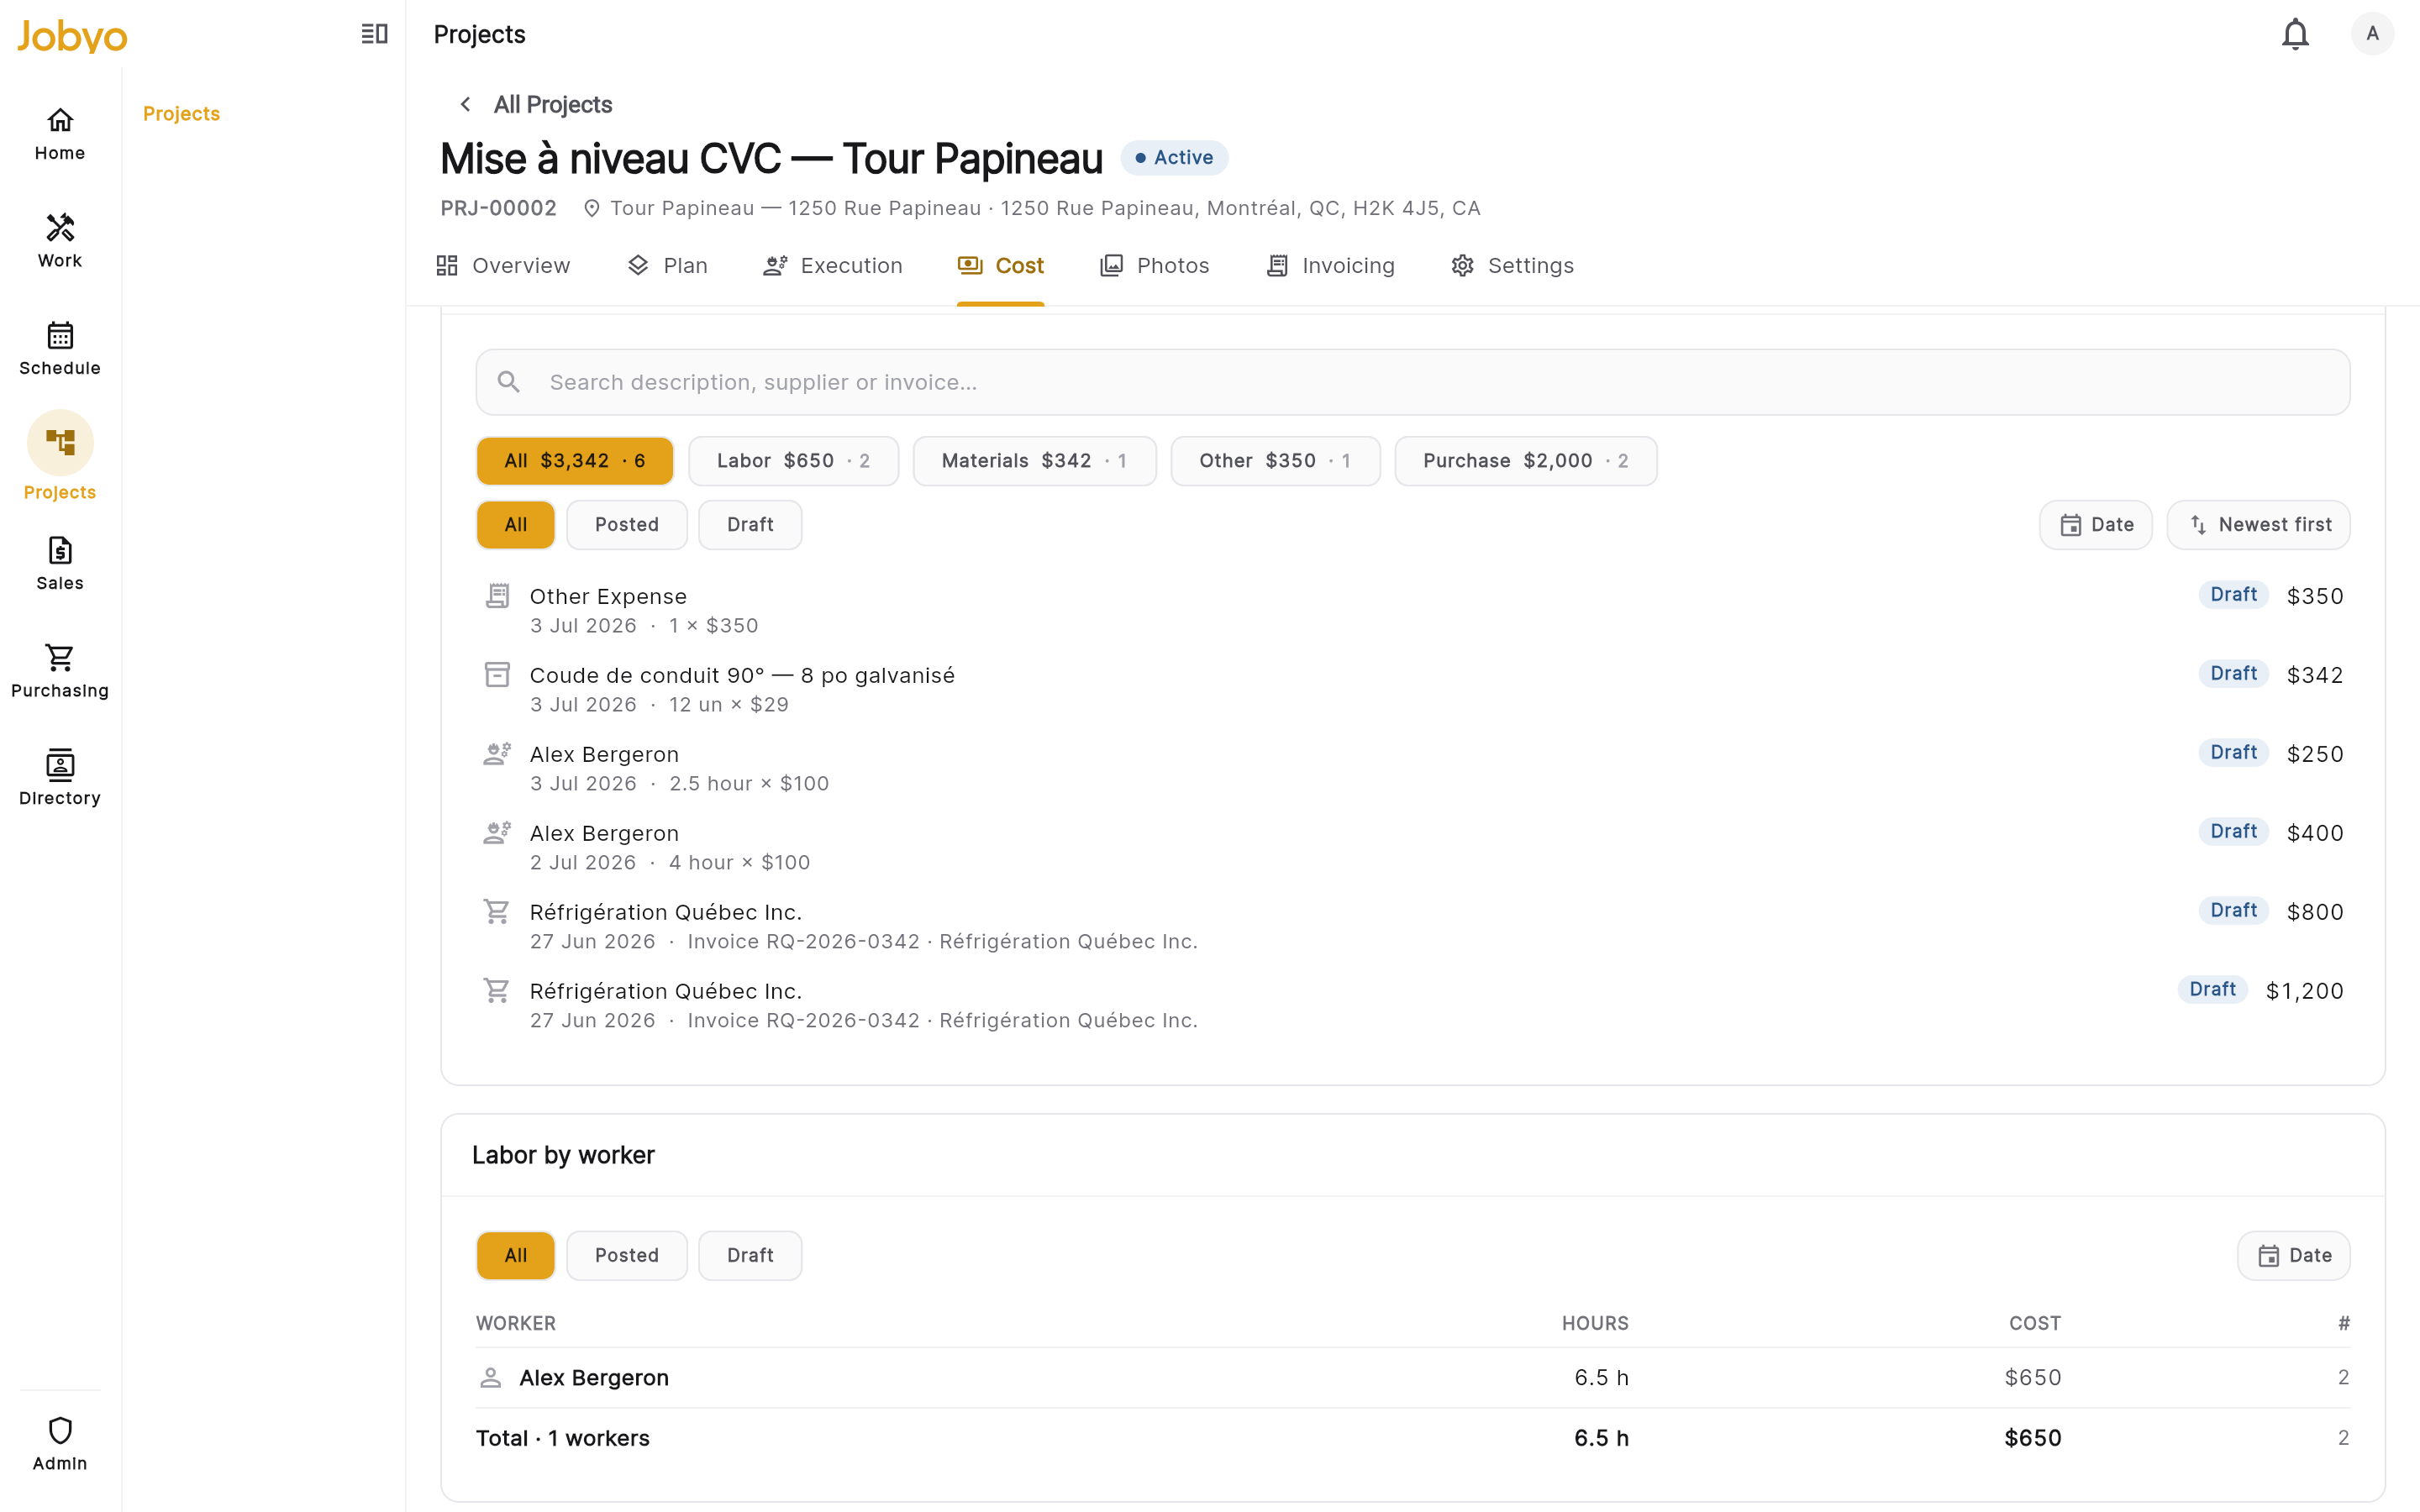
Variance — Planned / Actual / Variance per phase, with a project total Variance uses direct job costThe variance table compares the direct job cost lens only, and stays at zero until both a baseline with planned-cost lines exists and actual costs have been recorded.
Bill the project
When work is done — the whole project, or just a finished phase for progress billing — open the project's Invoicing view. Start with the pre-bill summary: a read-only preview that uses the exact billing rules, showing unbilled vs billed-to-date by phase, by work order, and for project-direct cost. Confirm the bill-to customer (Les Tours Papineau, resolved from the worksite) and, if you want, open the billable items picker to inspect the individual cost entries that will land on the invoice.
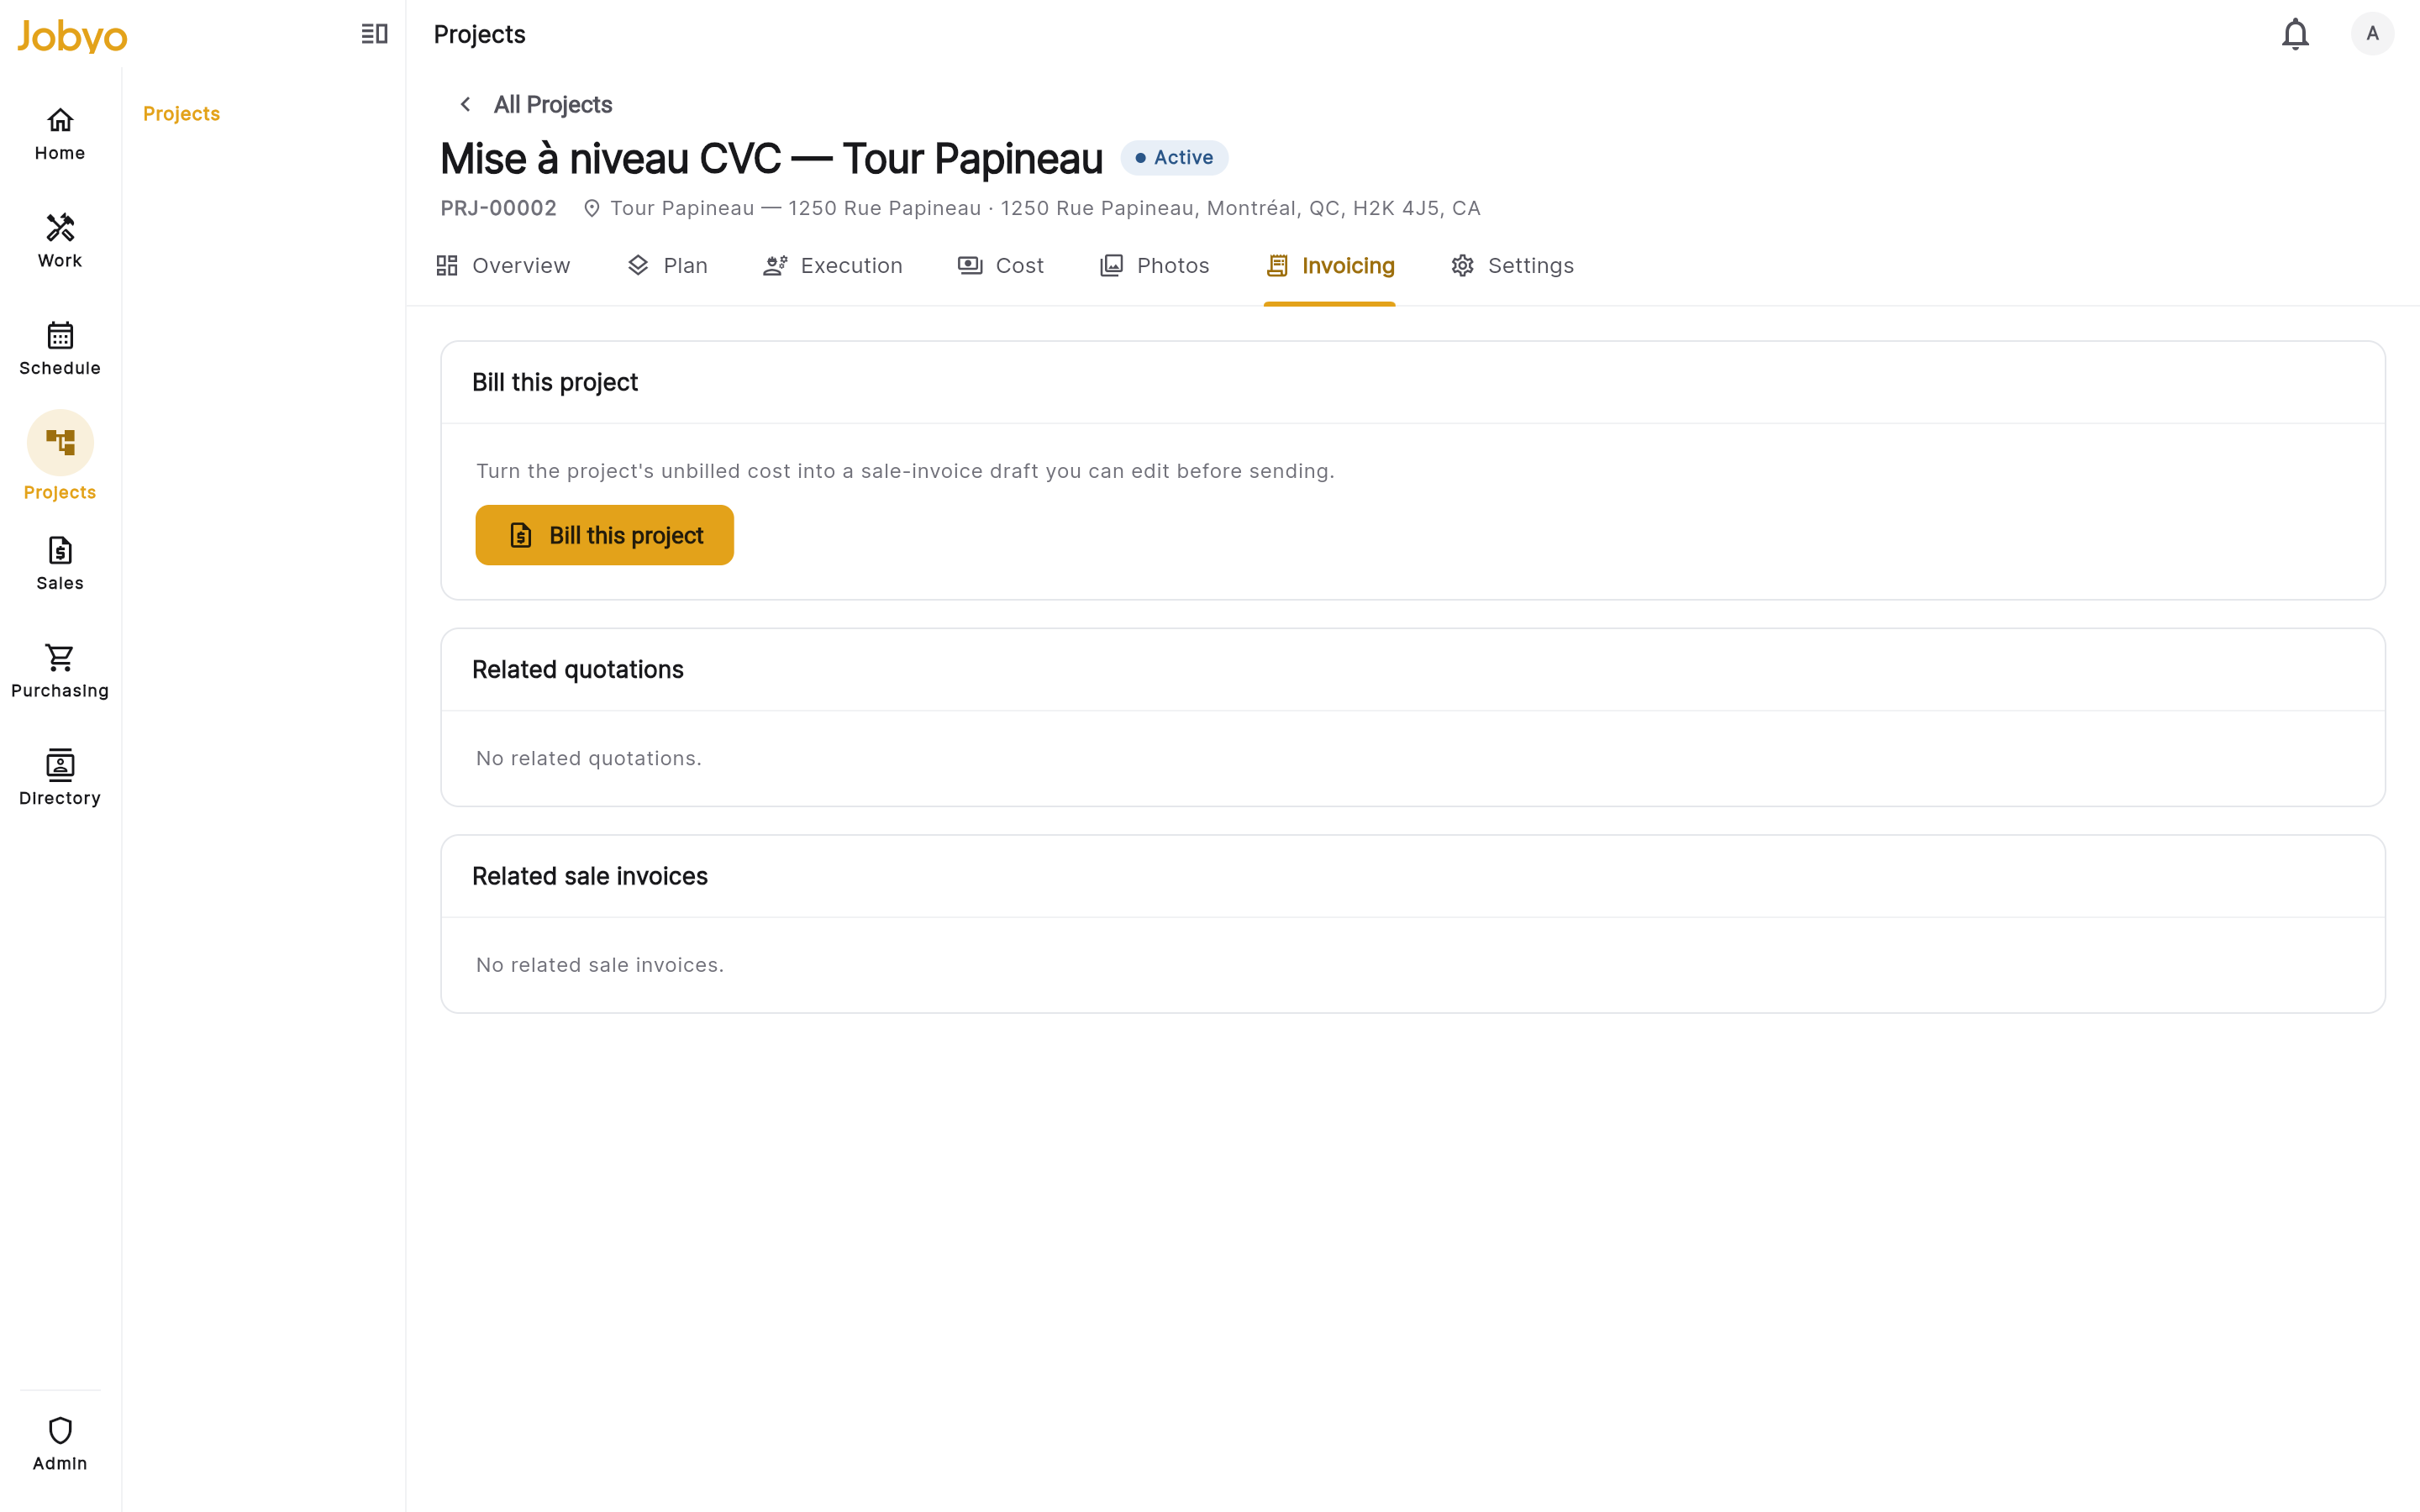
Project invoicing — pre-bill summary of unbilled vs billed-to-date Then create the bill: the whole project, a single phase (progress billing), or a chosen set of work orders. Any of them produces a draft invoice you review, relabel, and add charges to before sending. Sending assigns the official invoice number, recomputes totals and tax, and locks the document permanently. See Project invoicing.
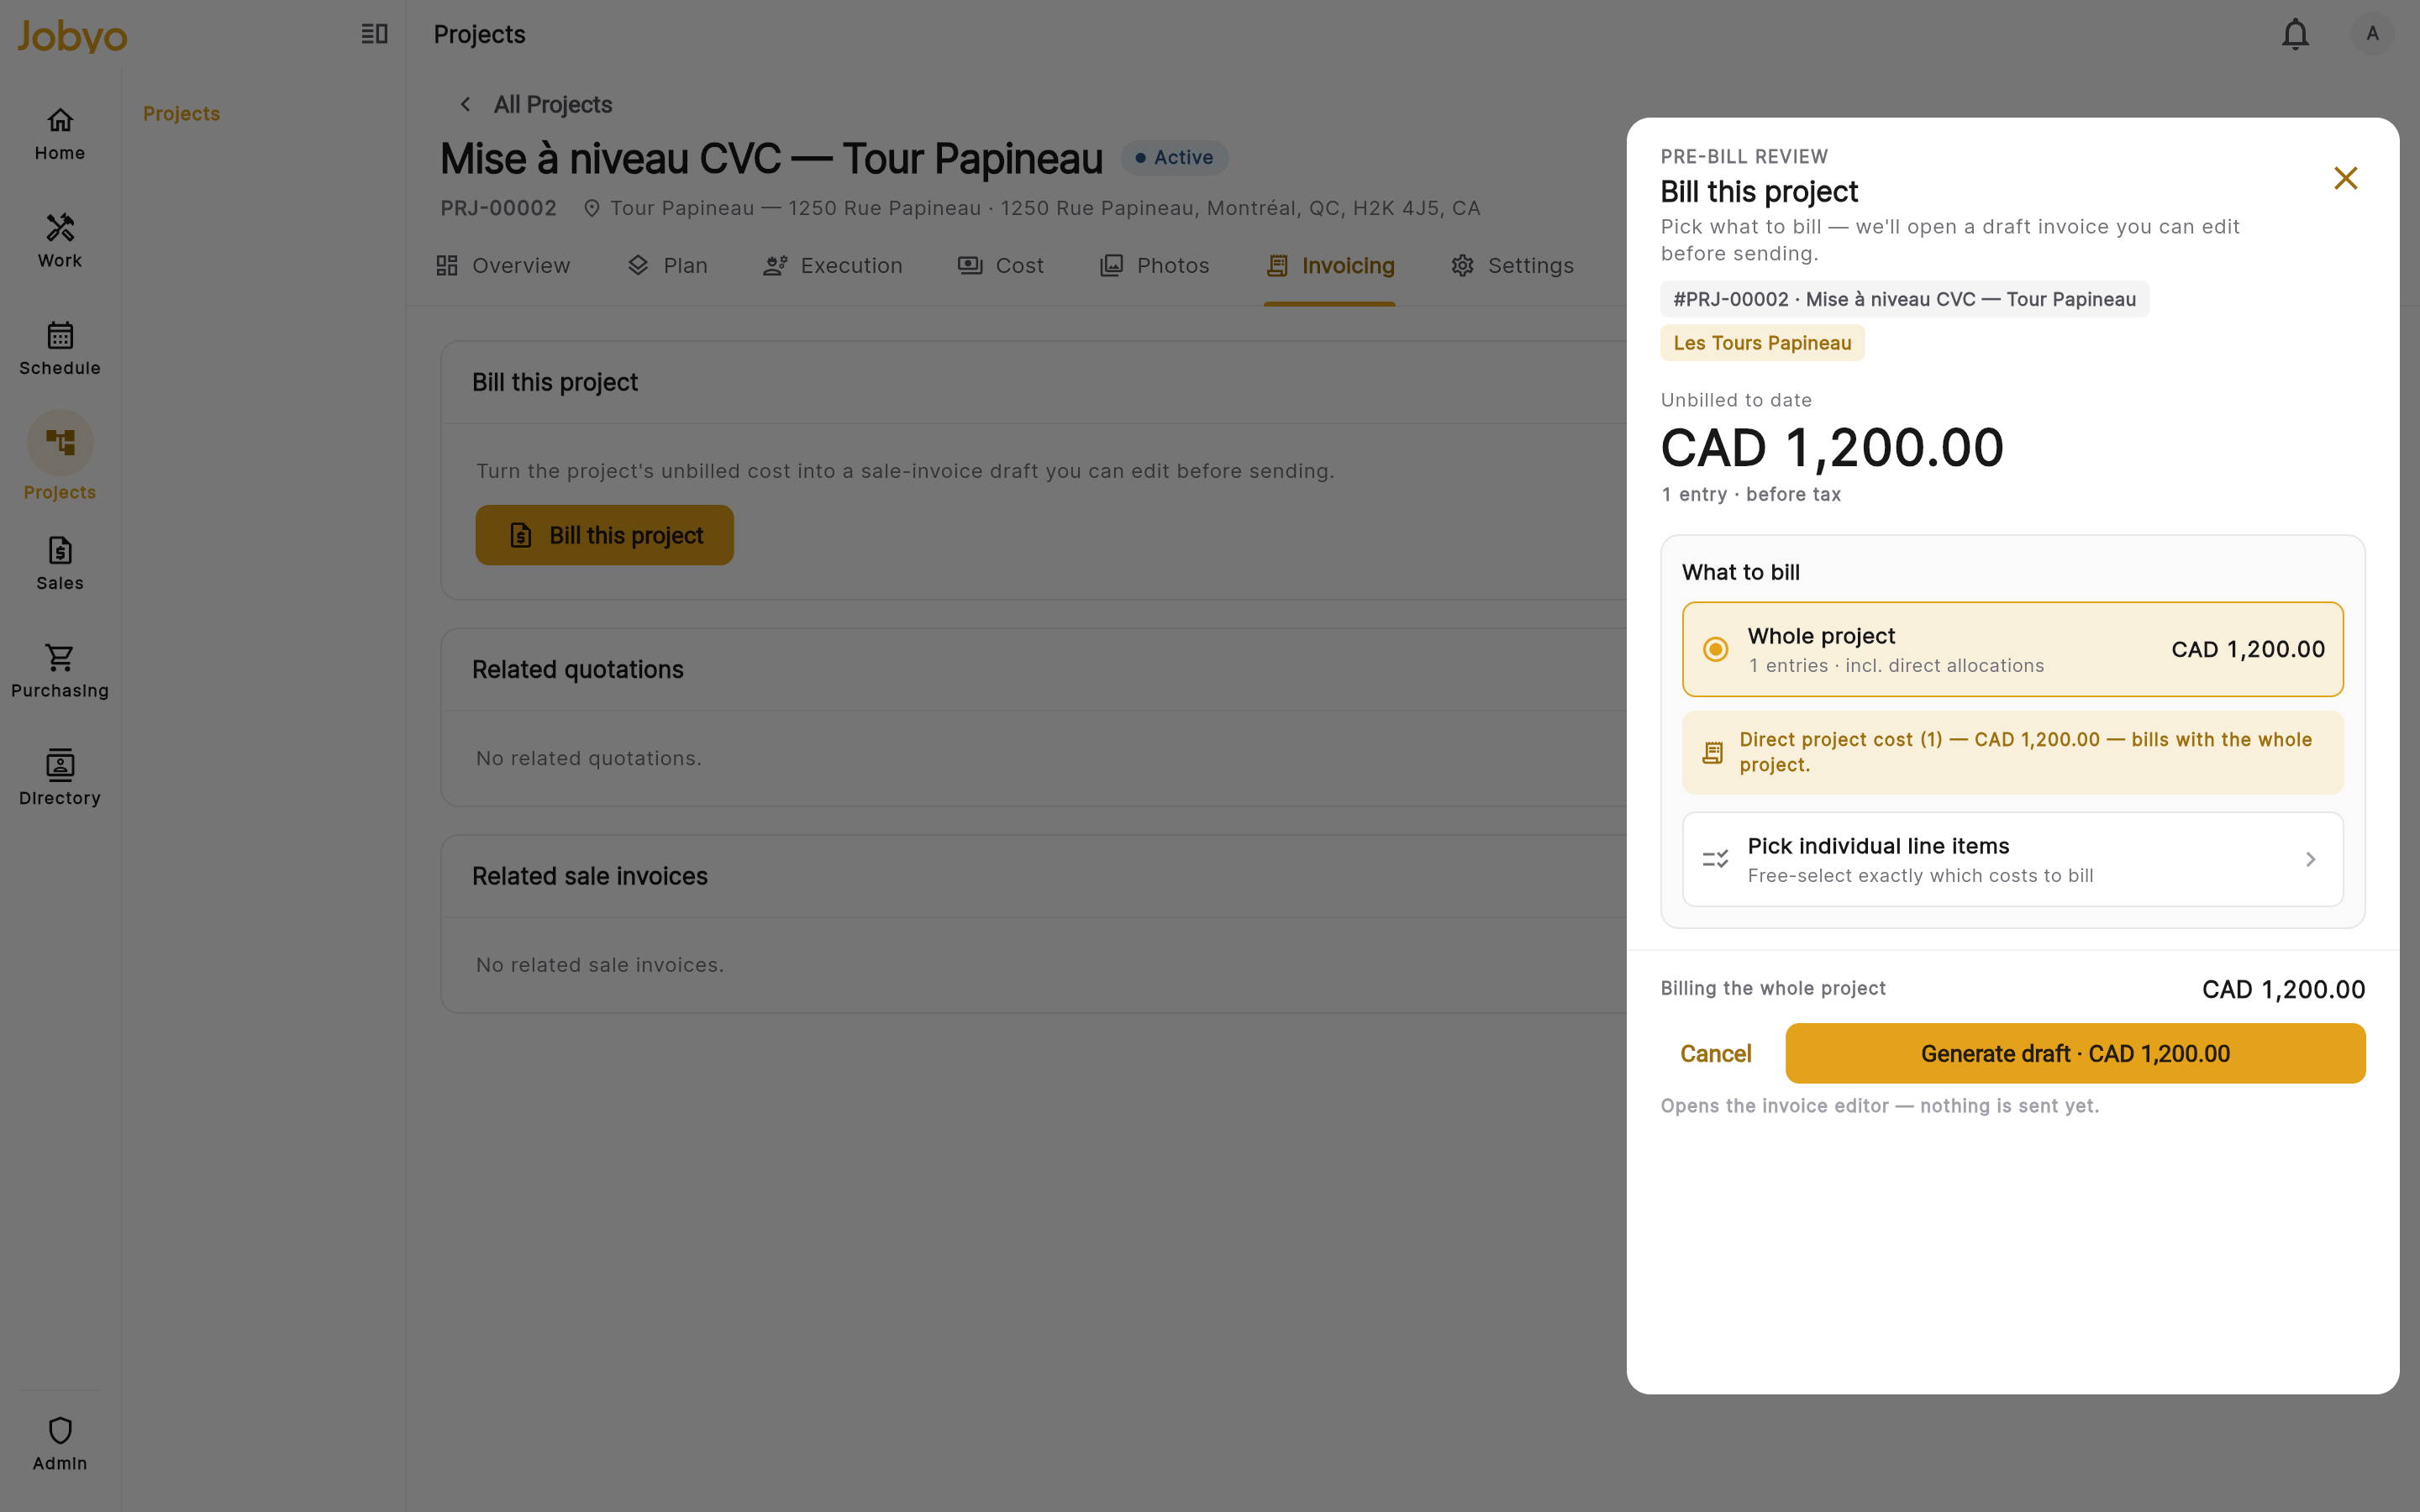
Billable items — the cost entries eligible for the invoice Only closed, group-billed work orders billA work order is only picked up by project billing once it's closed and set up for group billing within the project. If the summary says there's nothing to bill, check the work orders are closed and their billing structure is project.
Project managers create and plan projects, manage phases, and publish baselines; finance and billing roles handle invoicing; the money figures on the Cost and Invoicing tabs need the view actual costs permission. If a page or button in this guide isn't there for you, it's a role difference — see Roles & what you can see.
Where each step is documented in full
Break it into phases, lay out the Gantt, and freeze a baseline.
Projects · PlanningType the estimate and measure the plan against reality.
Projects · BudgetTasks become work orders; time and materials accrue cost.
Field Operations · Work orders